
Quarantine and How I've Been Dealing with It
This quarantine seems to be getting everyone stir crazy.
I know I have been. Several people have messaged me that feel the same. So I wanted to update everyone on how I have been dealing with it.
It seems like right now all I have is free time. I’ve been laid-off on furlough from both of my part-time jobs, meaning that when this all returns to normal, they’ll give me my job back. But now I don’t have that excuse to keep me from things. My main responsibilities now are to keep up and catch up on school work and also catch up on my backlog.
I believe it is easy as a creative individual to keep moving forward, however, sometimes you have to remember to look back too. So, now is a great time to go through your previous photo shoots and edit them and maybe release them. Or if you’re a crafter, how many projects have you started but then kept saying you’ll finish them later? NOW IS THAT TIME!
Are you struggling to find new content to post on social media? Post old stuff! Chances are there are photos in your backlog that are climbing to see the light of day.
Don’t know how to edit your photos? Now is the BEST time to learn! There are a wealth of photography tutorials on youtube. If you don’t know where to start, that’s okay! Also, Facebook Groups can be helpful to seek peer feedback or ask questions. Just don’t take every critique personally! Most of the time its opinions anyway.
Alternatively, if photography is tiring you out, now is a great time to learn something NEW or do something you’ve never done before. For example, I have always wanted to explore painting. I had never tried painting on a canvas before, but Hobby Lobby was having a sale on Canvases, so I took the opportunity to grab some. The other night, I was having a hard time focusing on my photo work, and my eyes were tired of looking at a screen, so I decided to take a break and try painting.
Here was my result:

I have always wanted painted portraits of my pets in Renaissance clothing. So, I decided to try my hand at it. I think it turned out a lot better than I thought it was going to! It was quite an adventure, I even mixed a lot of the colors myself. It was definitely a time-consuming process, and I loved doing it! It really brought me back to my roots.
The real key to beating this Quarantine is to just go with the flow. Check-in with your loved ones, talk on the phone, video chat, or even a simple text will really help satisfy your socializing needs until you can be with them in person again. Don’t be afraid to reach out first either, if you’re nervous about bothering them— they might be thinking the same thing! But it’s important to remember that we are all going through this together.
Let yourself just BE. If your brain says it feels like playing video games, then play video games! Want to read a book, do it! As long as you’re not harming anyone and you’re following the laws and quarantine, now is a great time to rediscover yourself!!!

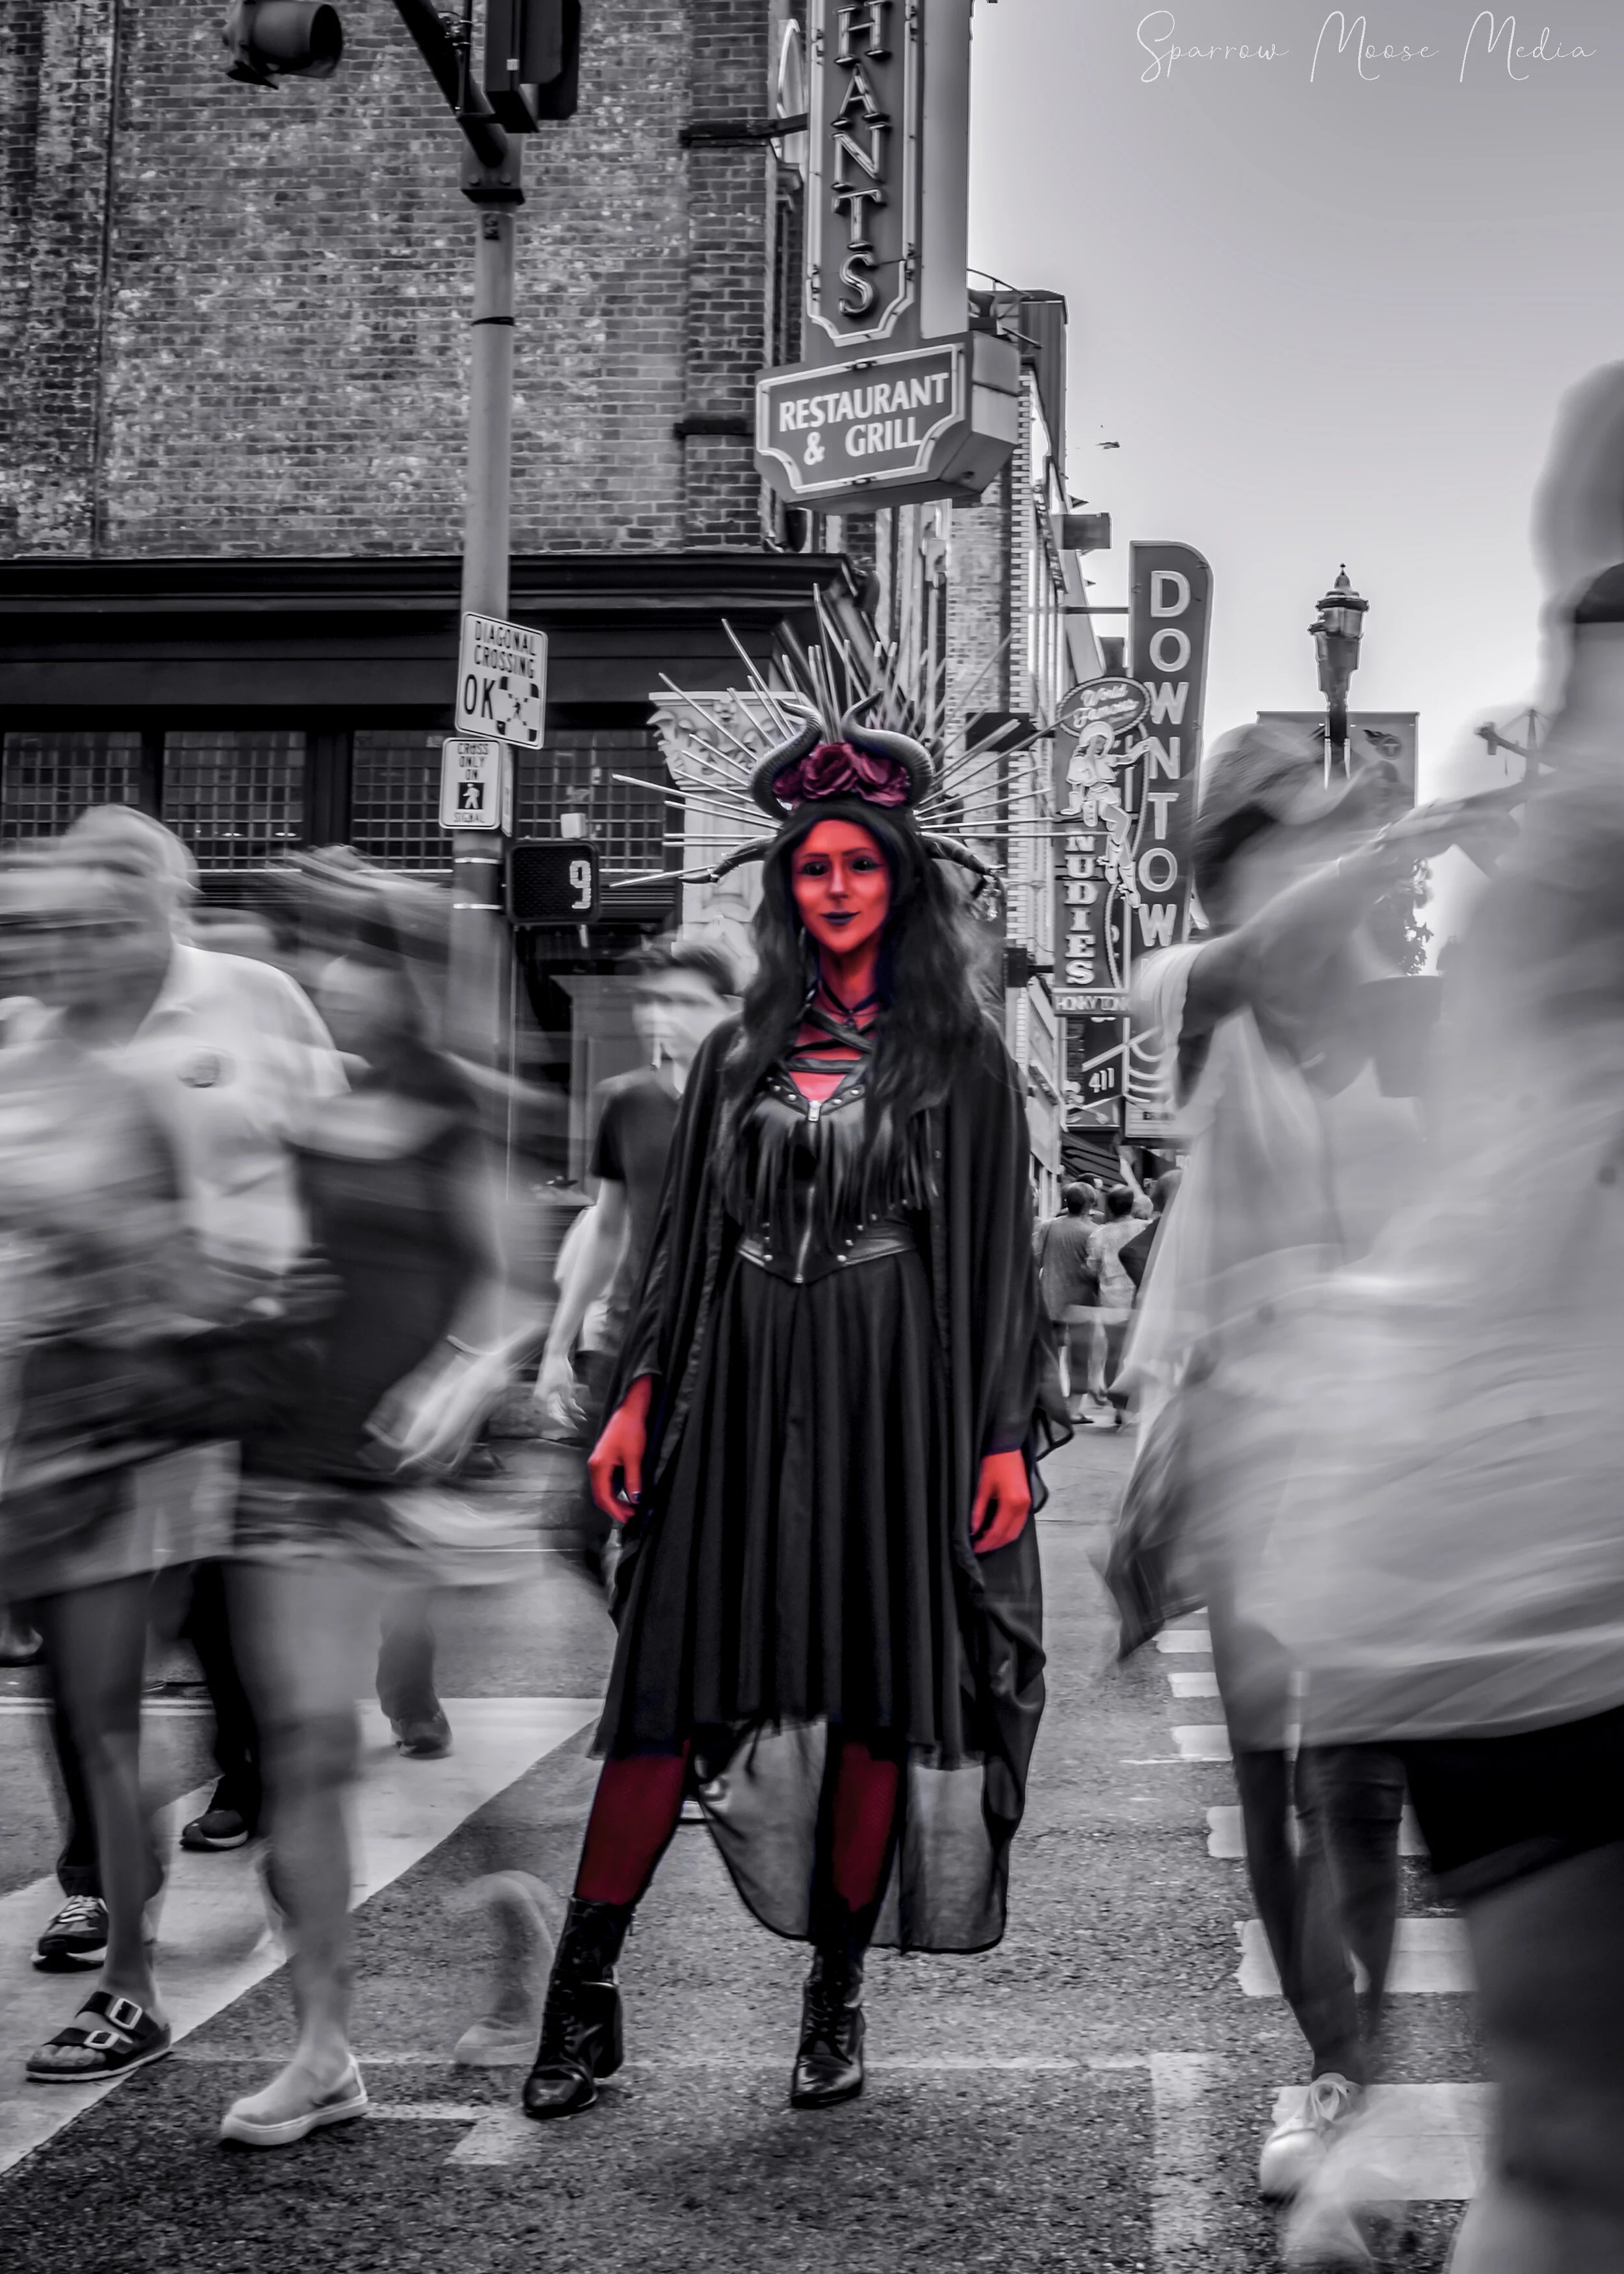
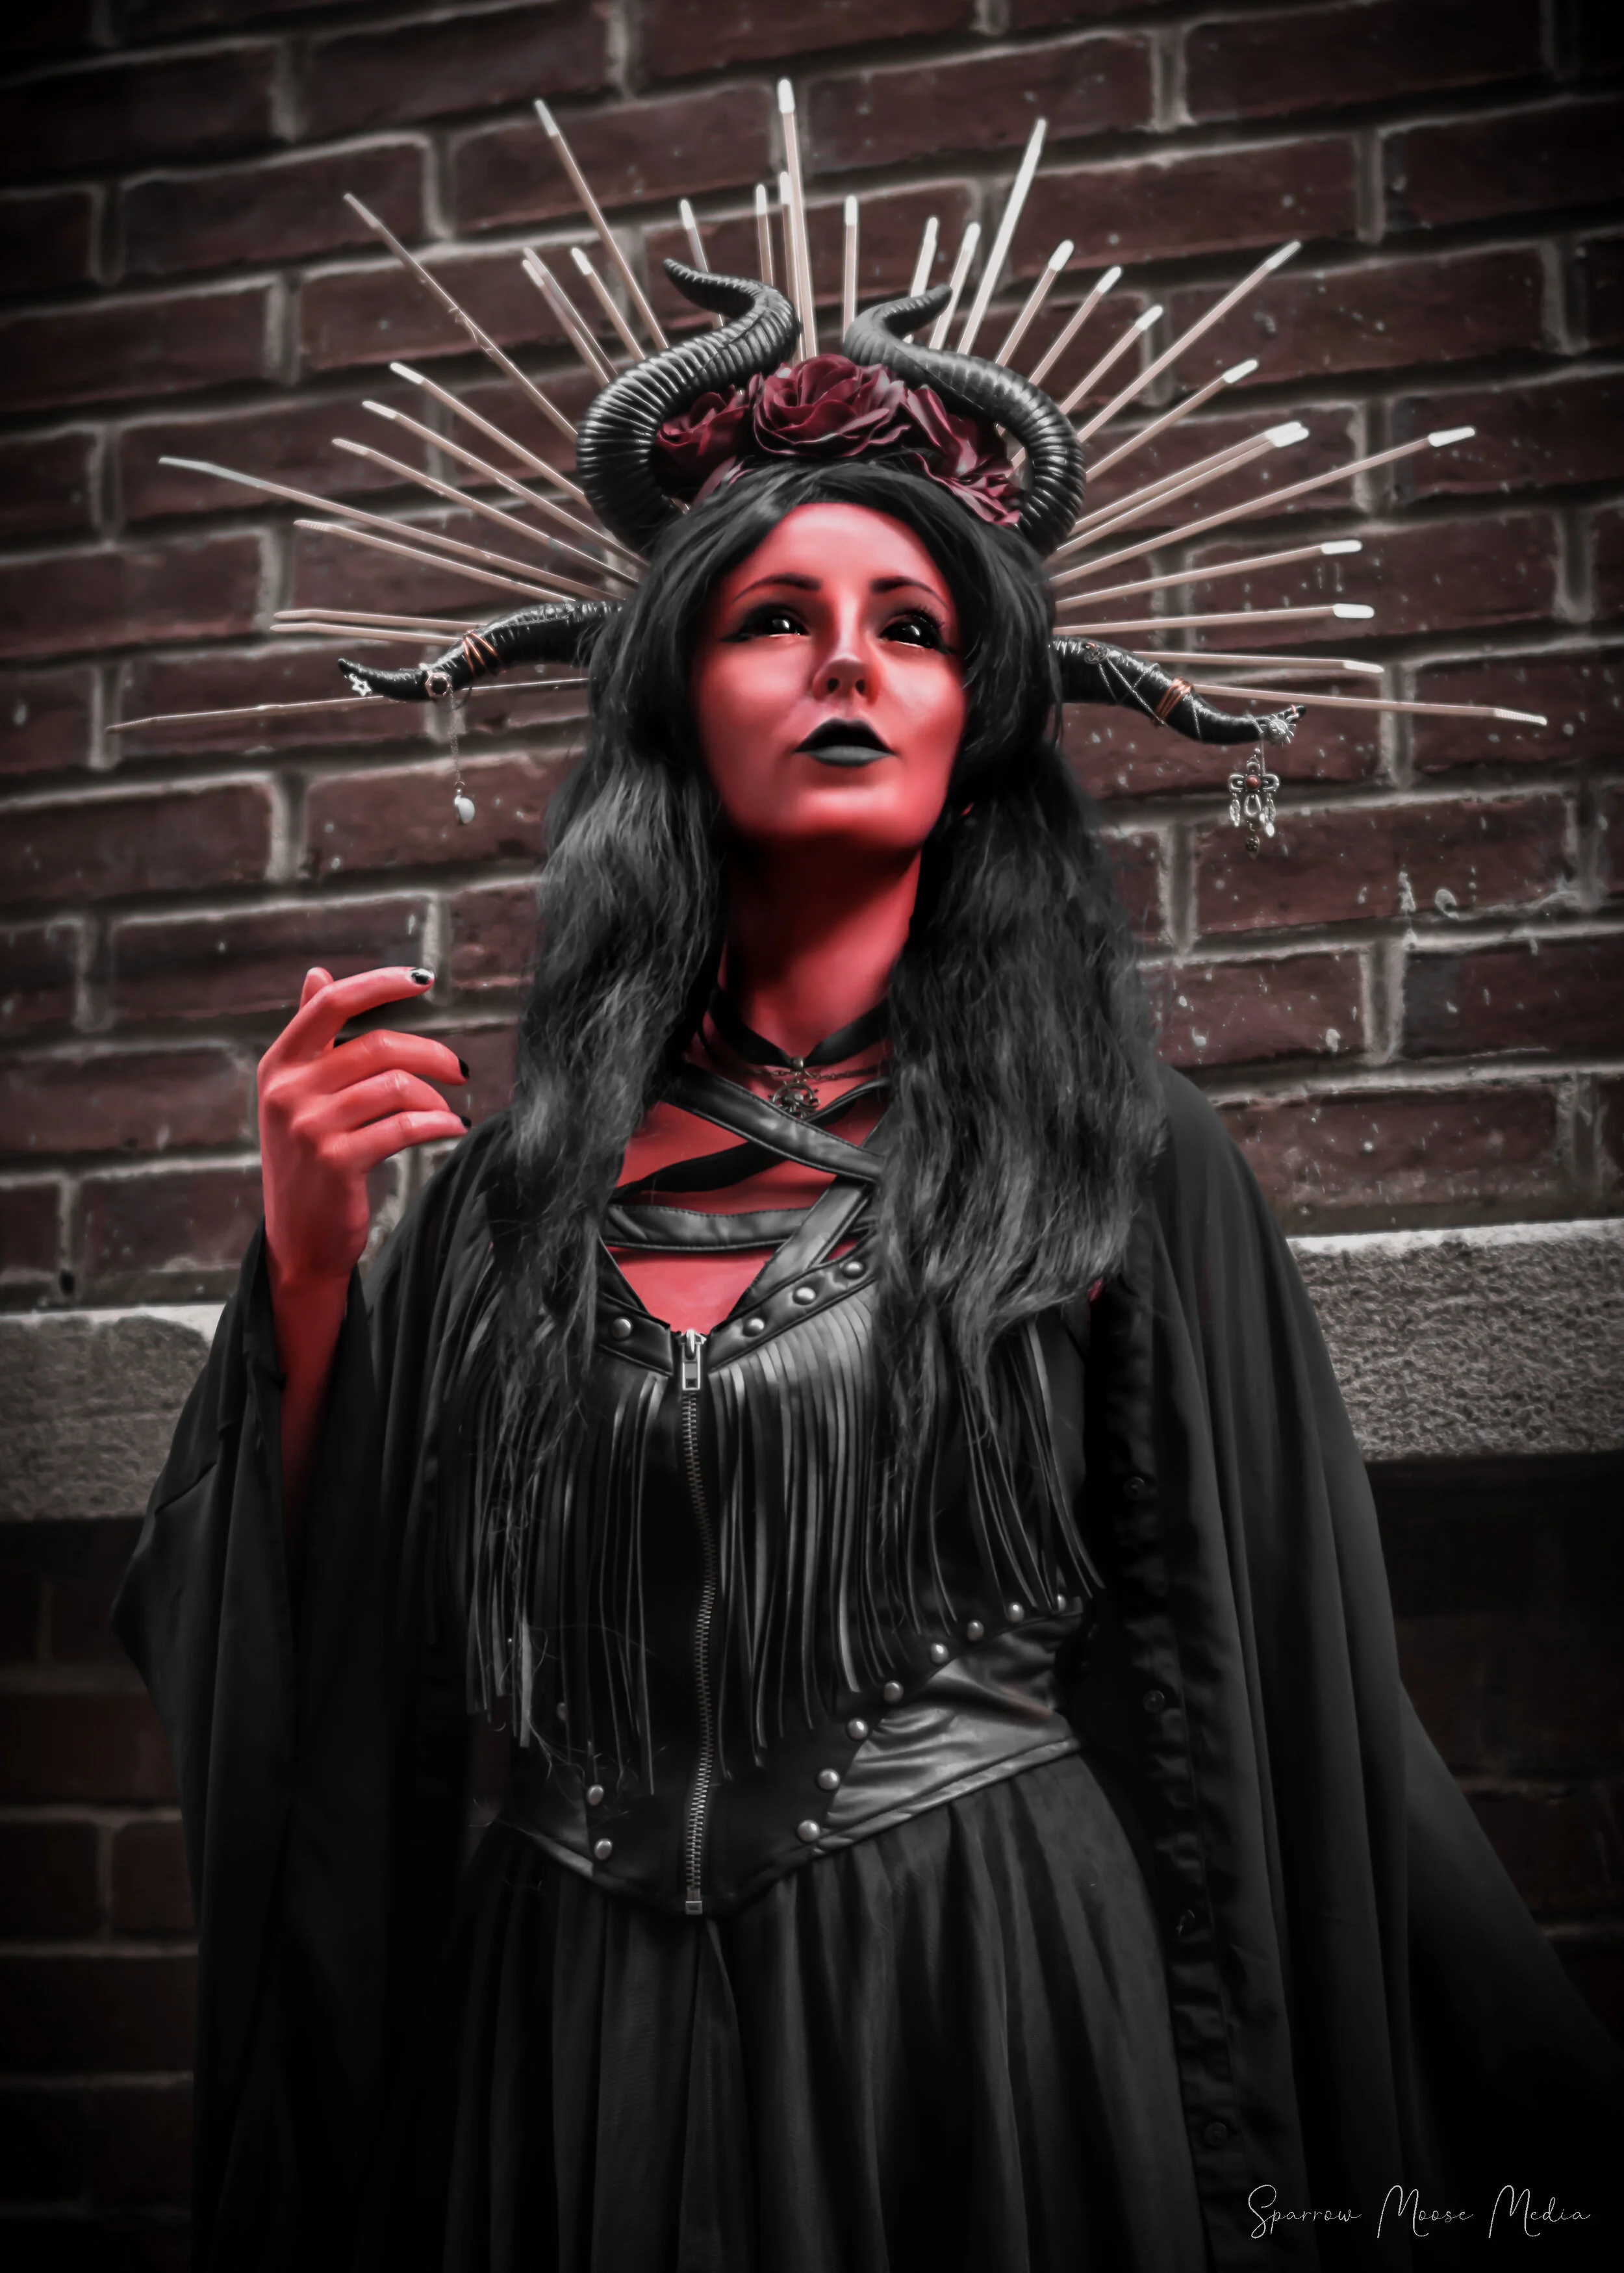
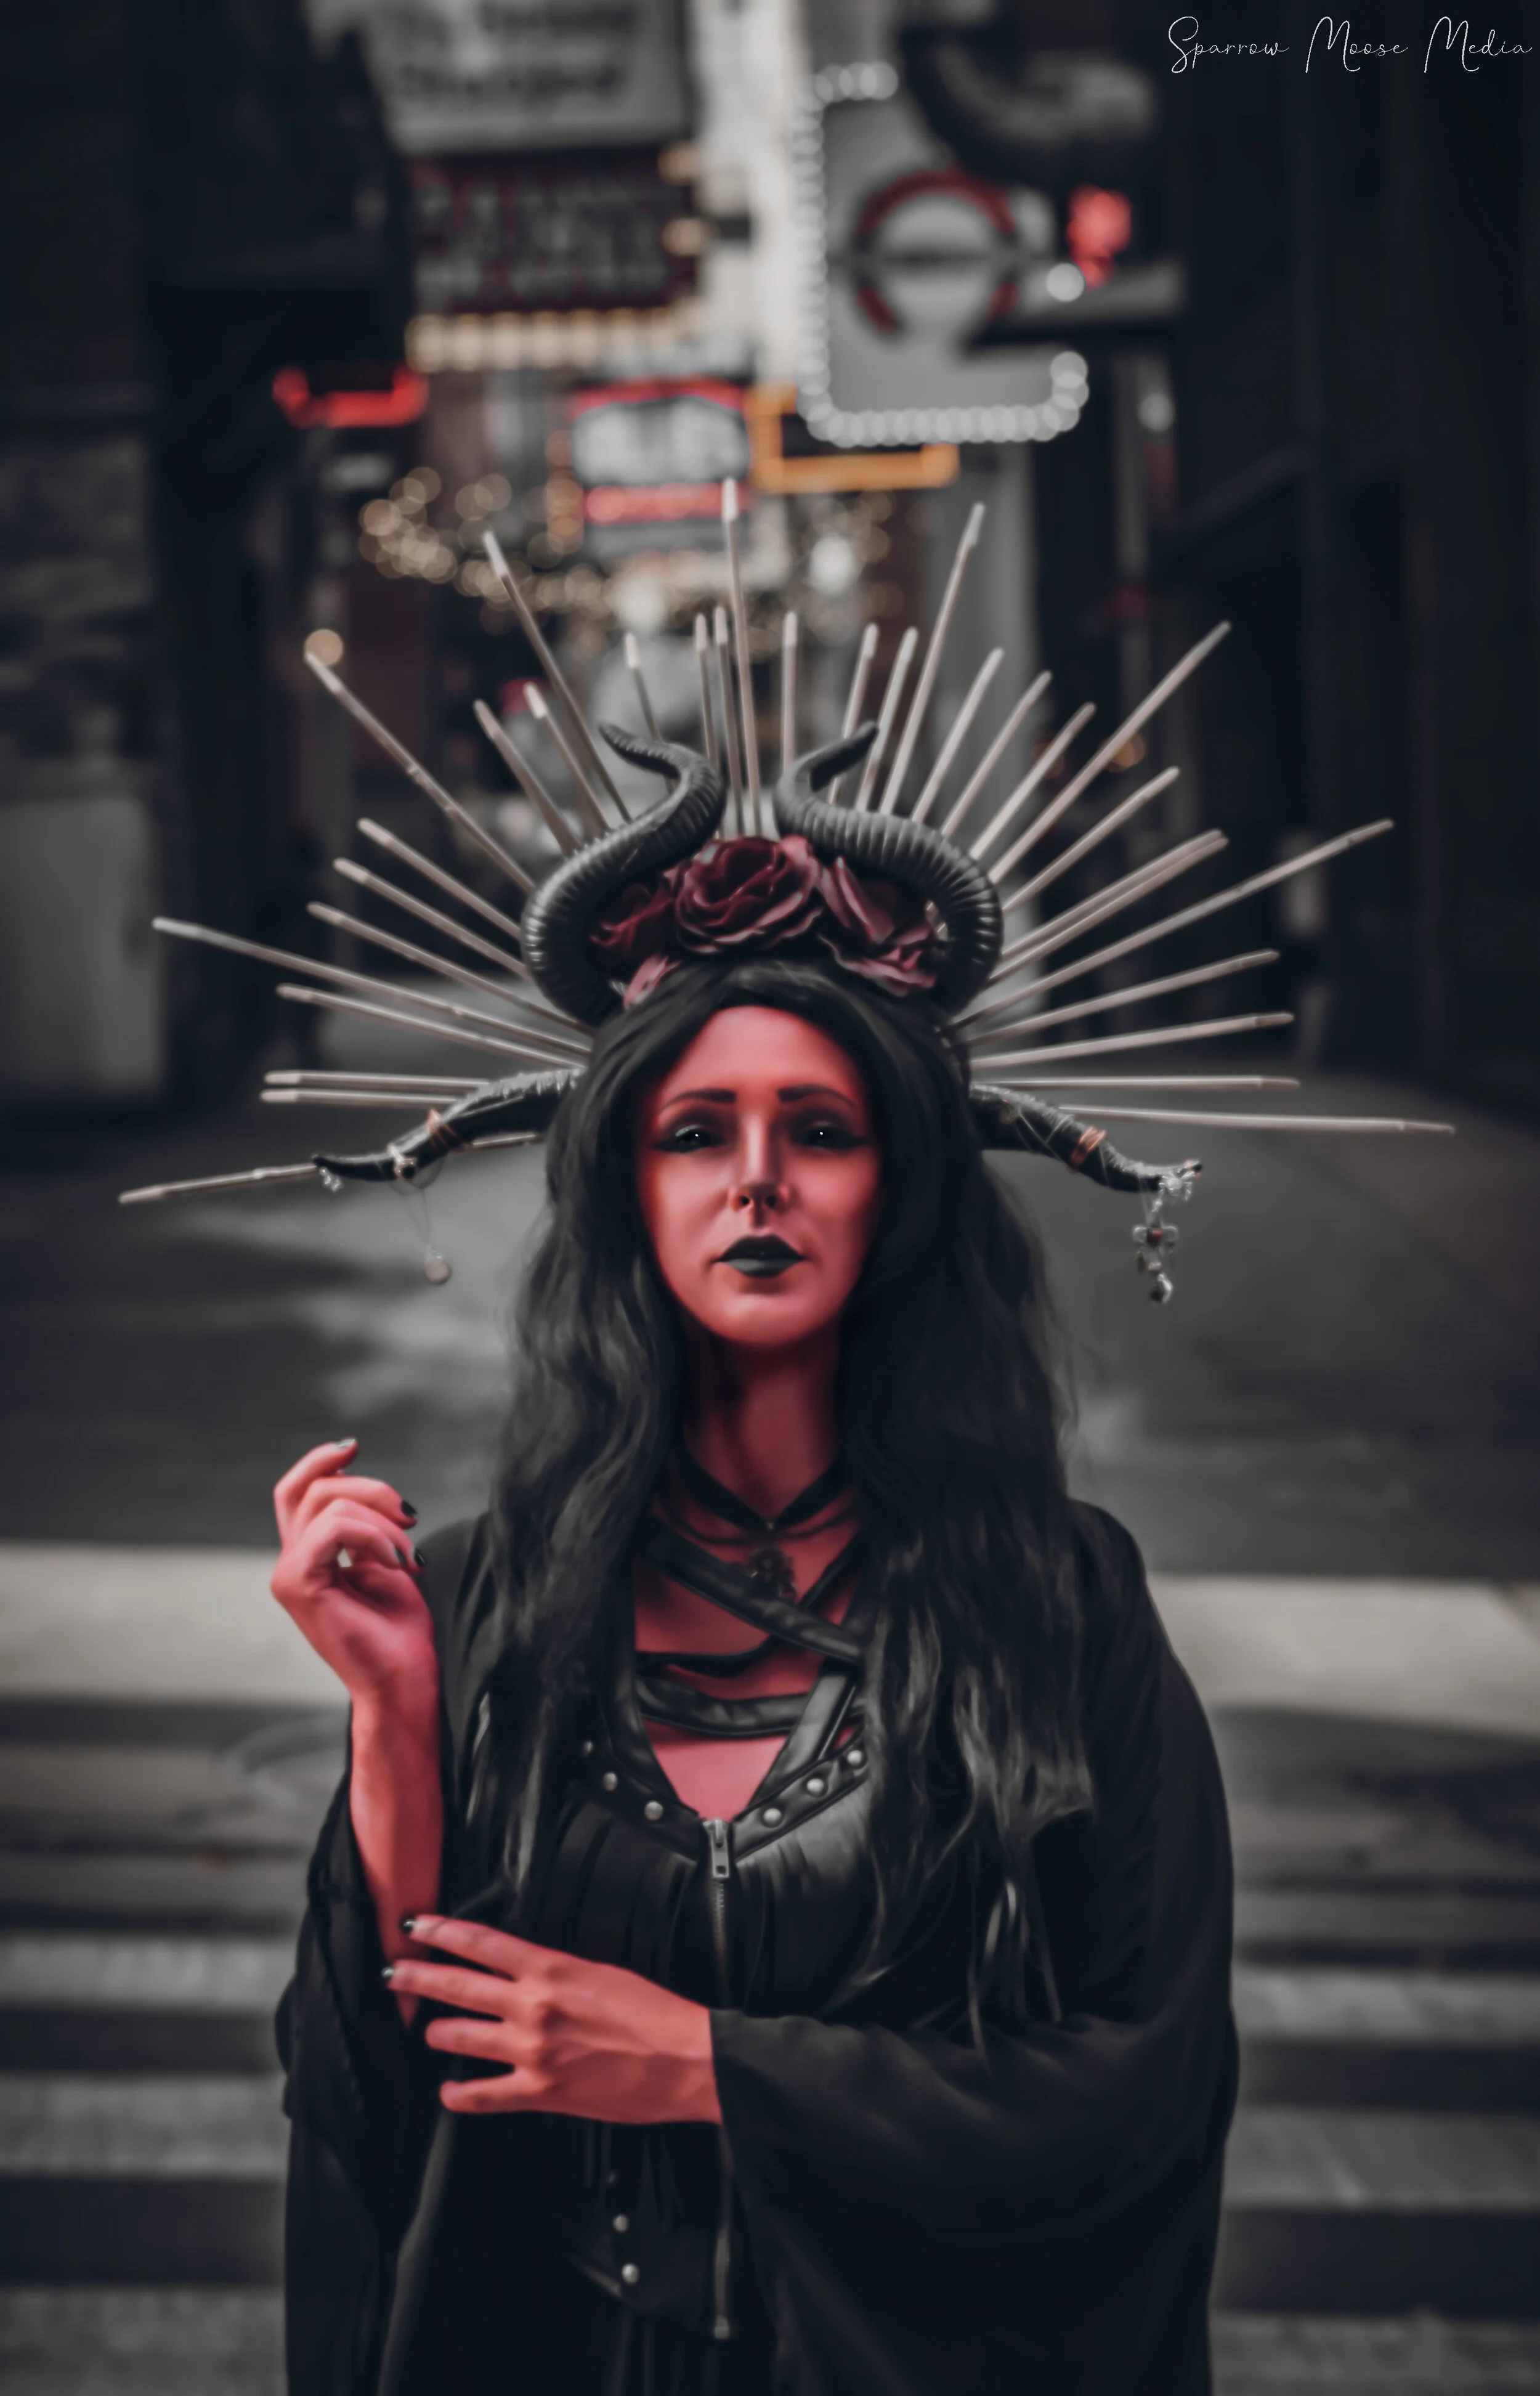
Red
First look at Sparrow Moose Media’s Inner Demons series!
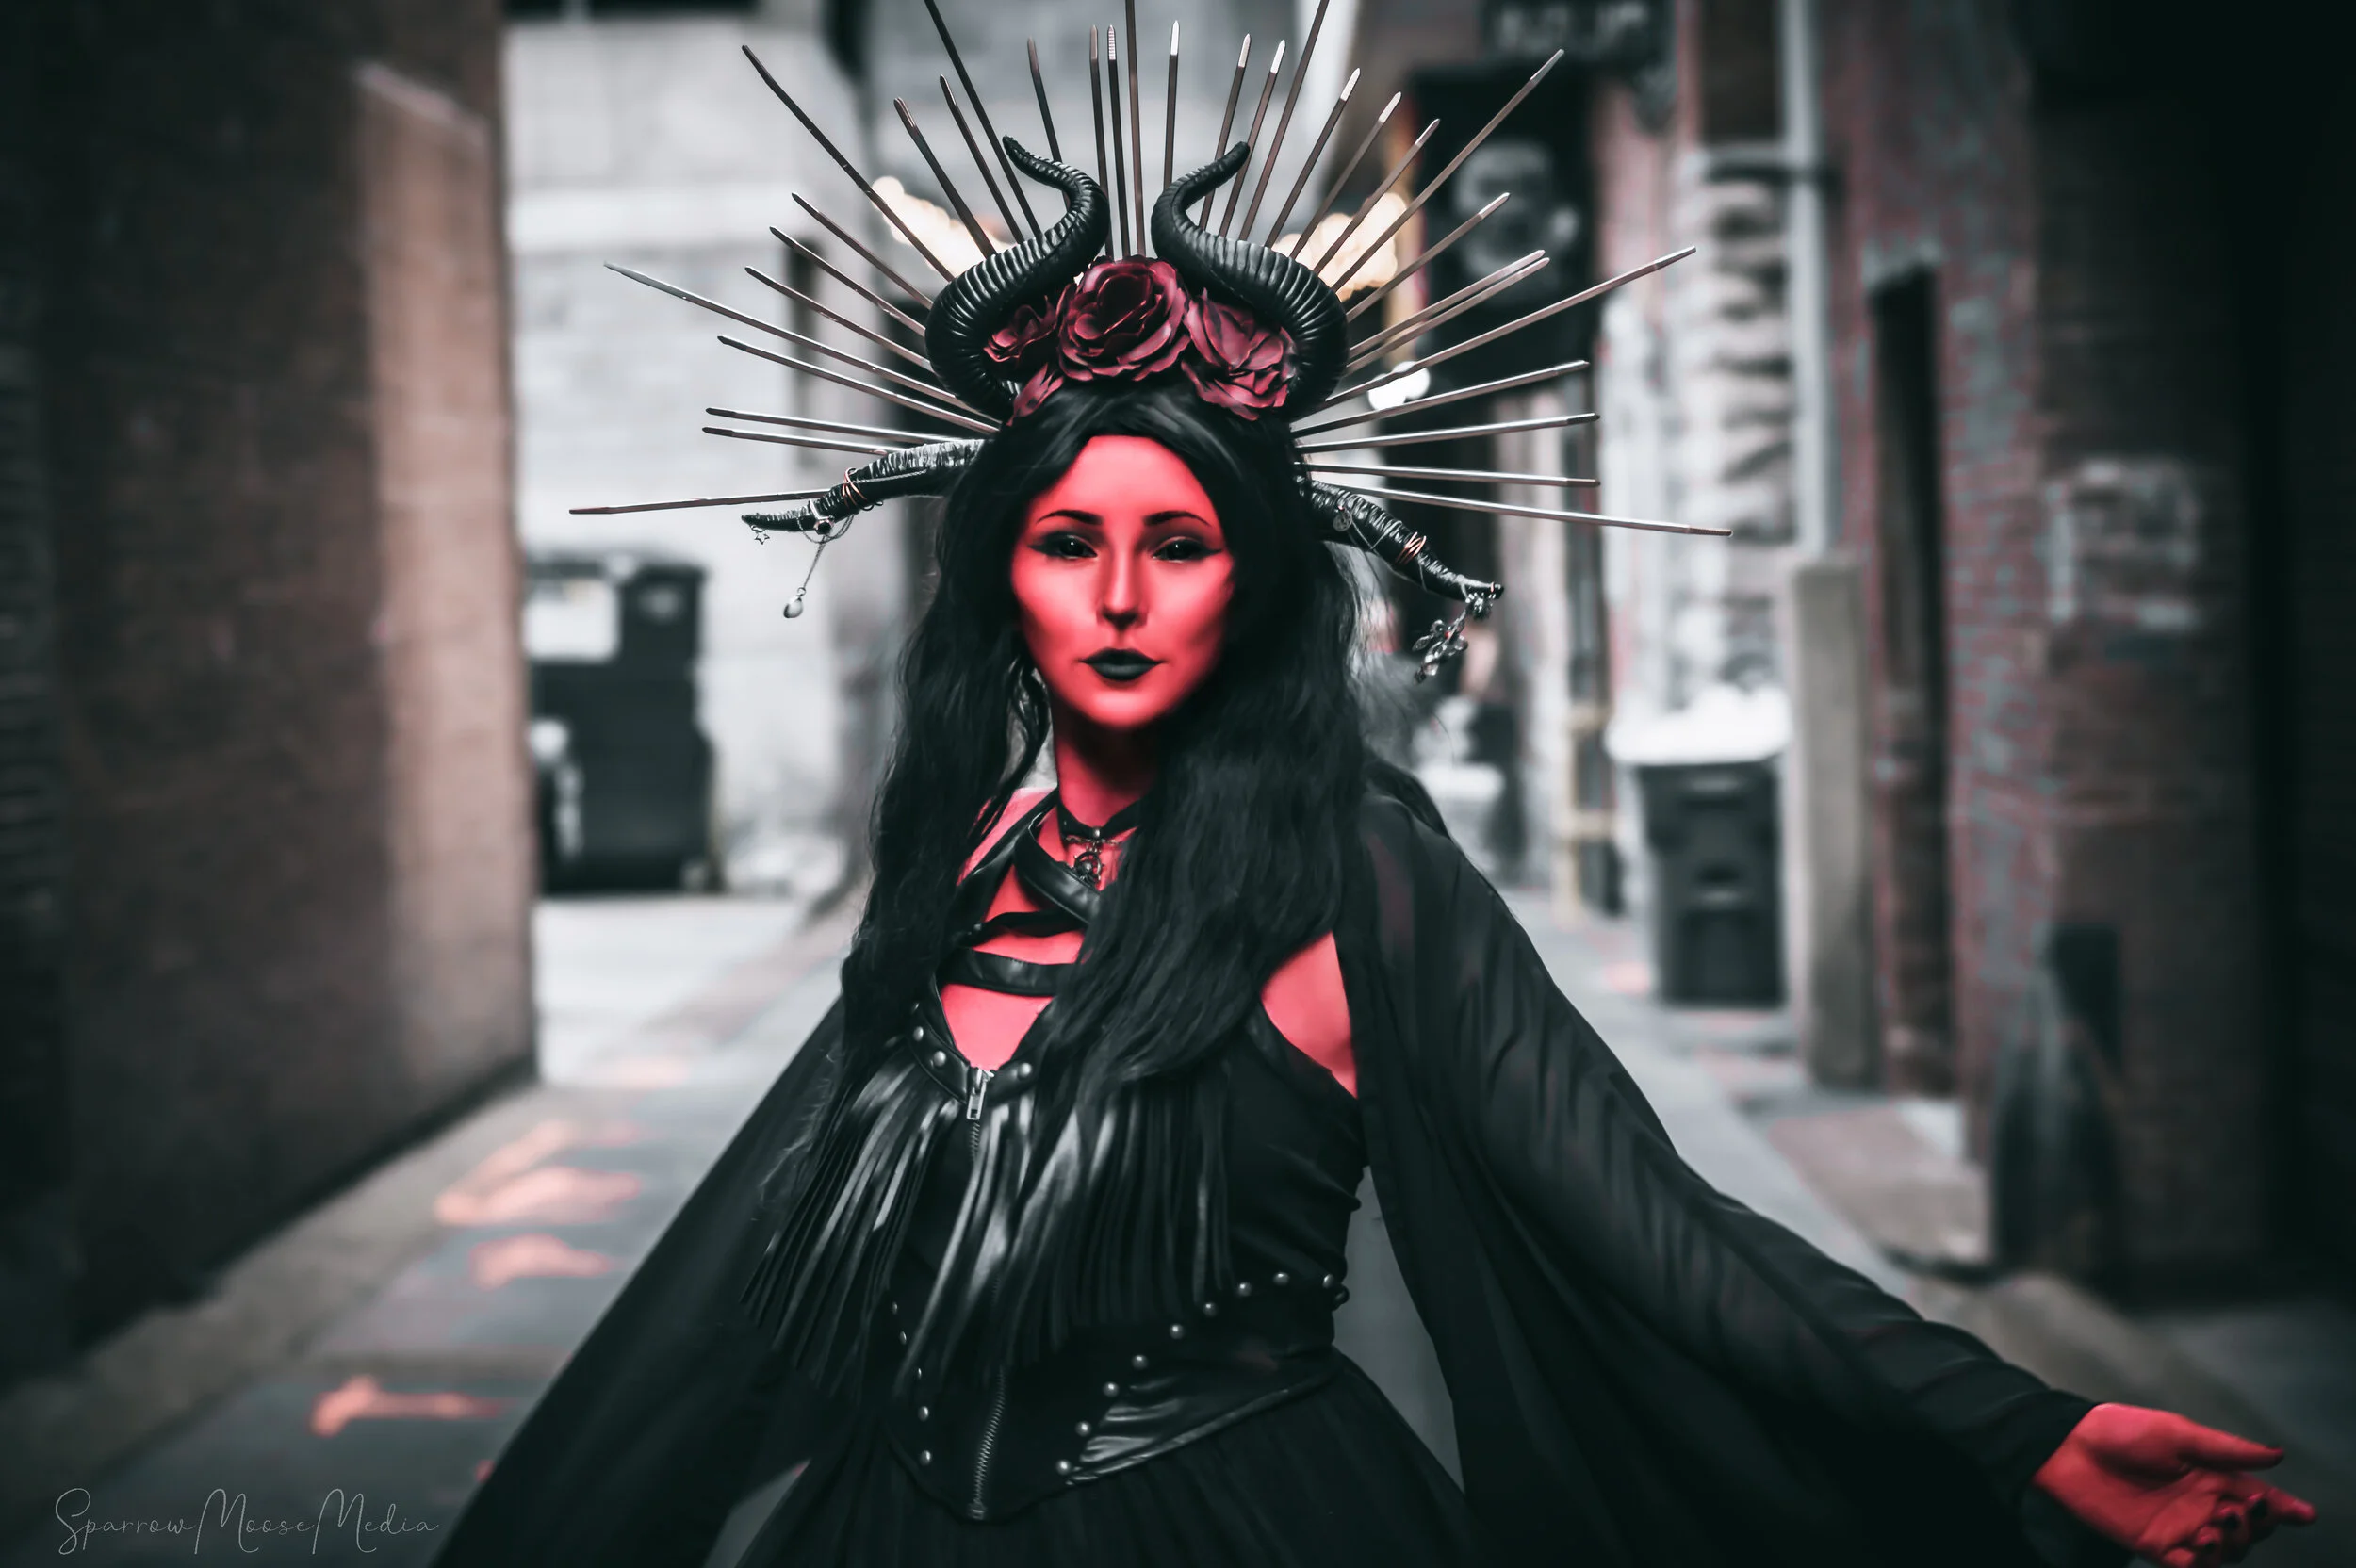
Thank you Ketzel for modeling for me in this conceptual shoot!
This was for an assignment with the theme of “red.” I collaborated with the talented special fx makeup artist @the_ketzelpretzel to do a more demonic look.
This will be a part of my Inner Demons collection, which will be a photo series exploring the Seven Deadly Sins, mental illnesses, and different coping methods, such as self medication.


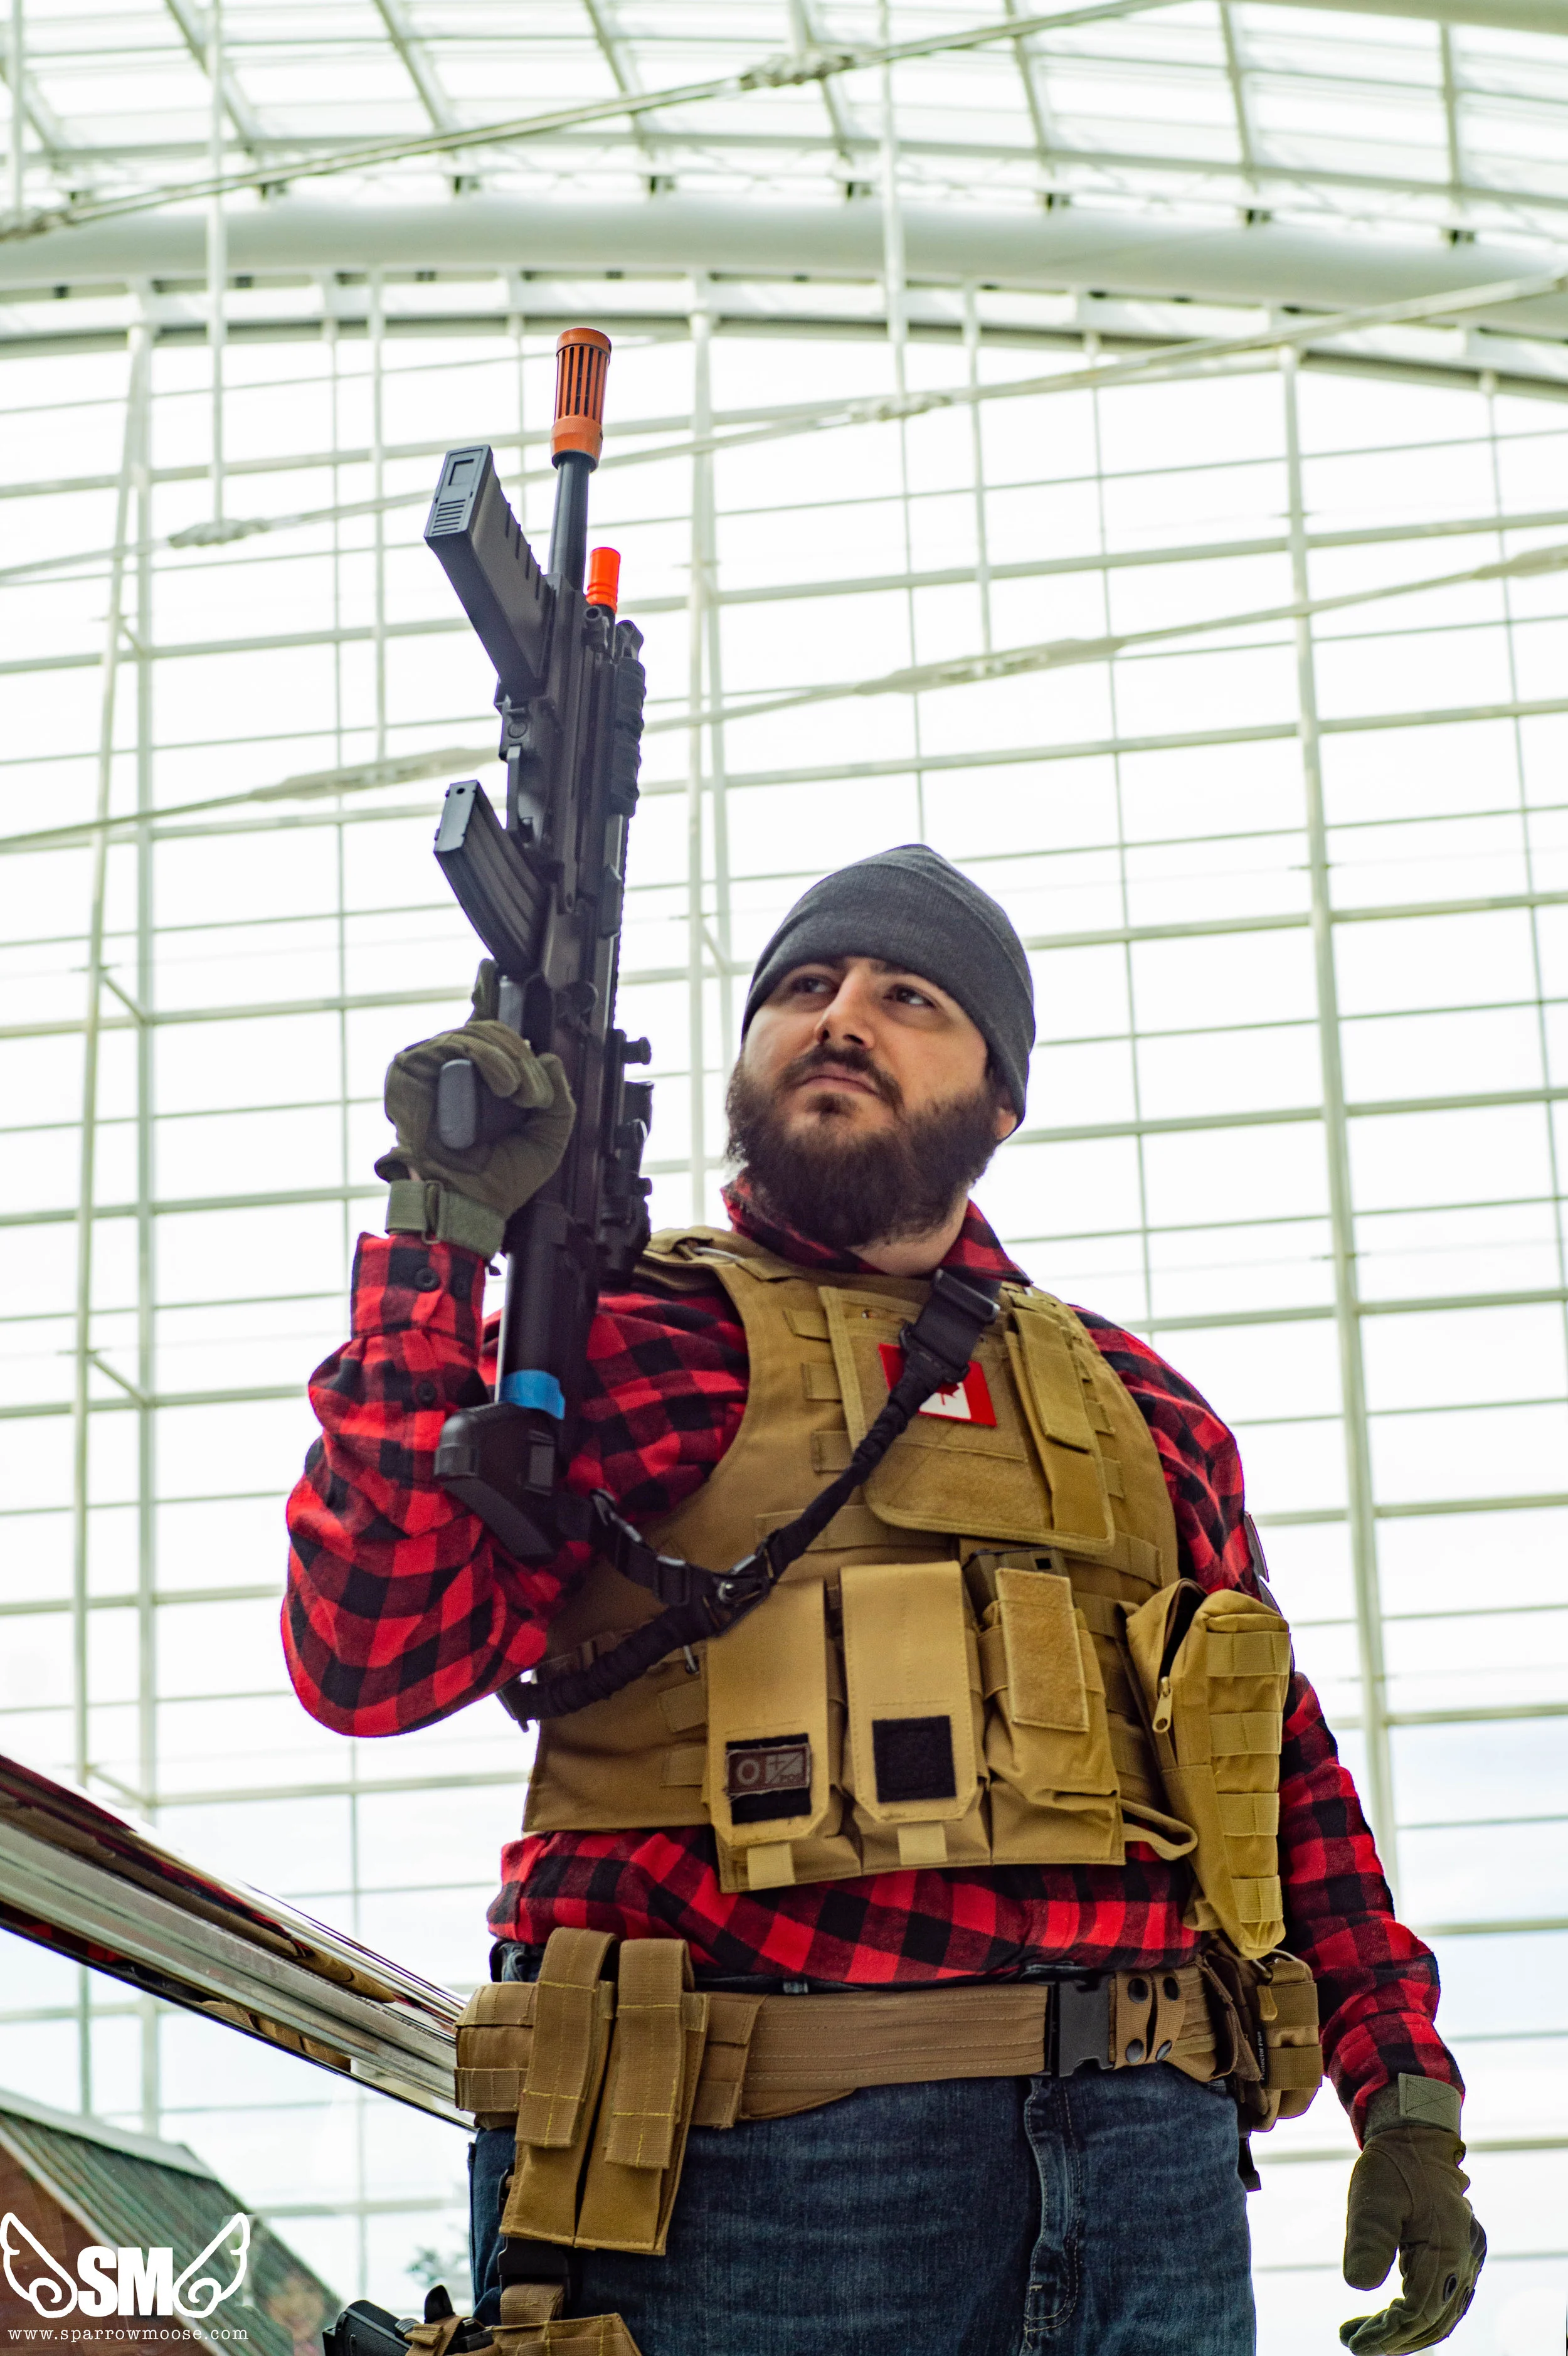
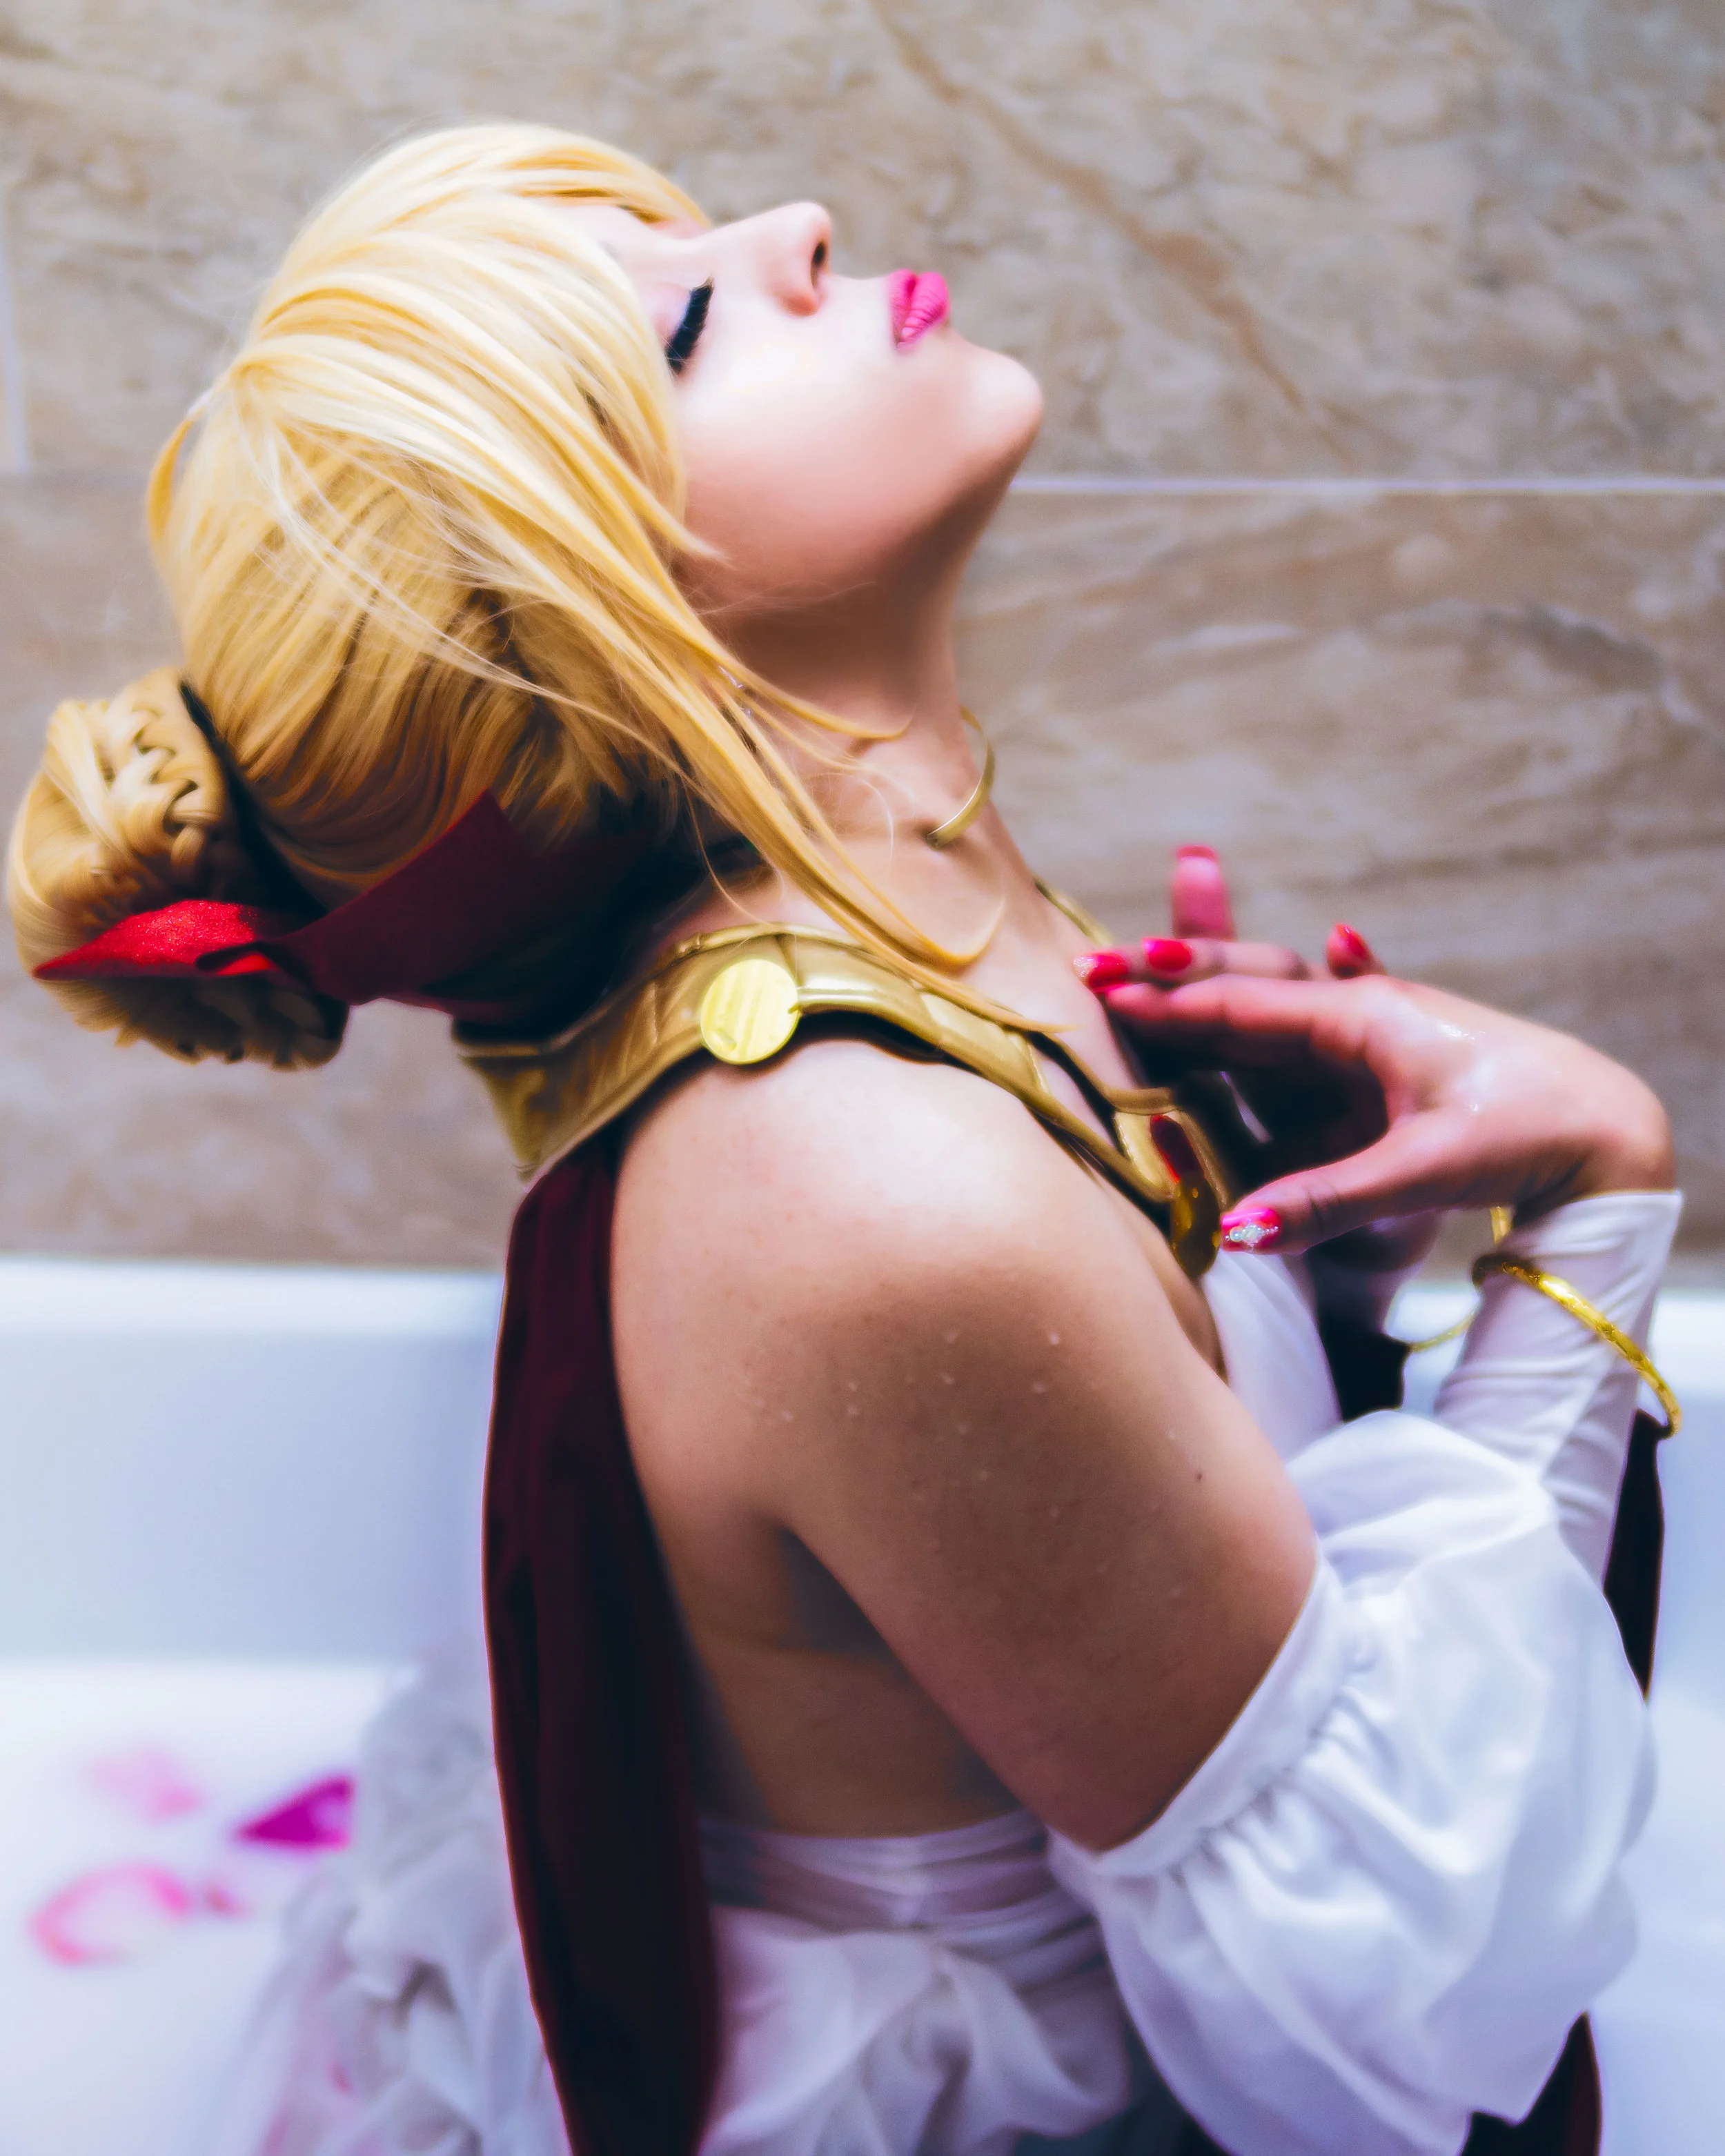
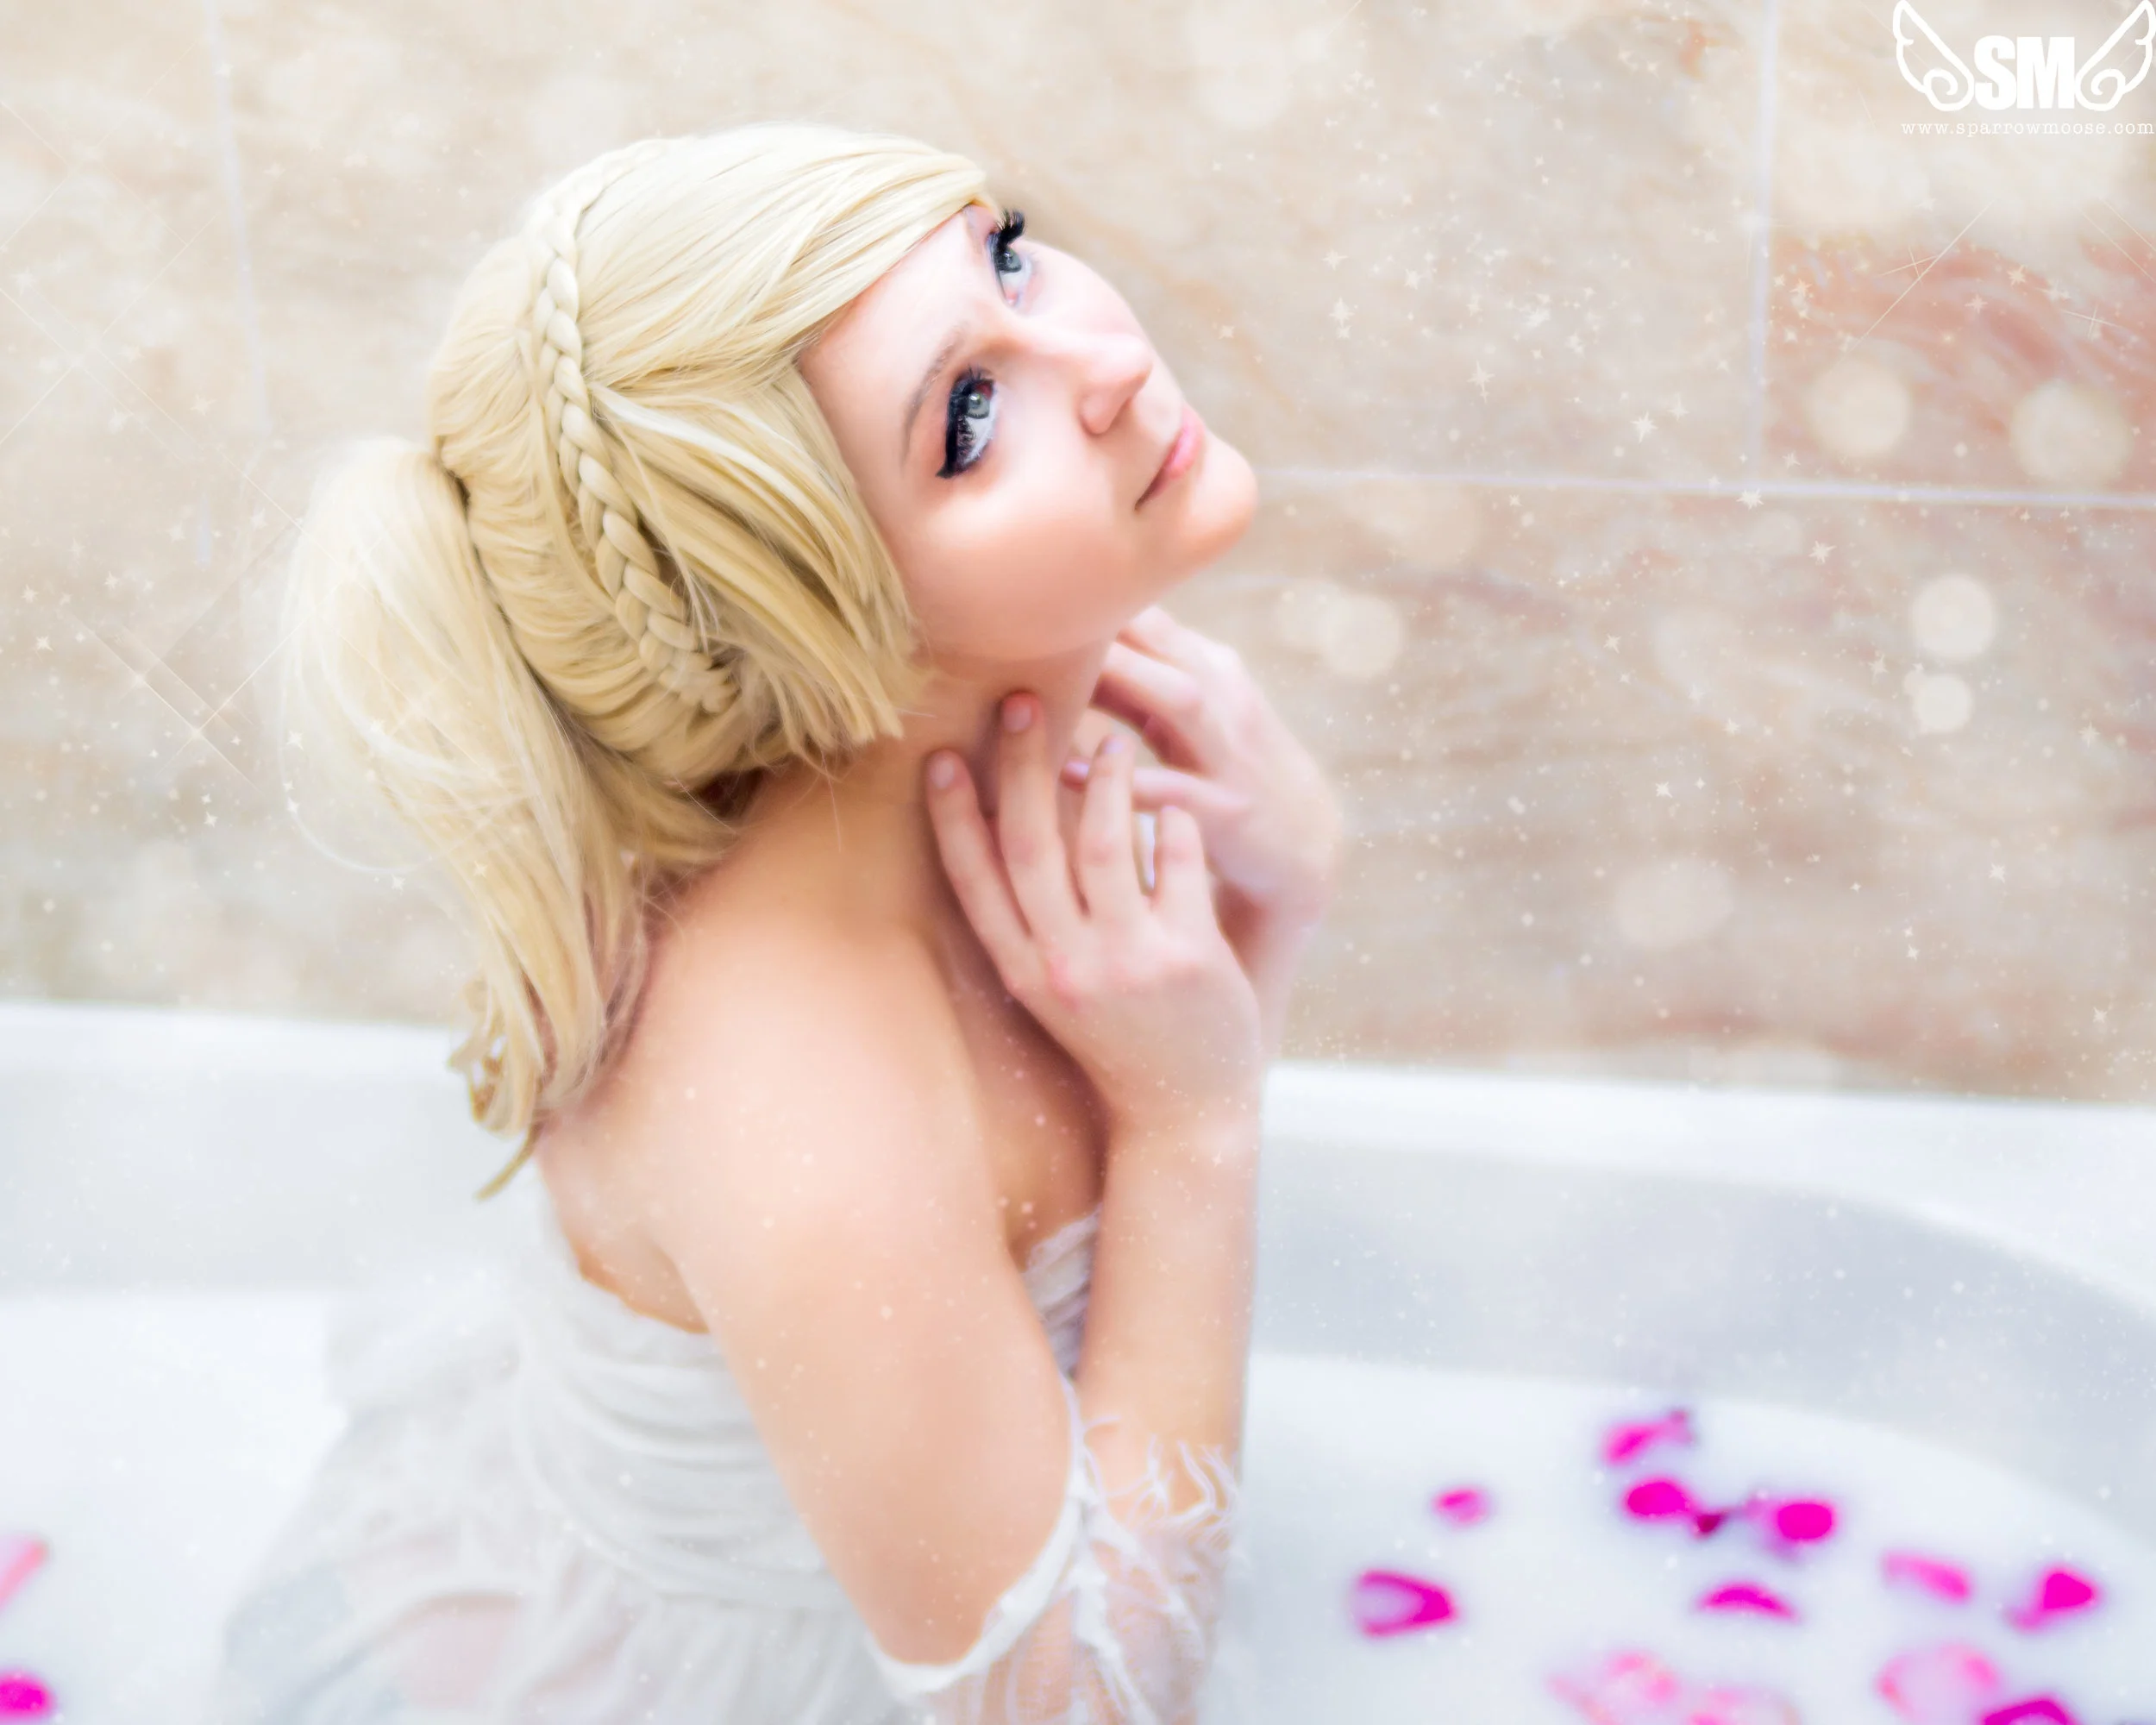
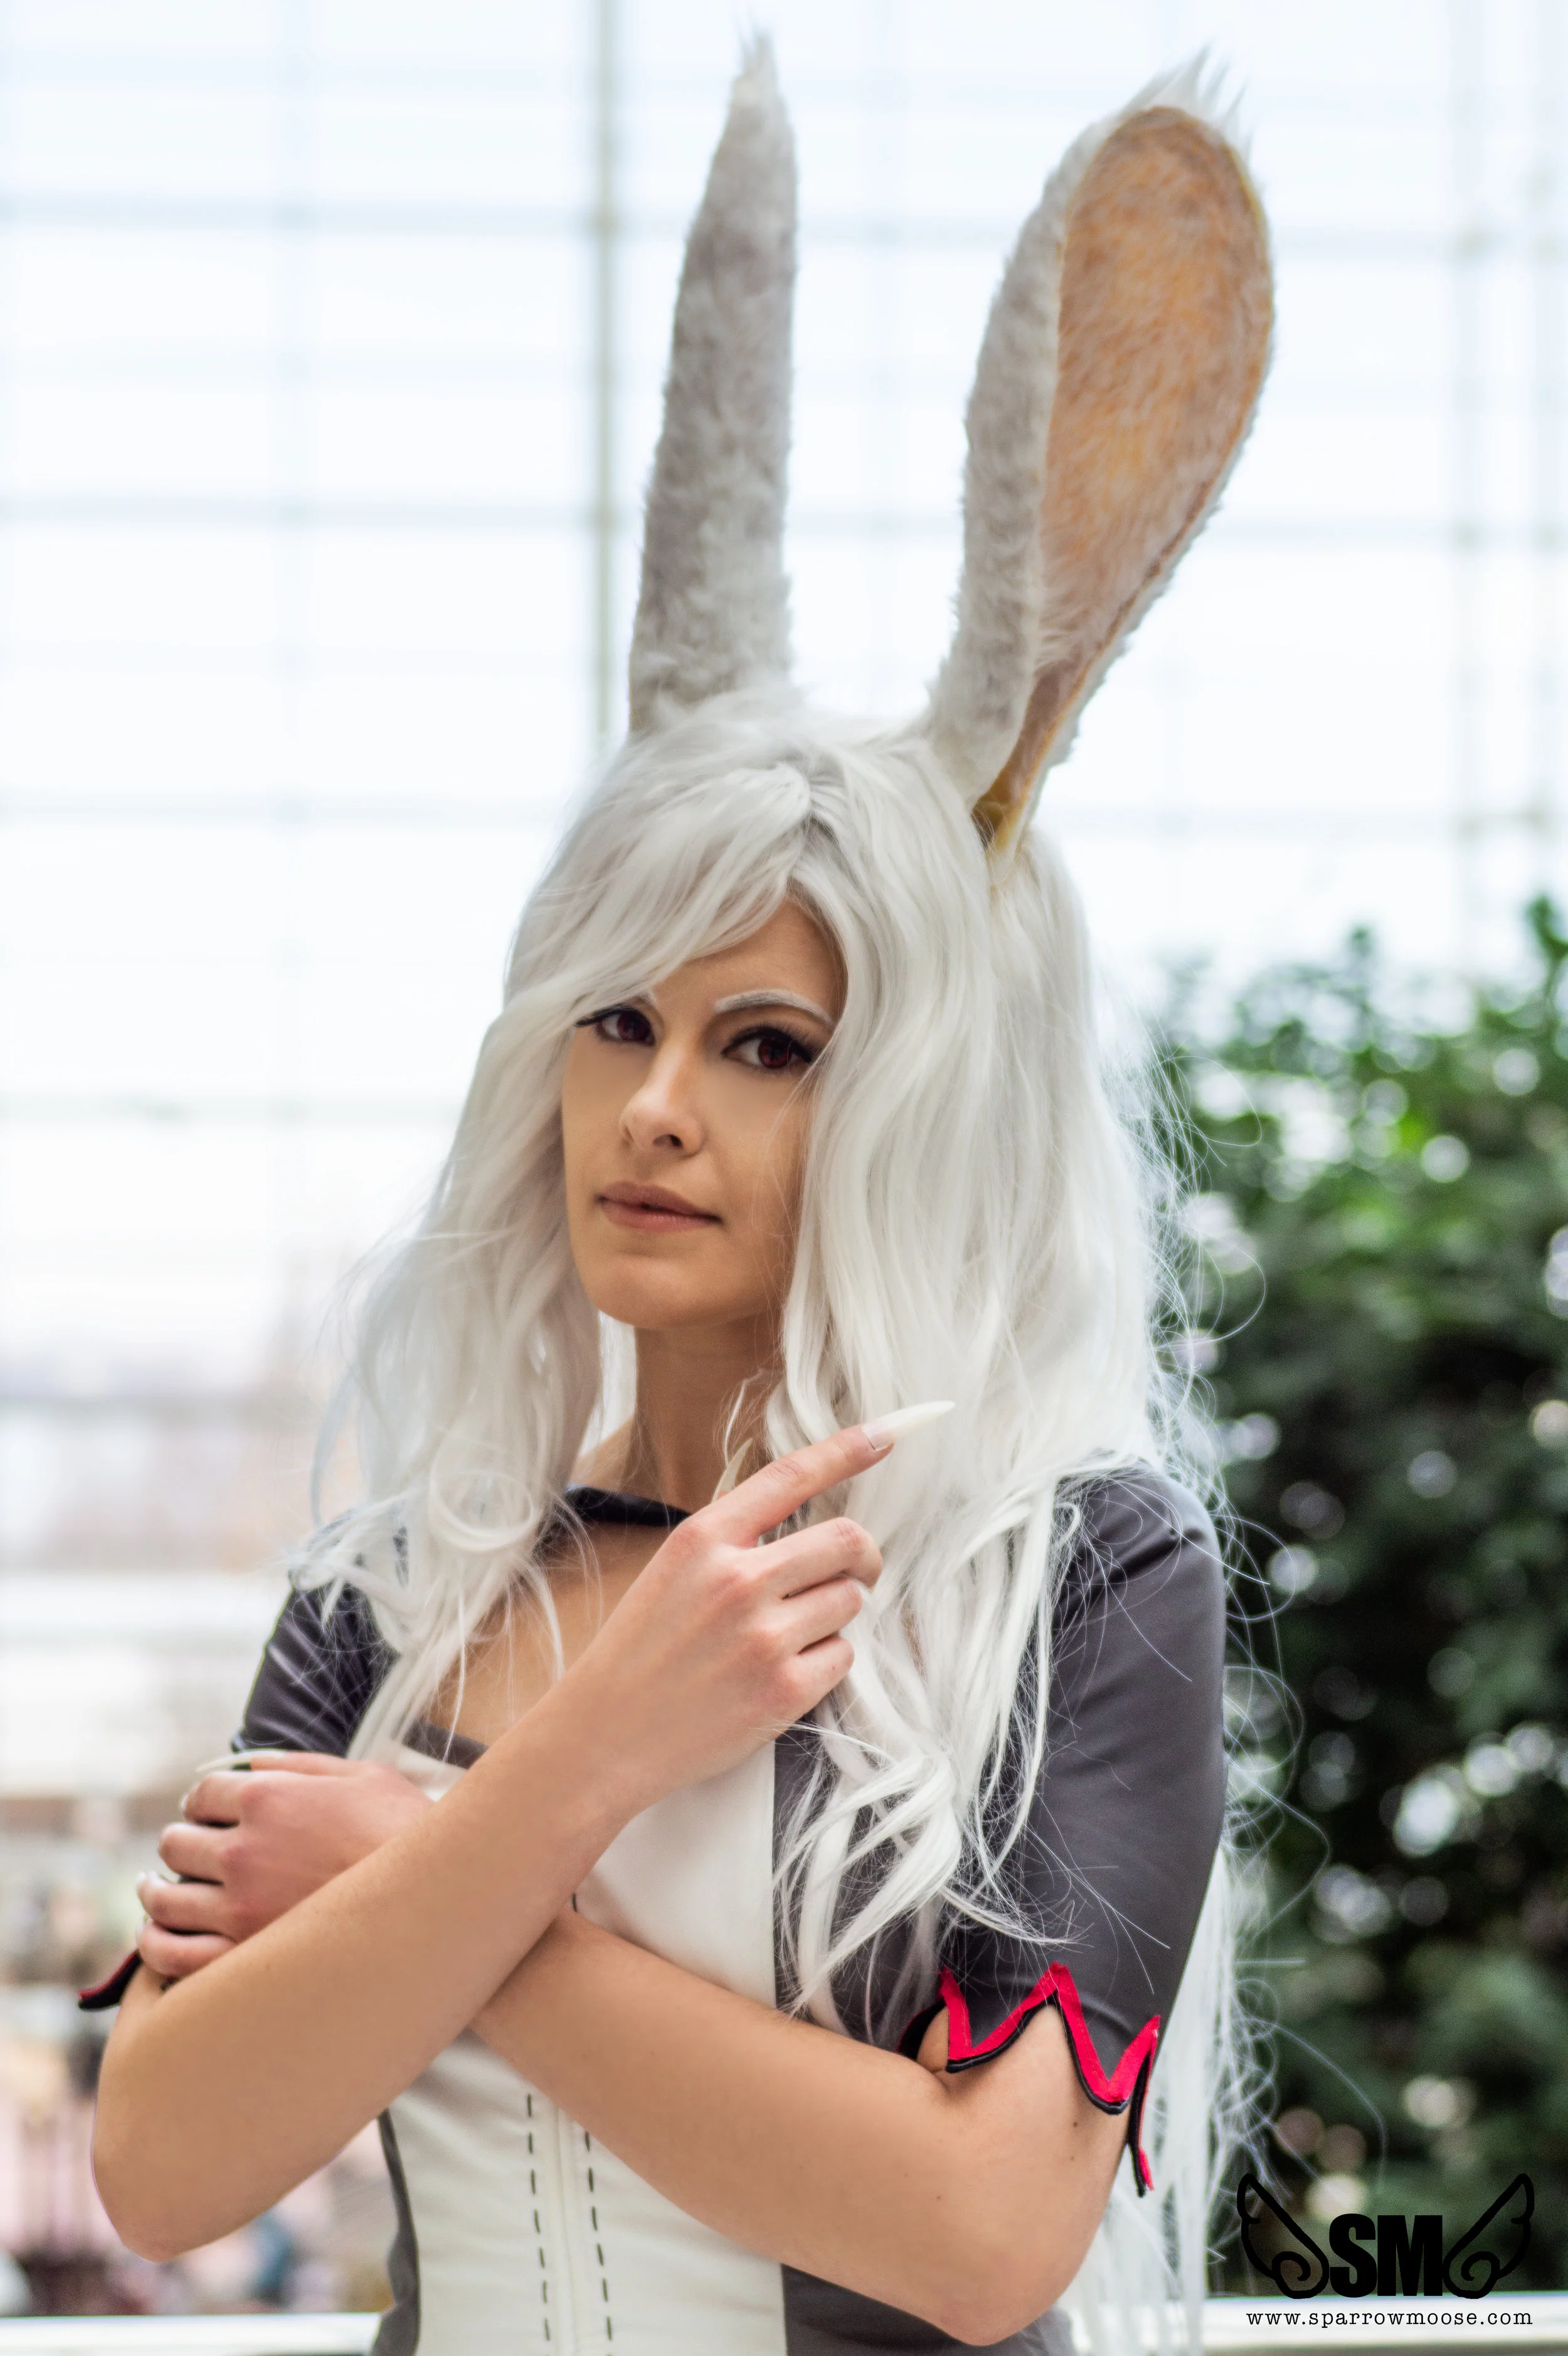
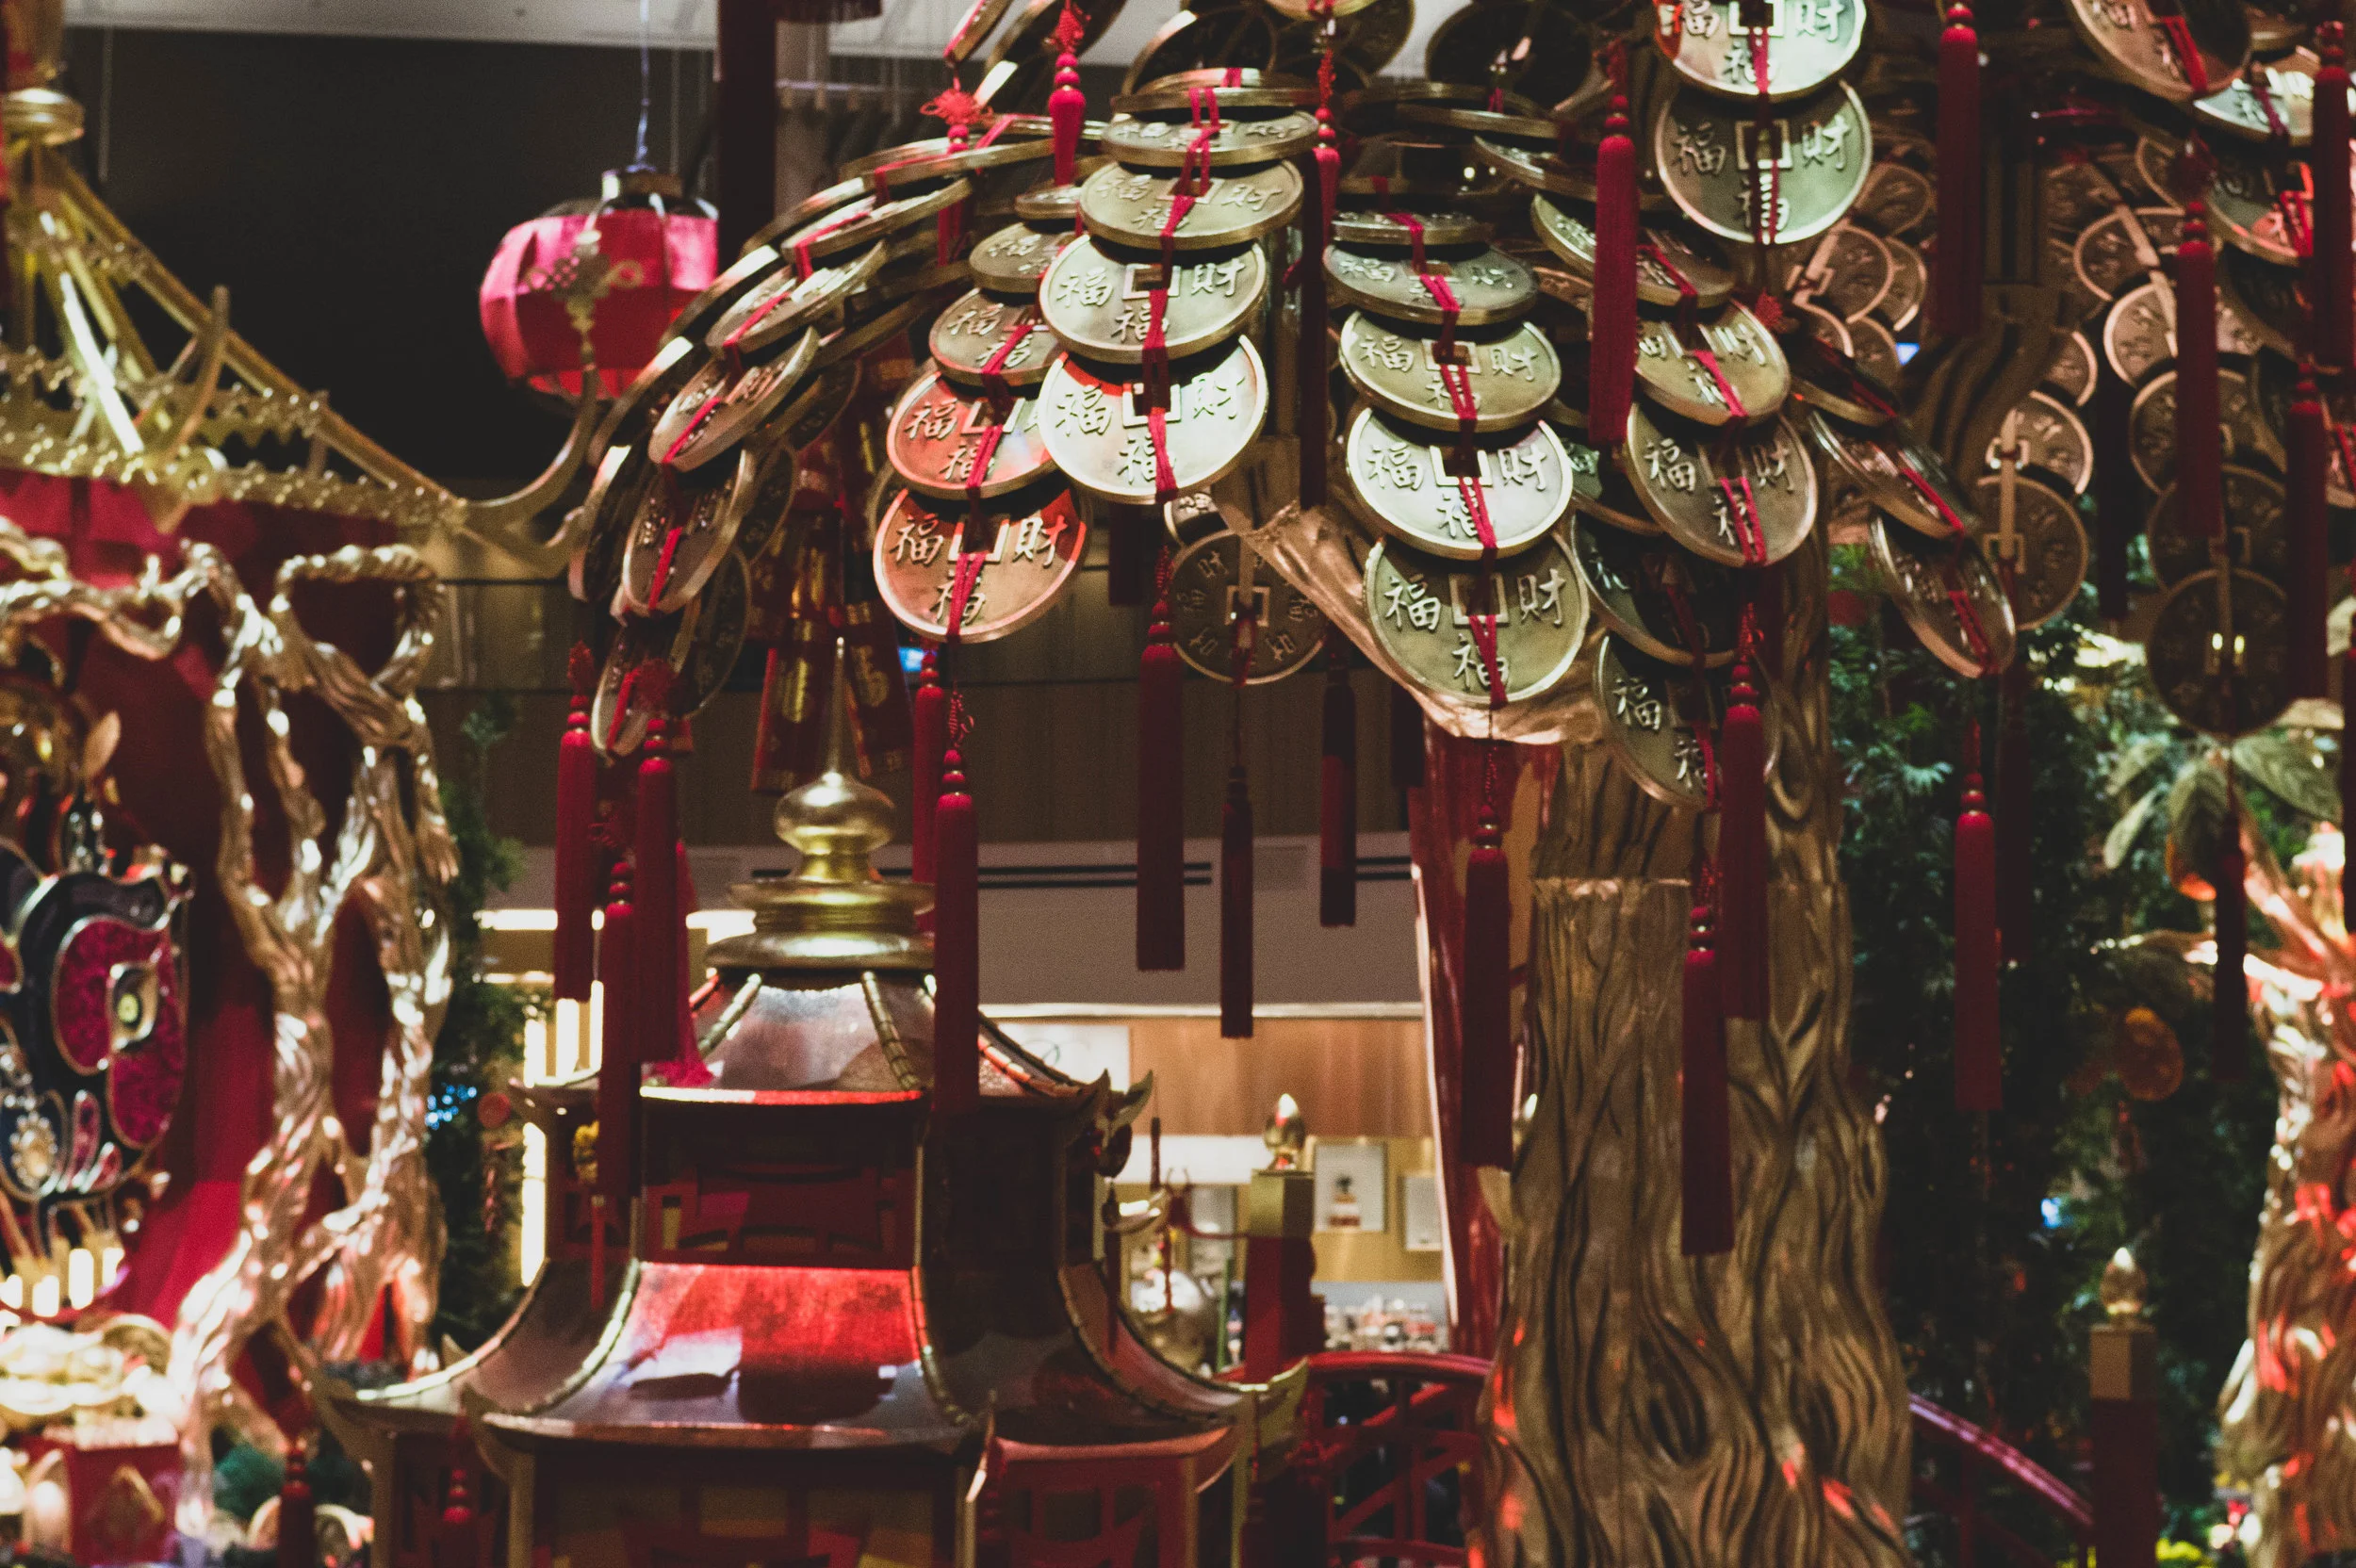
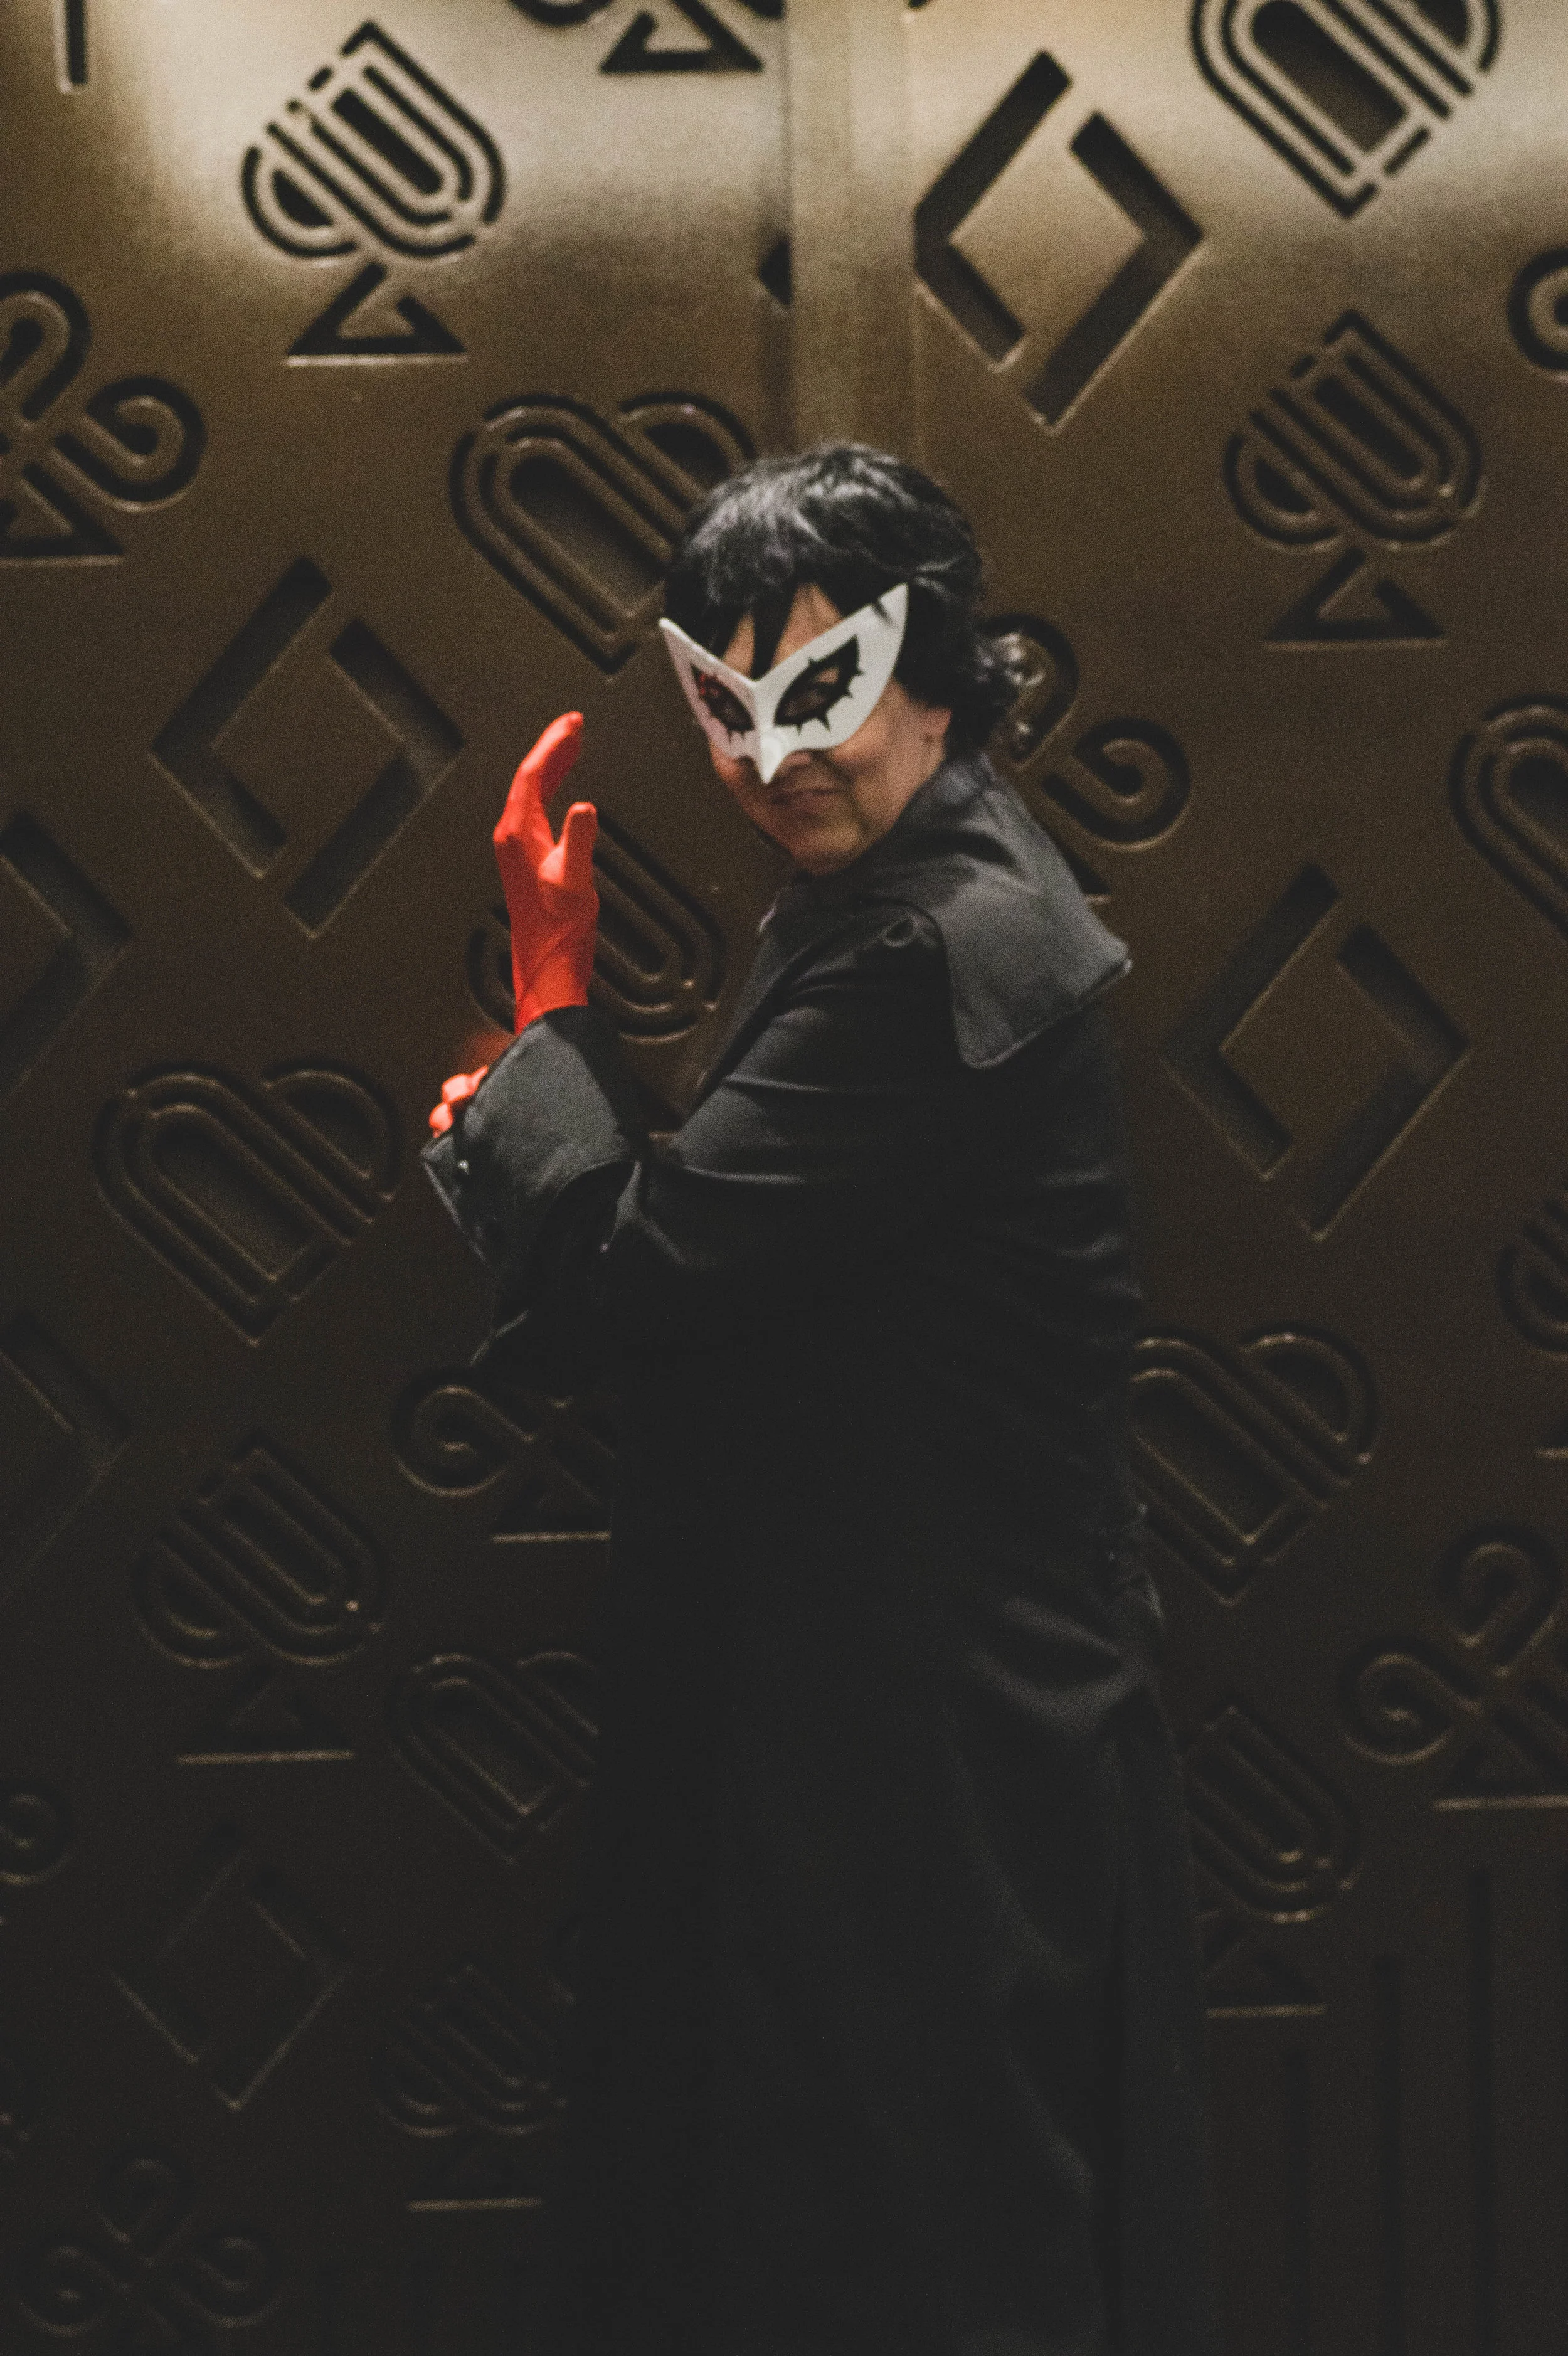
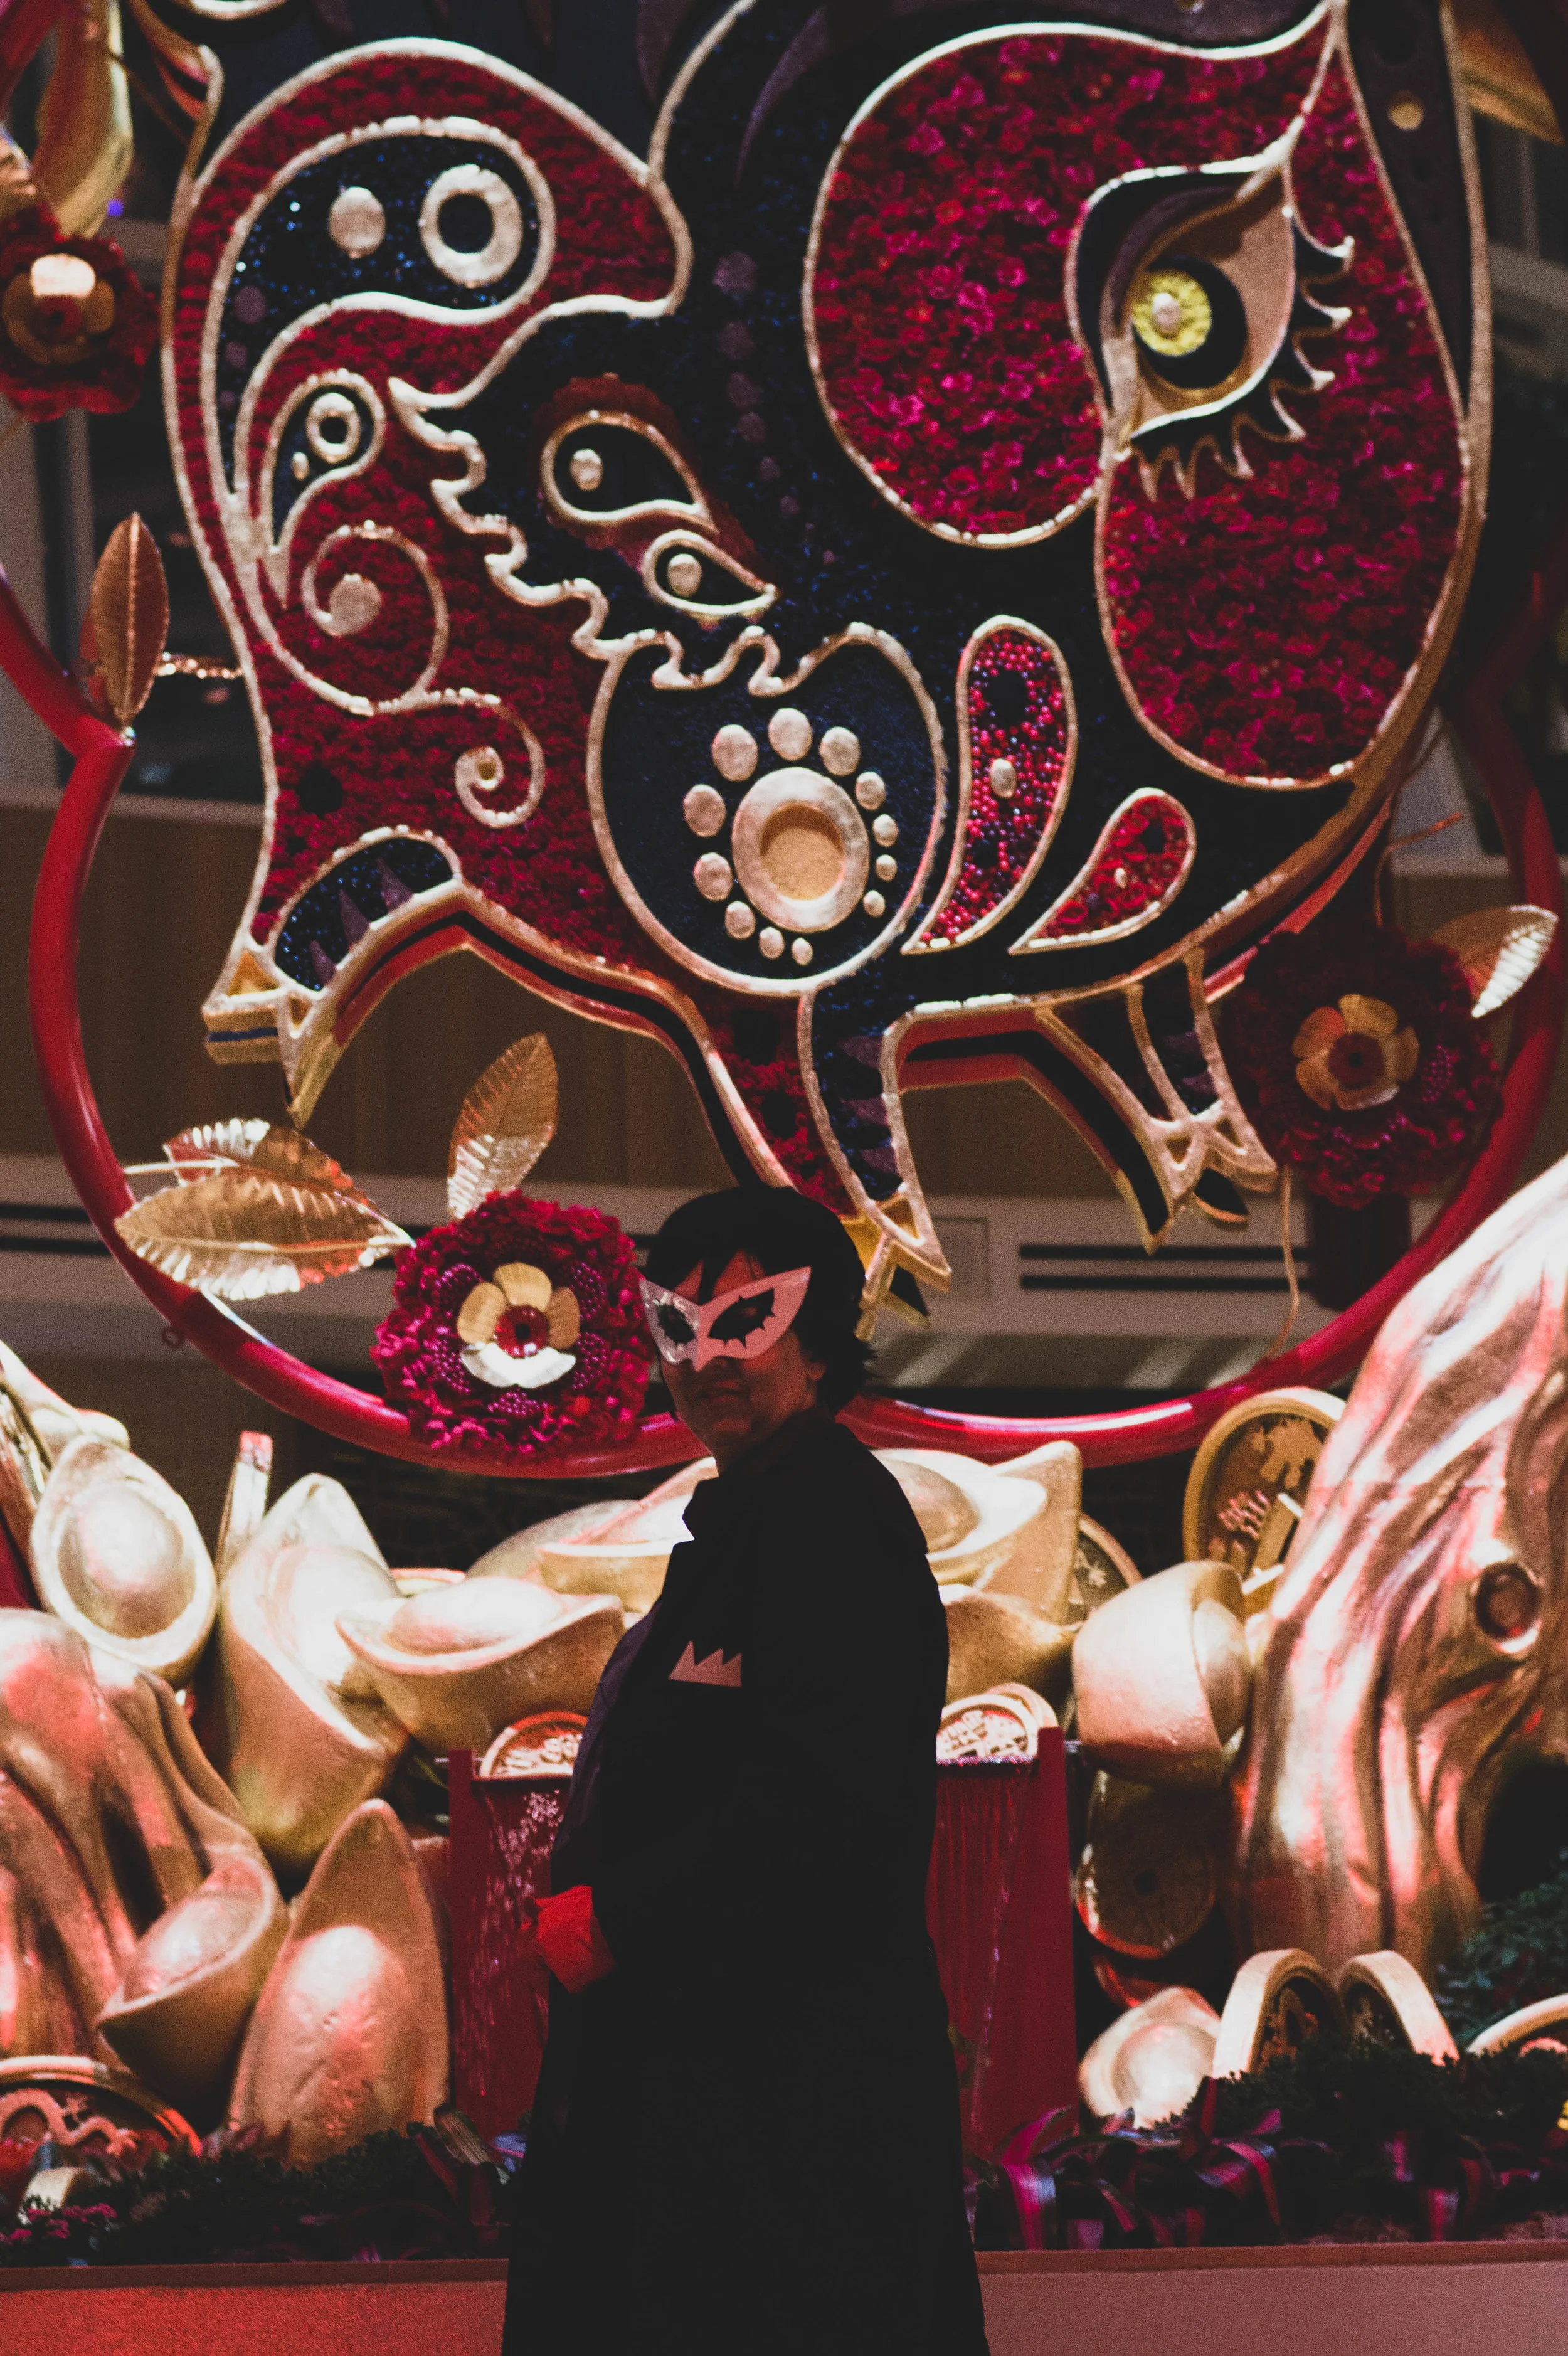
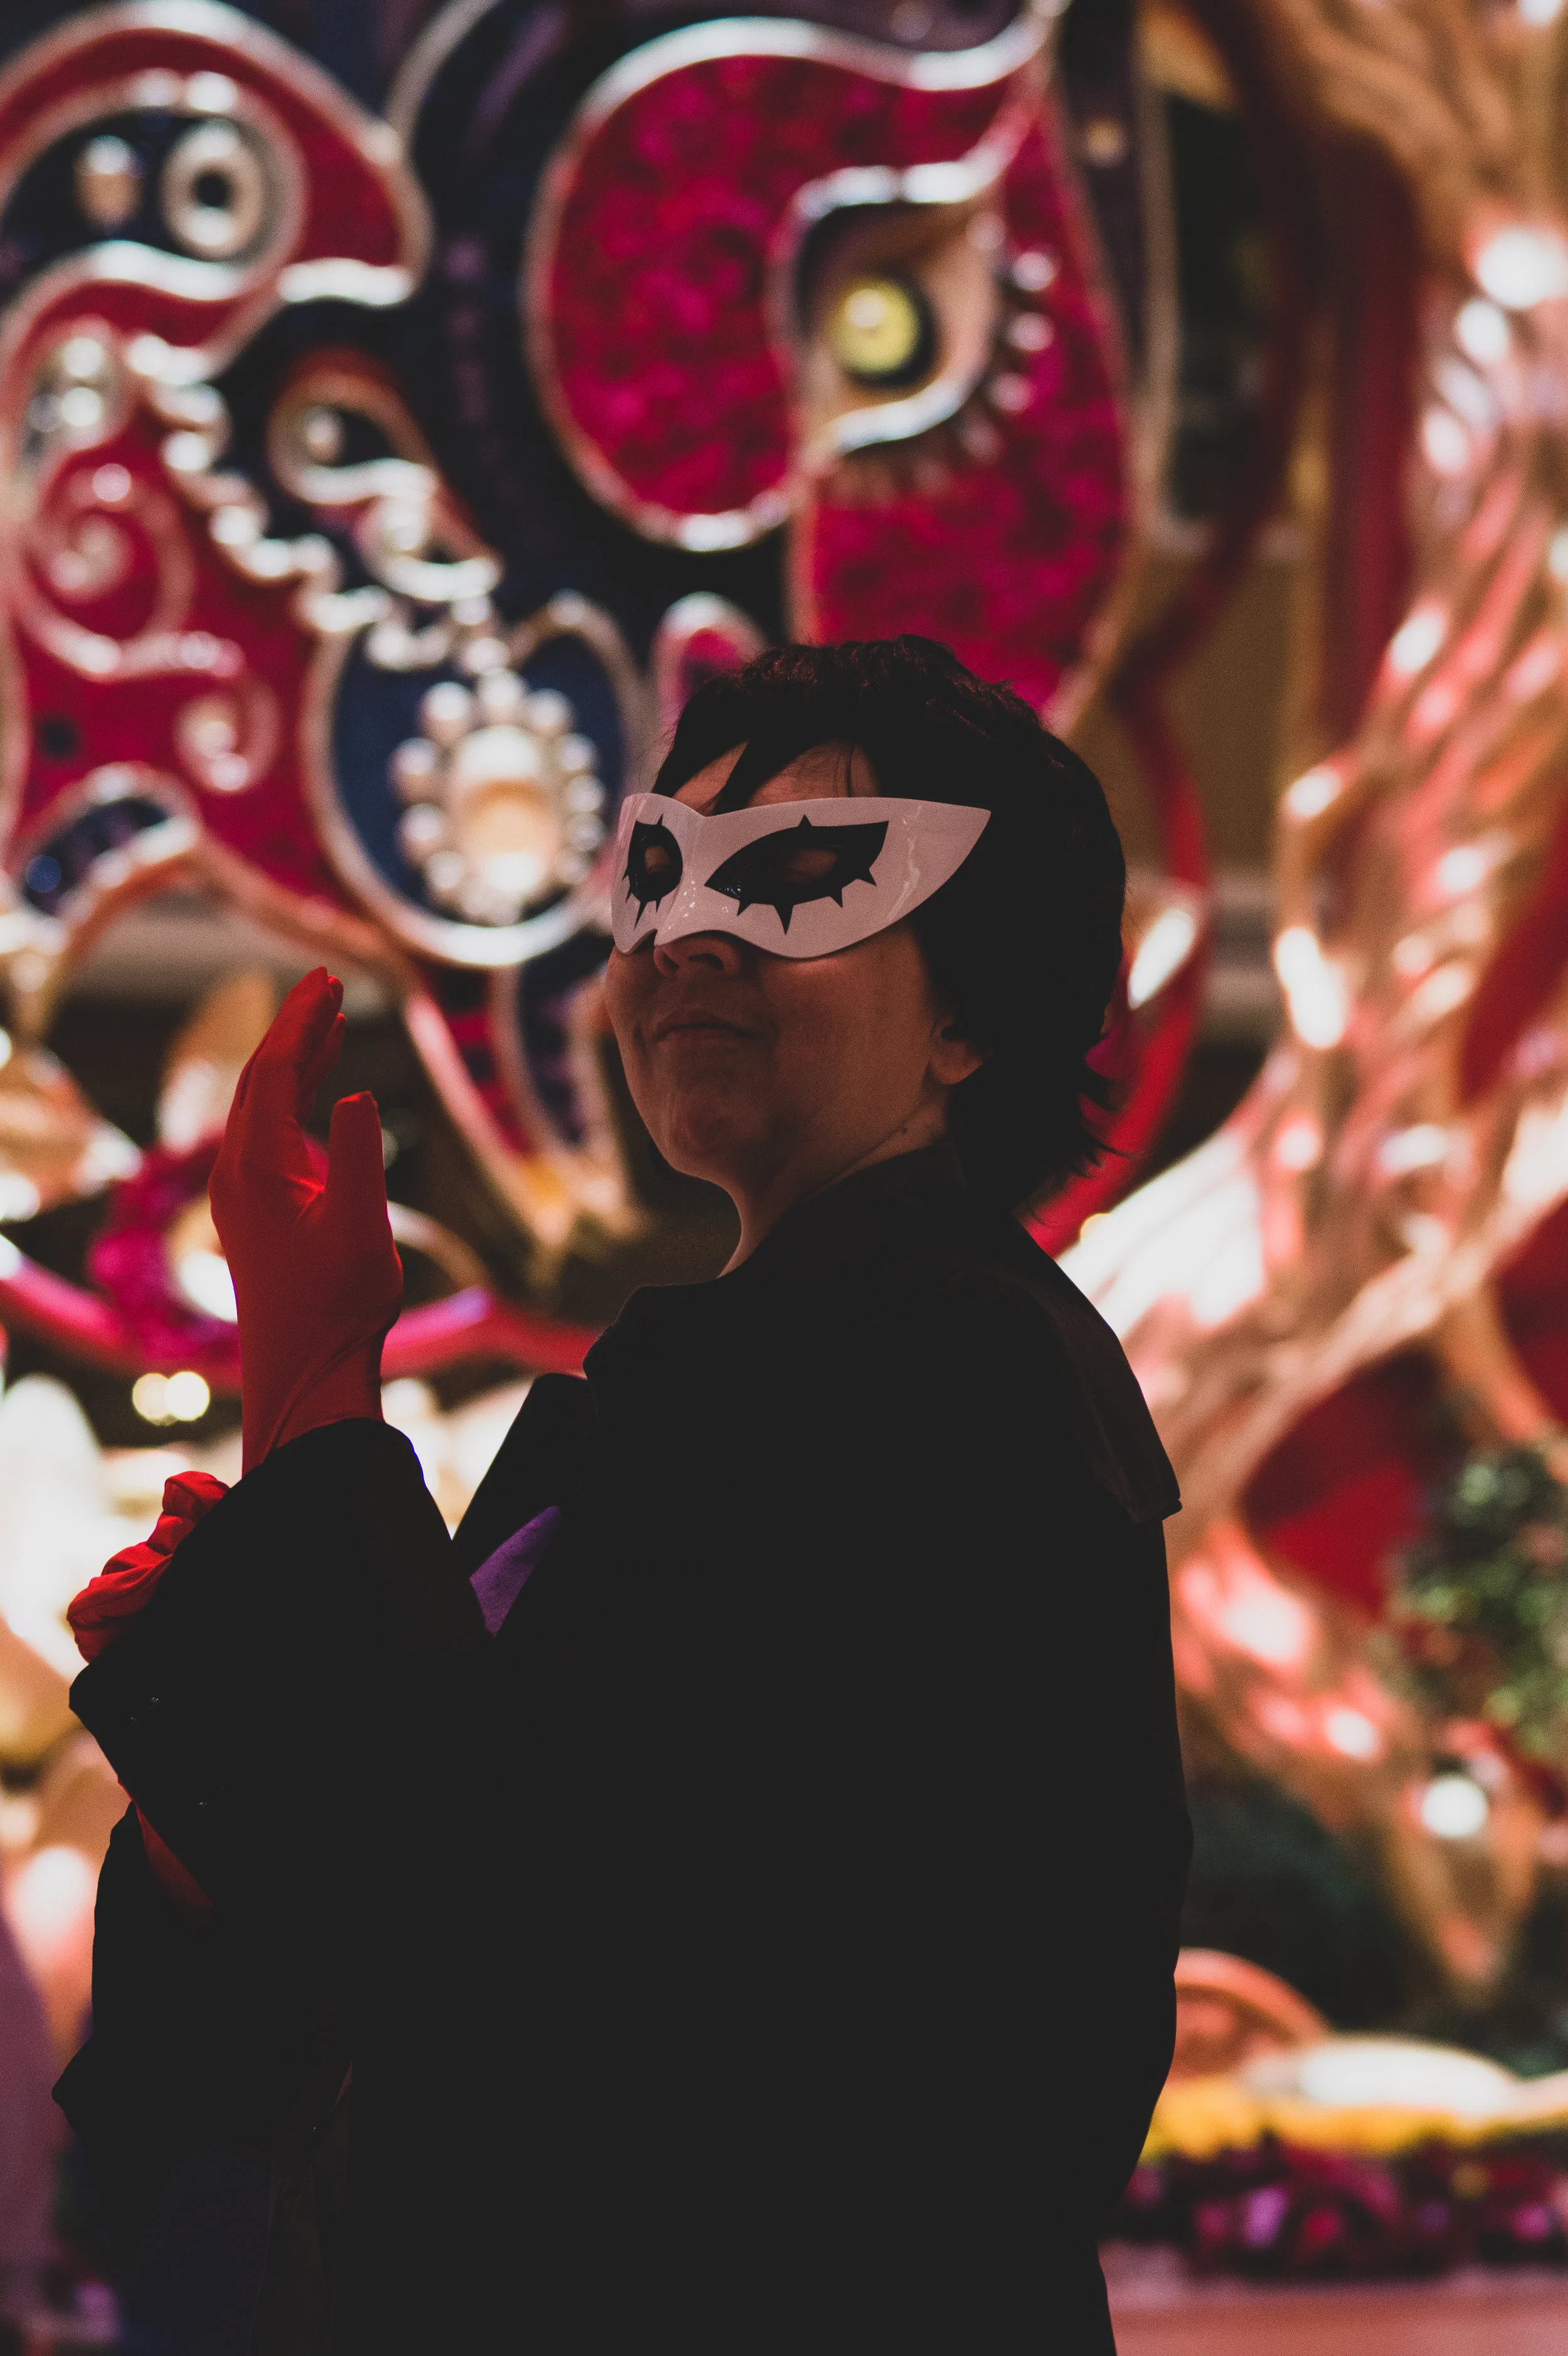
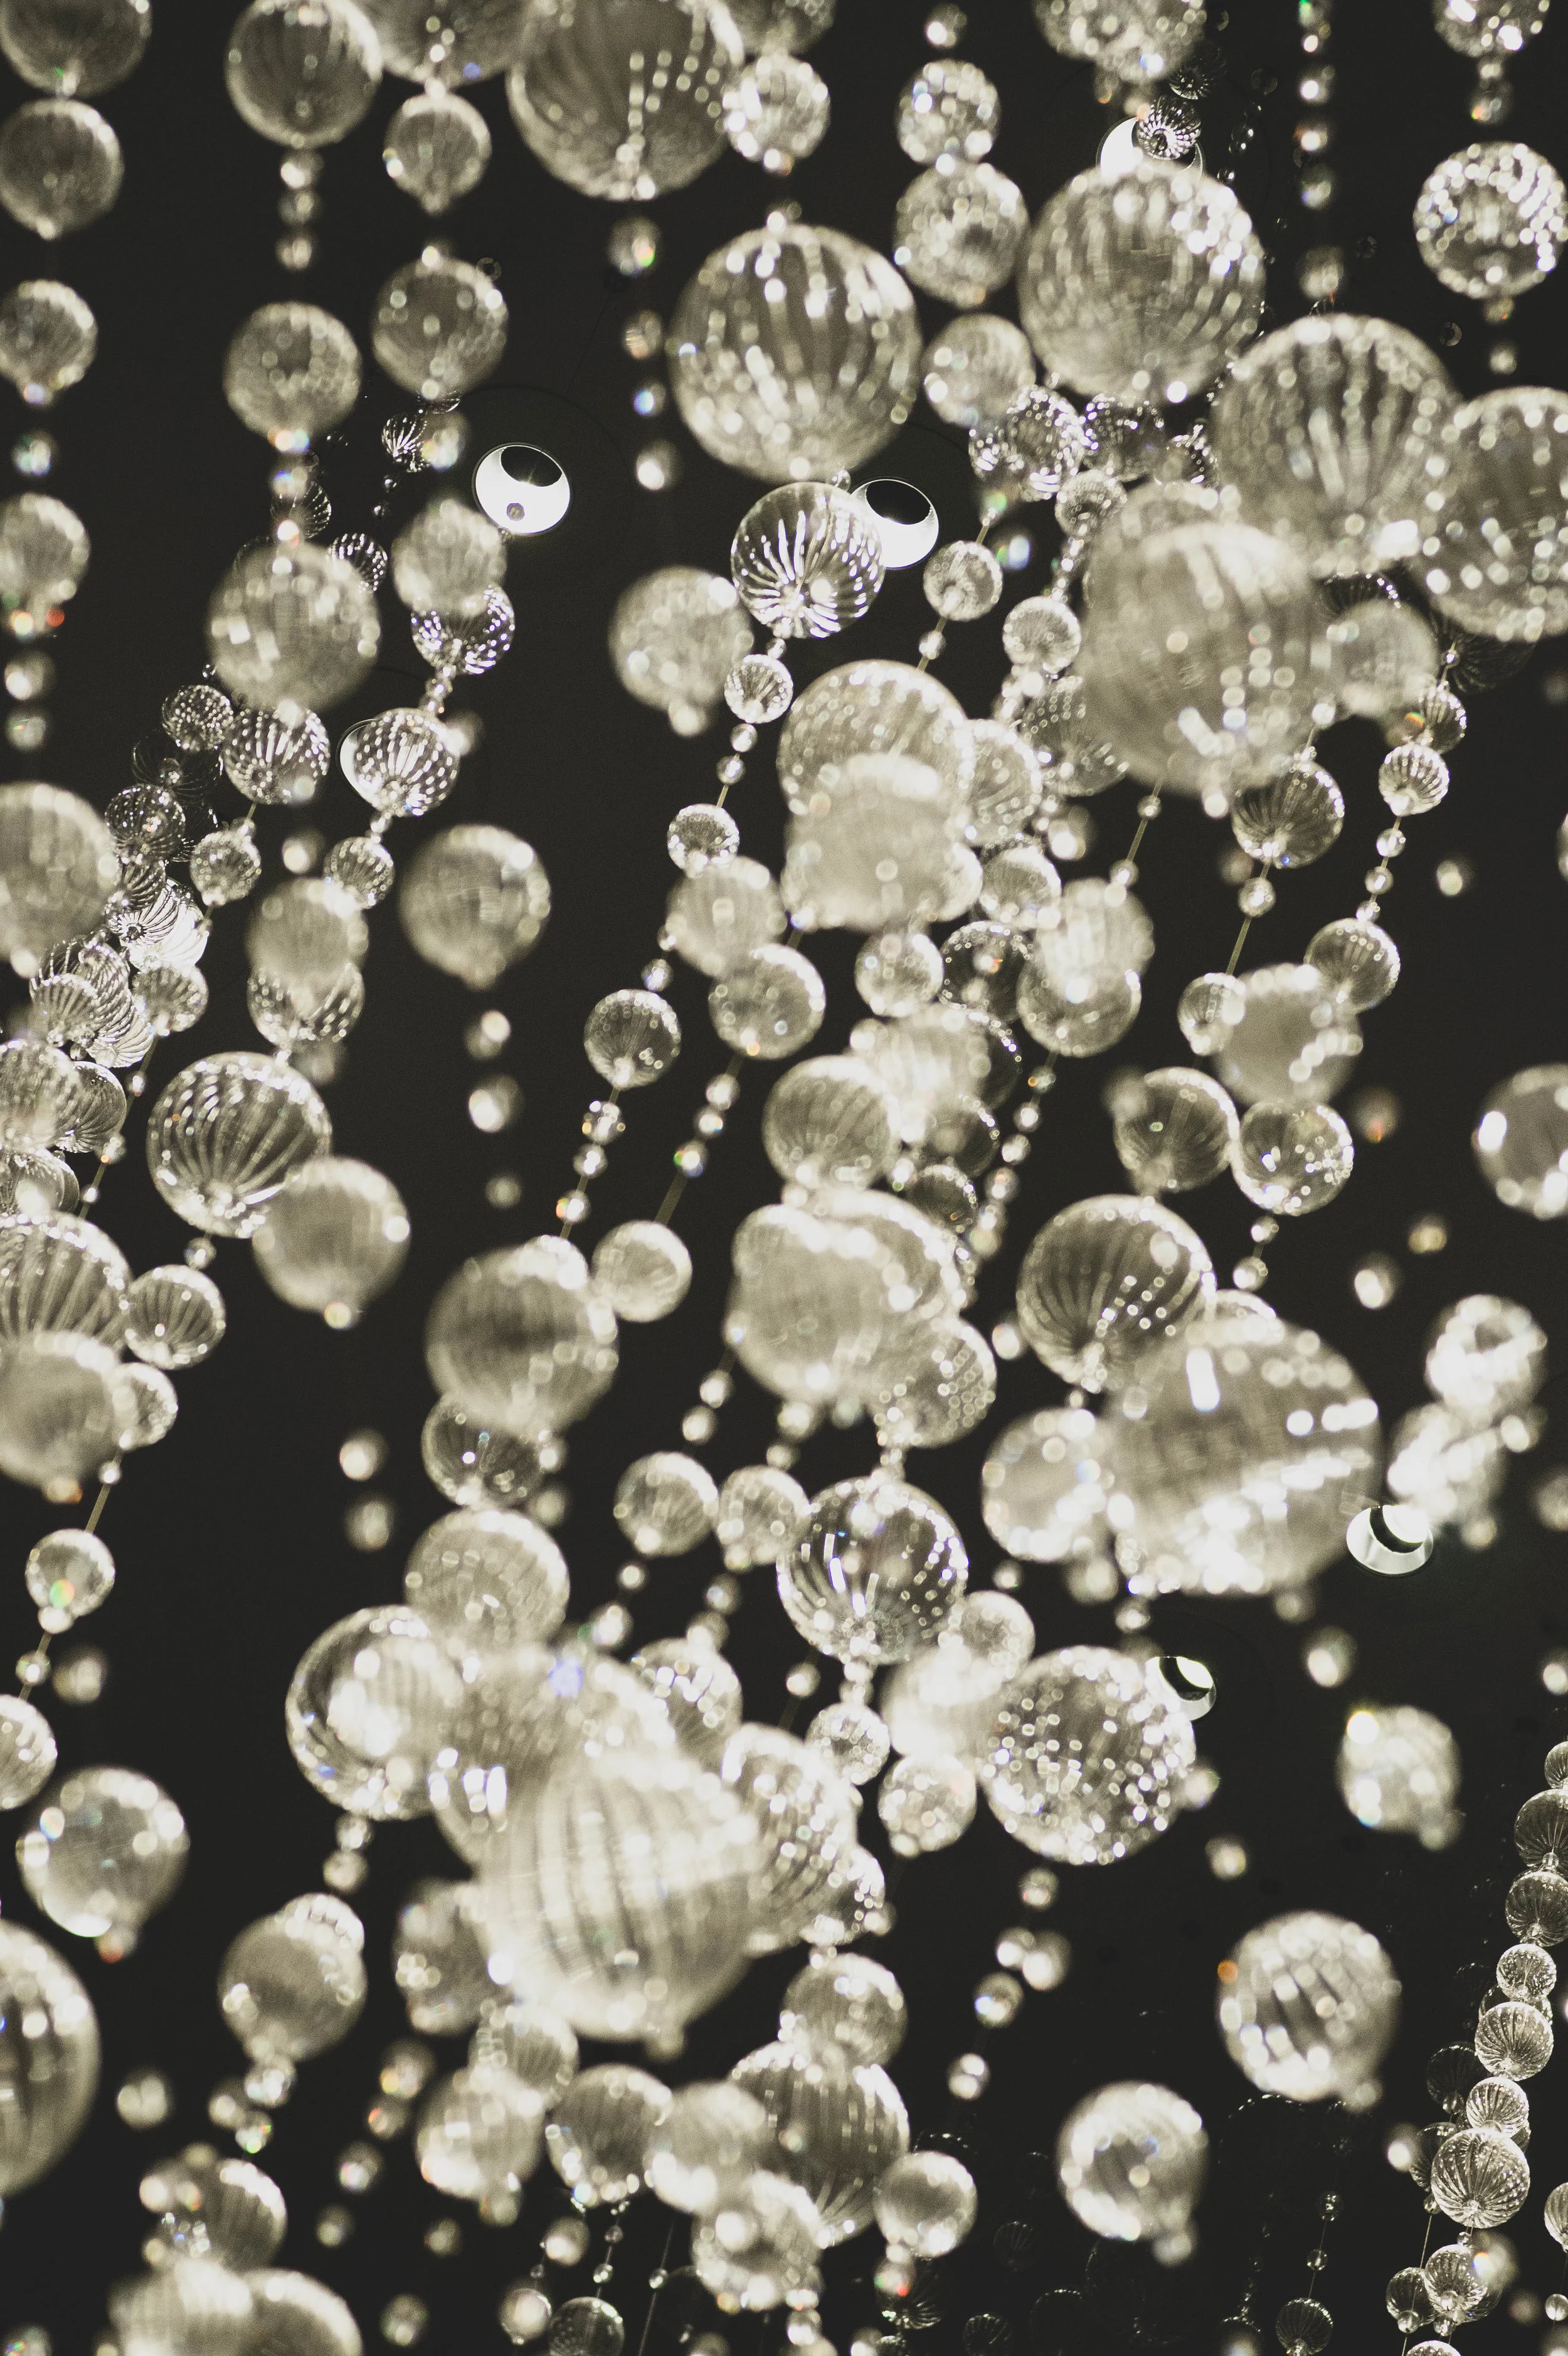
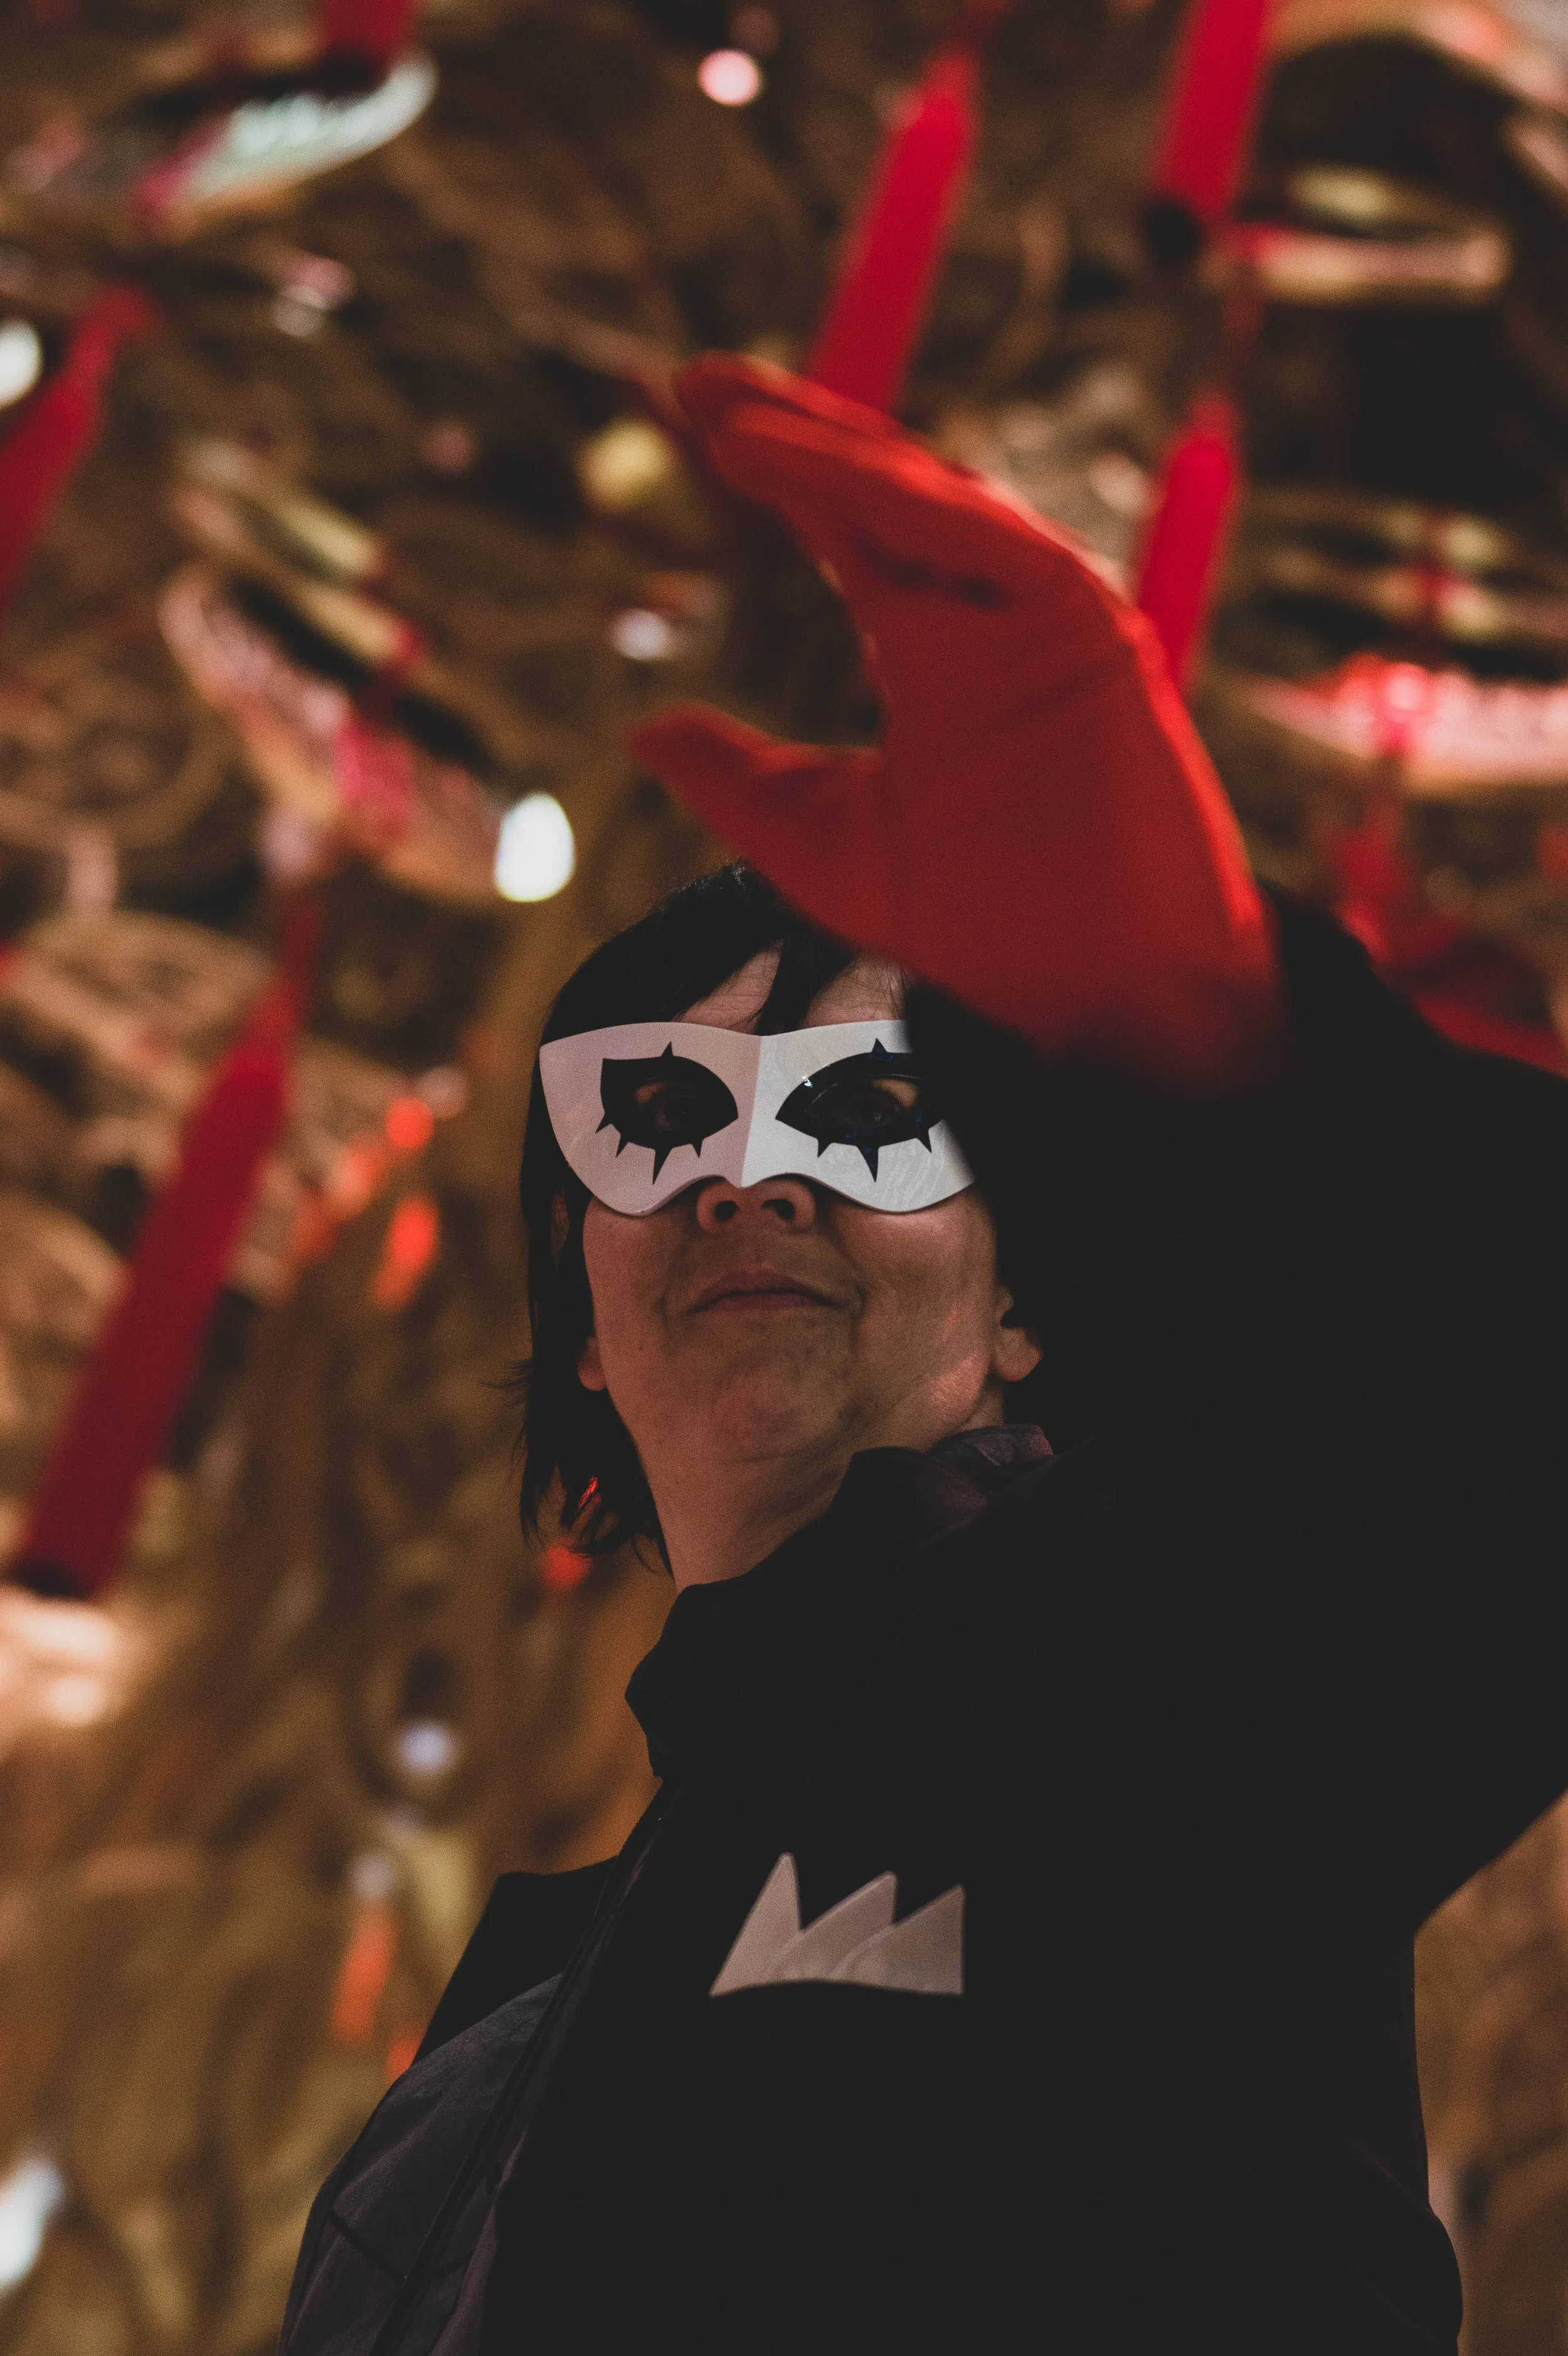
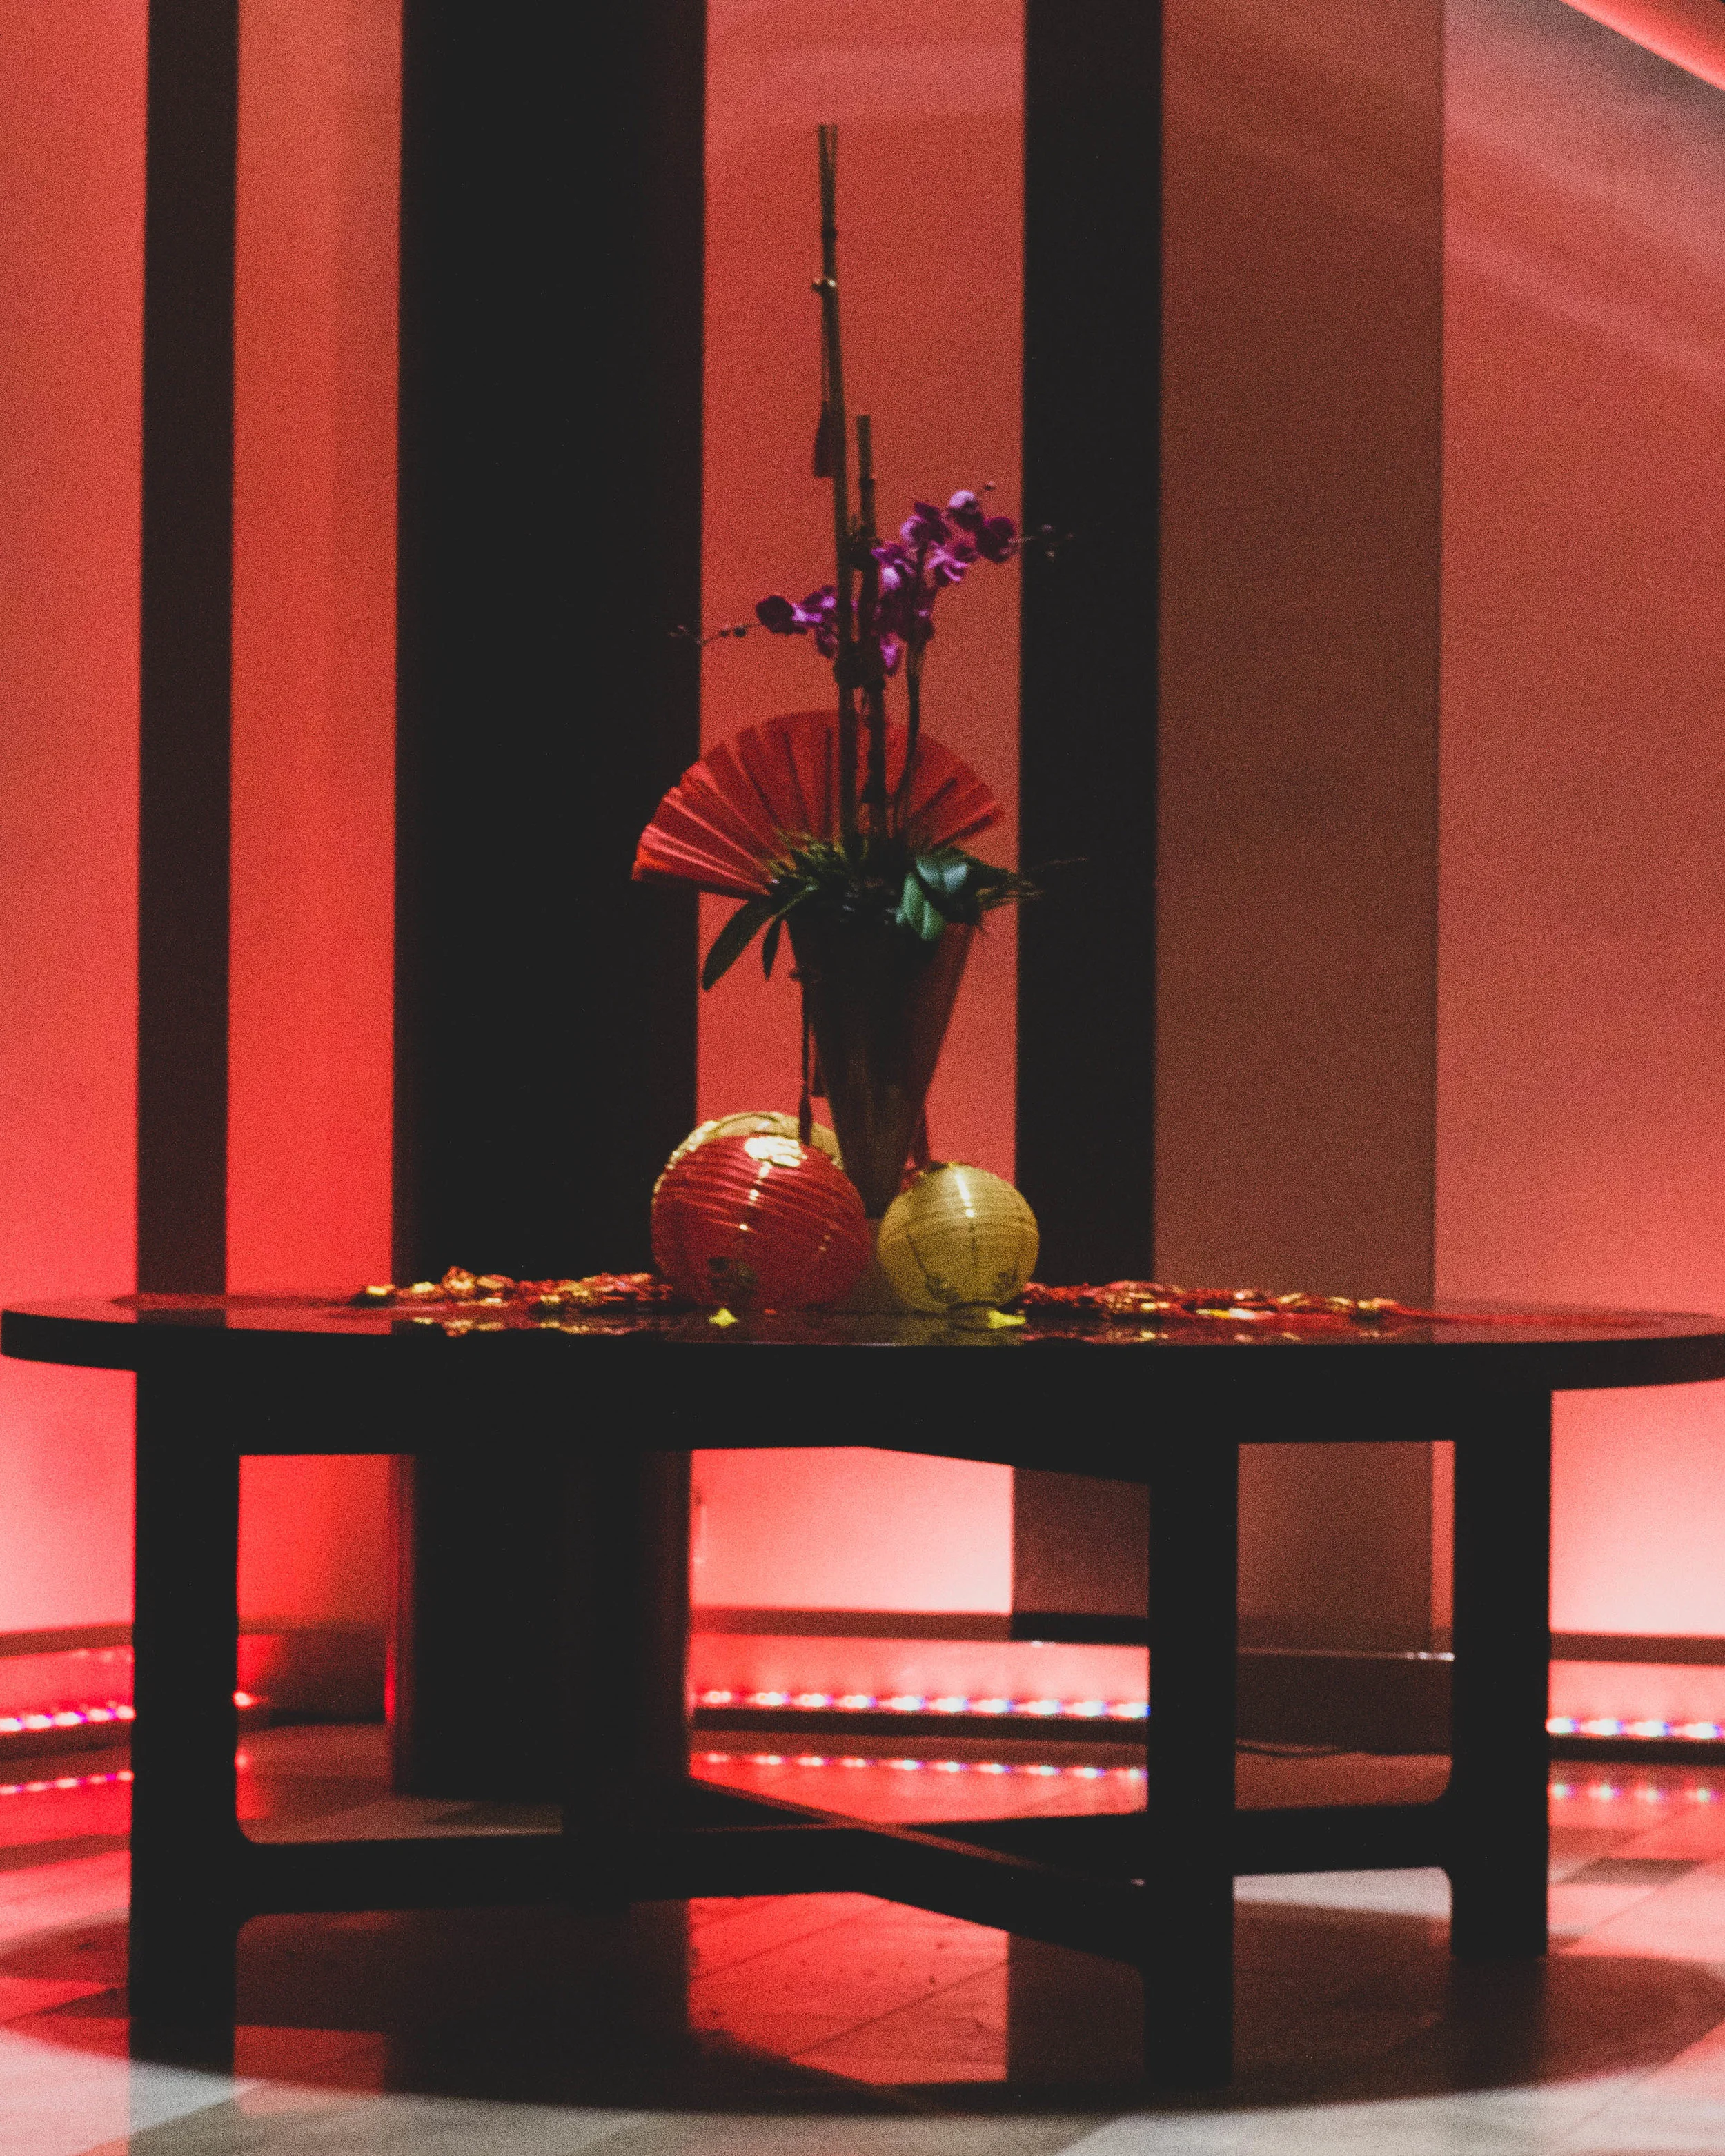
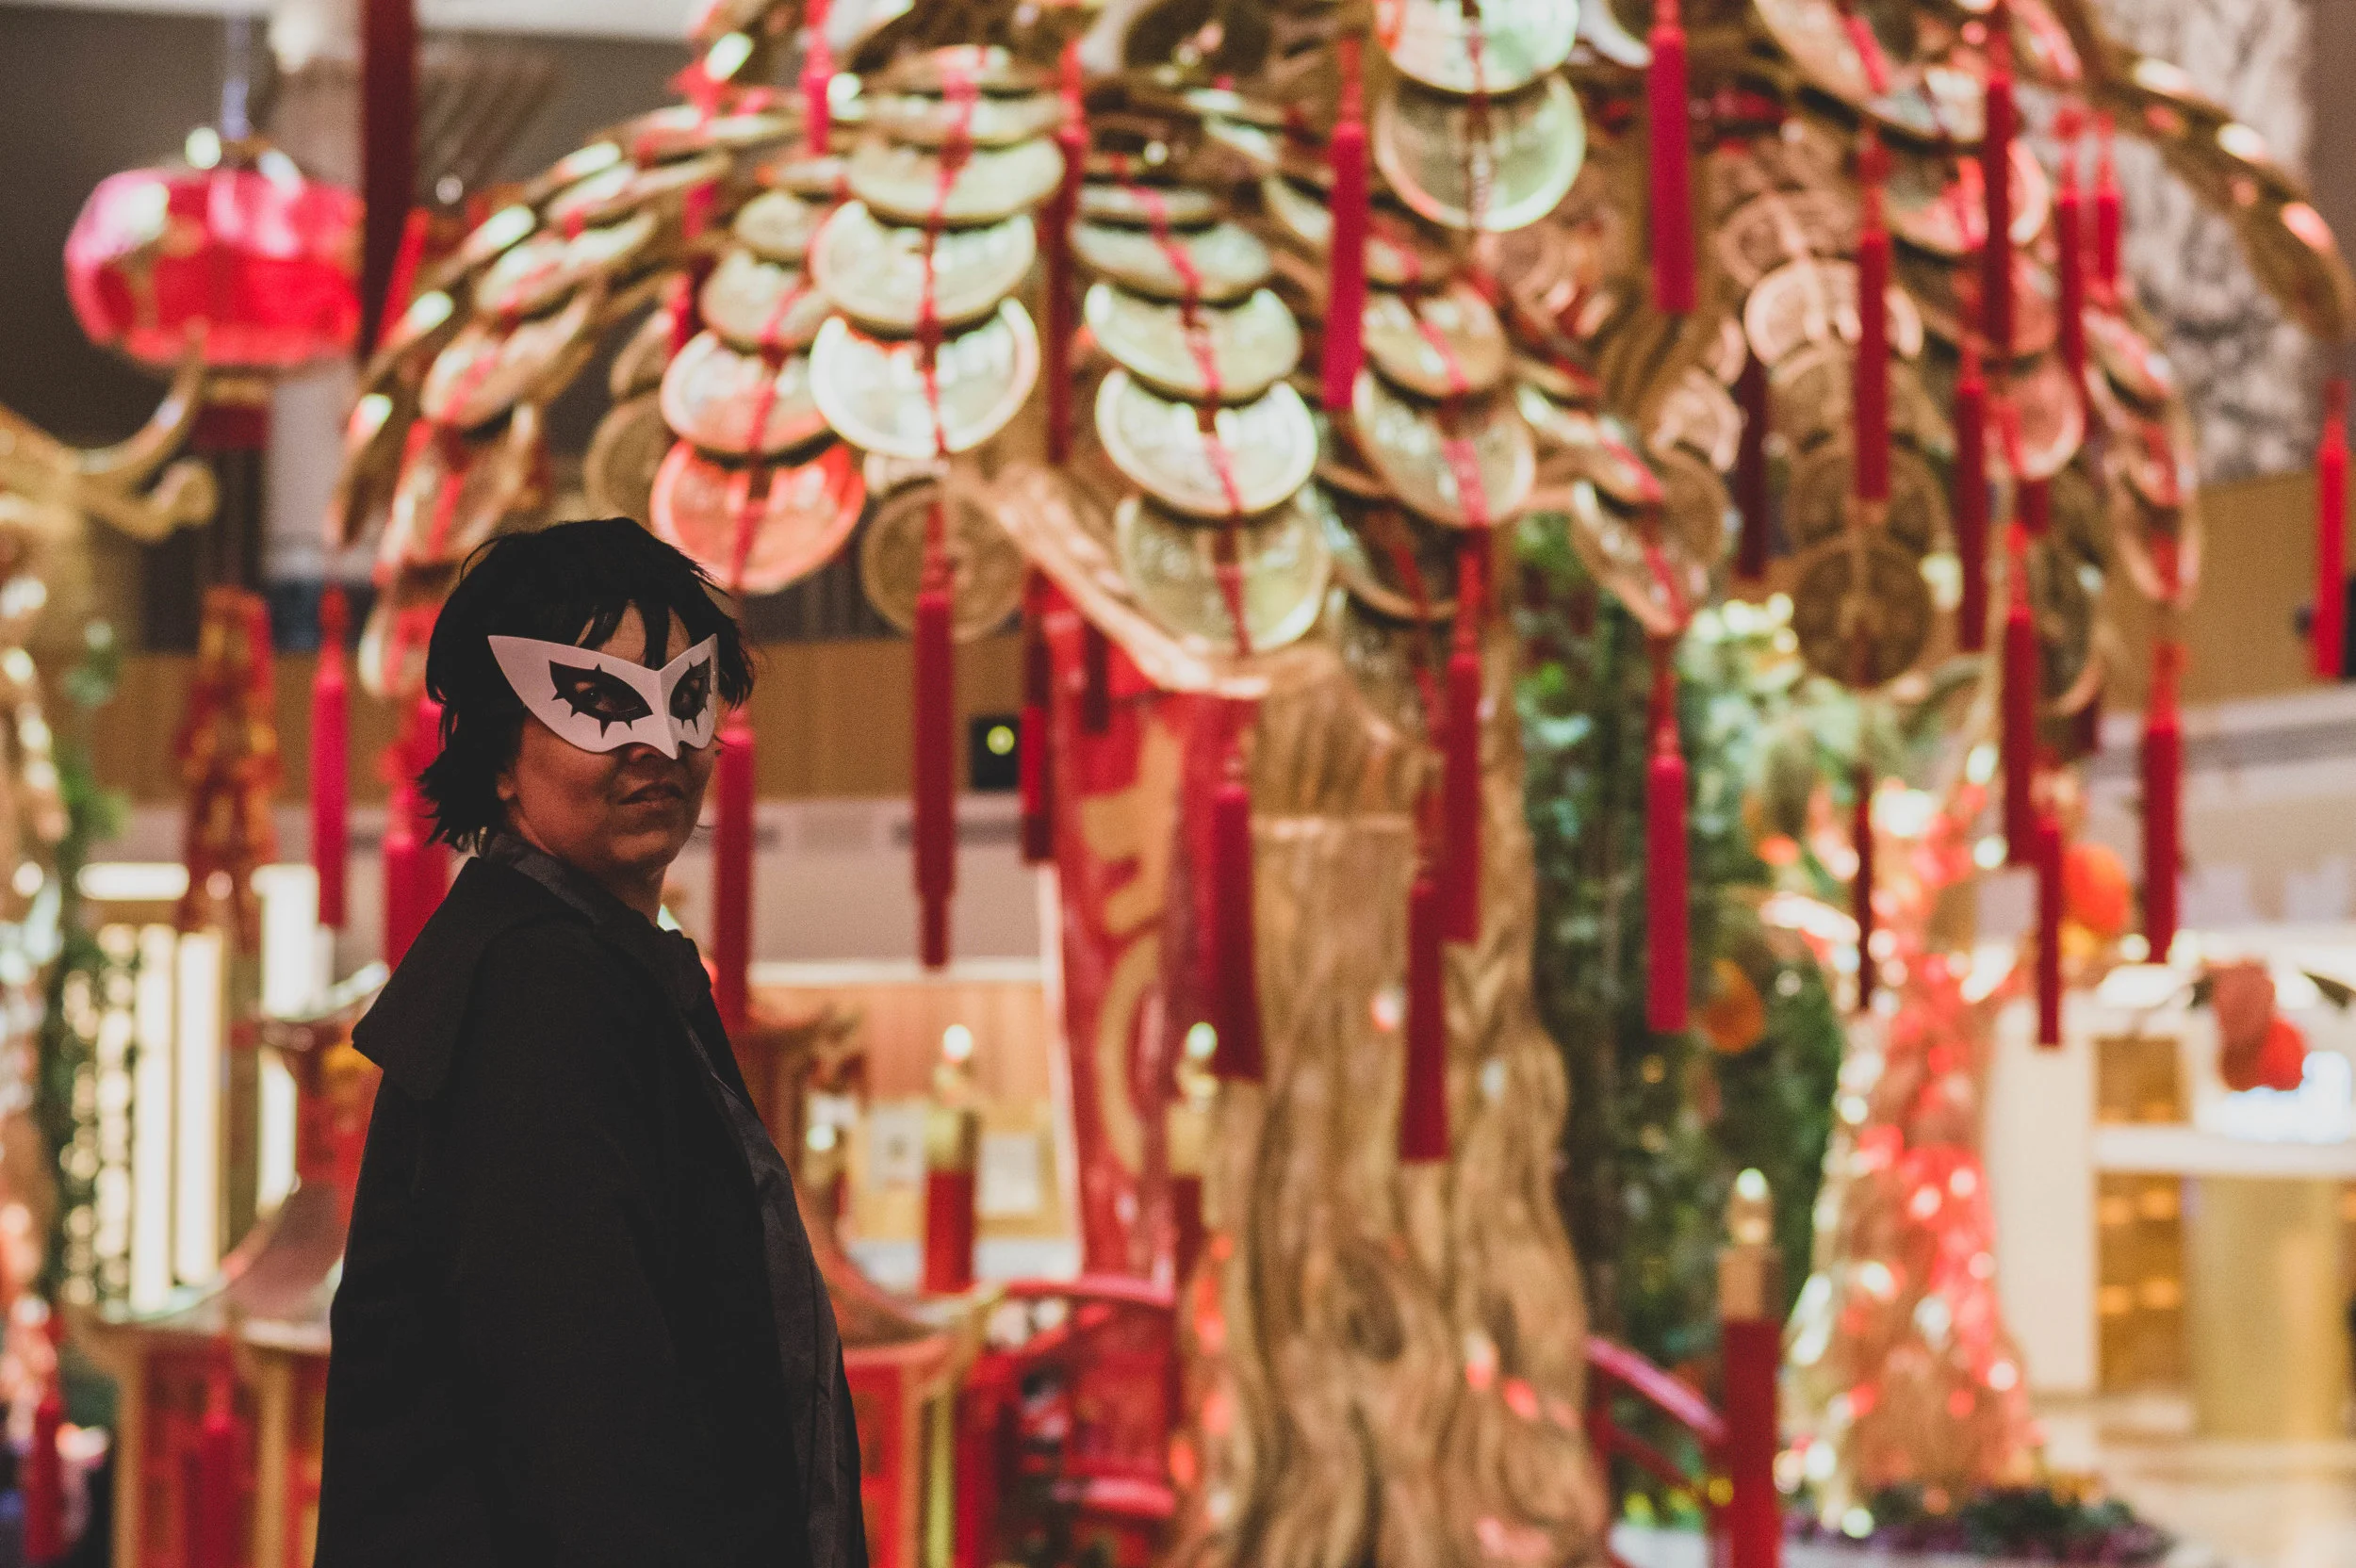
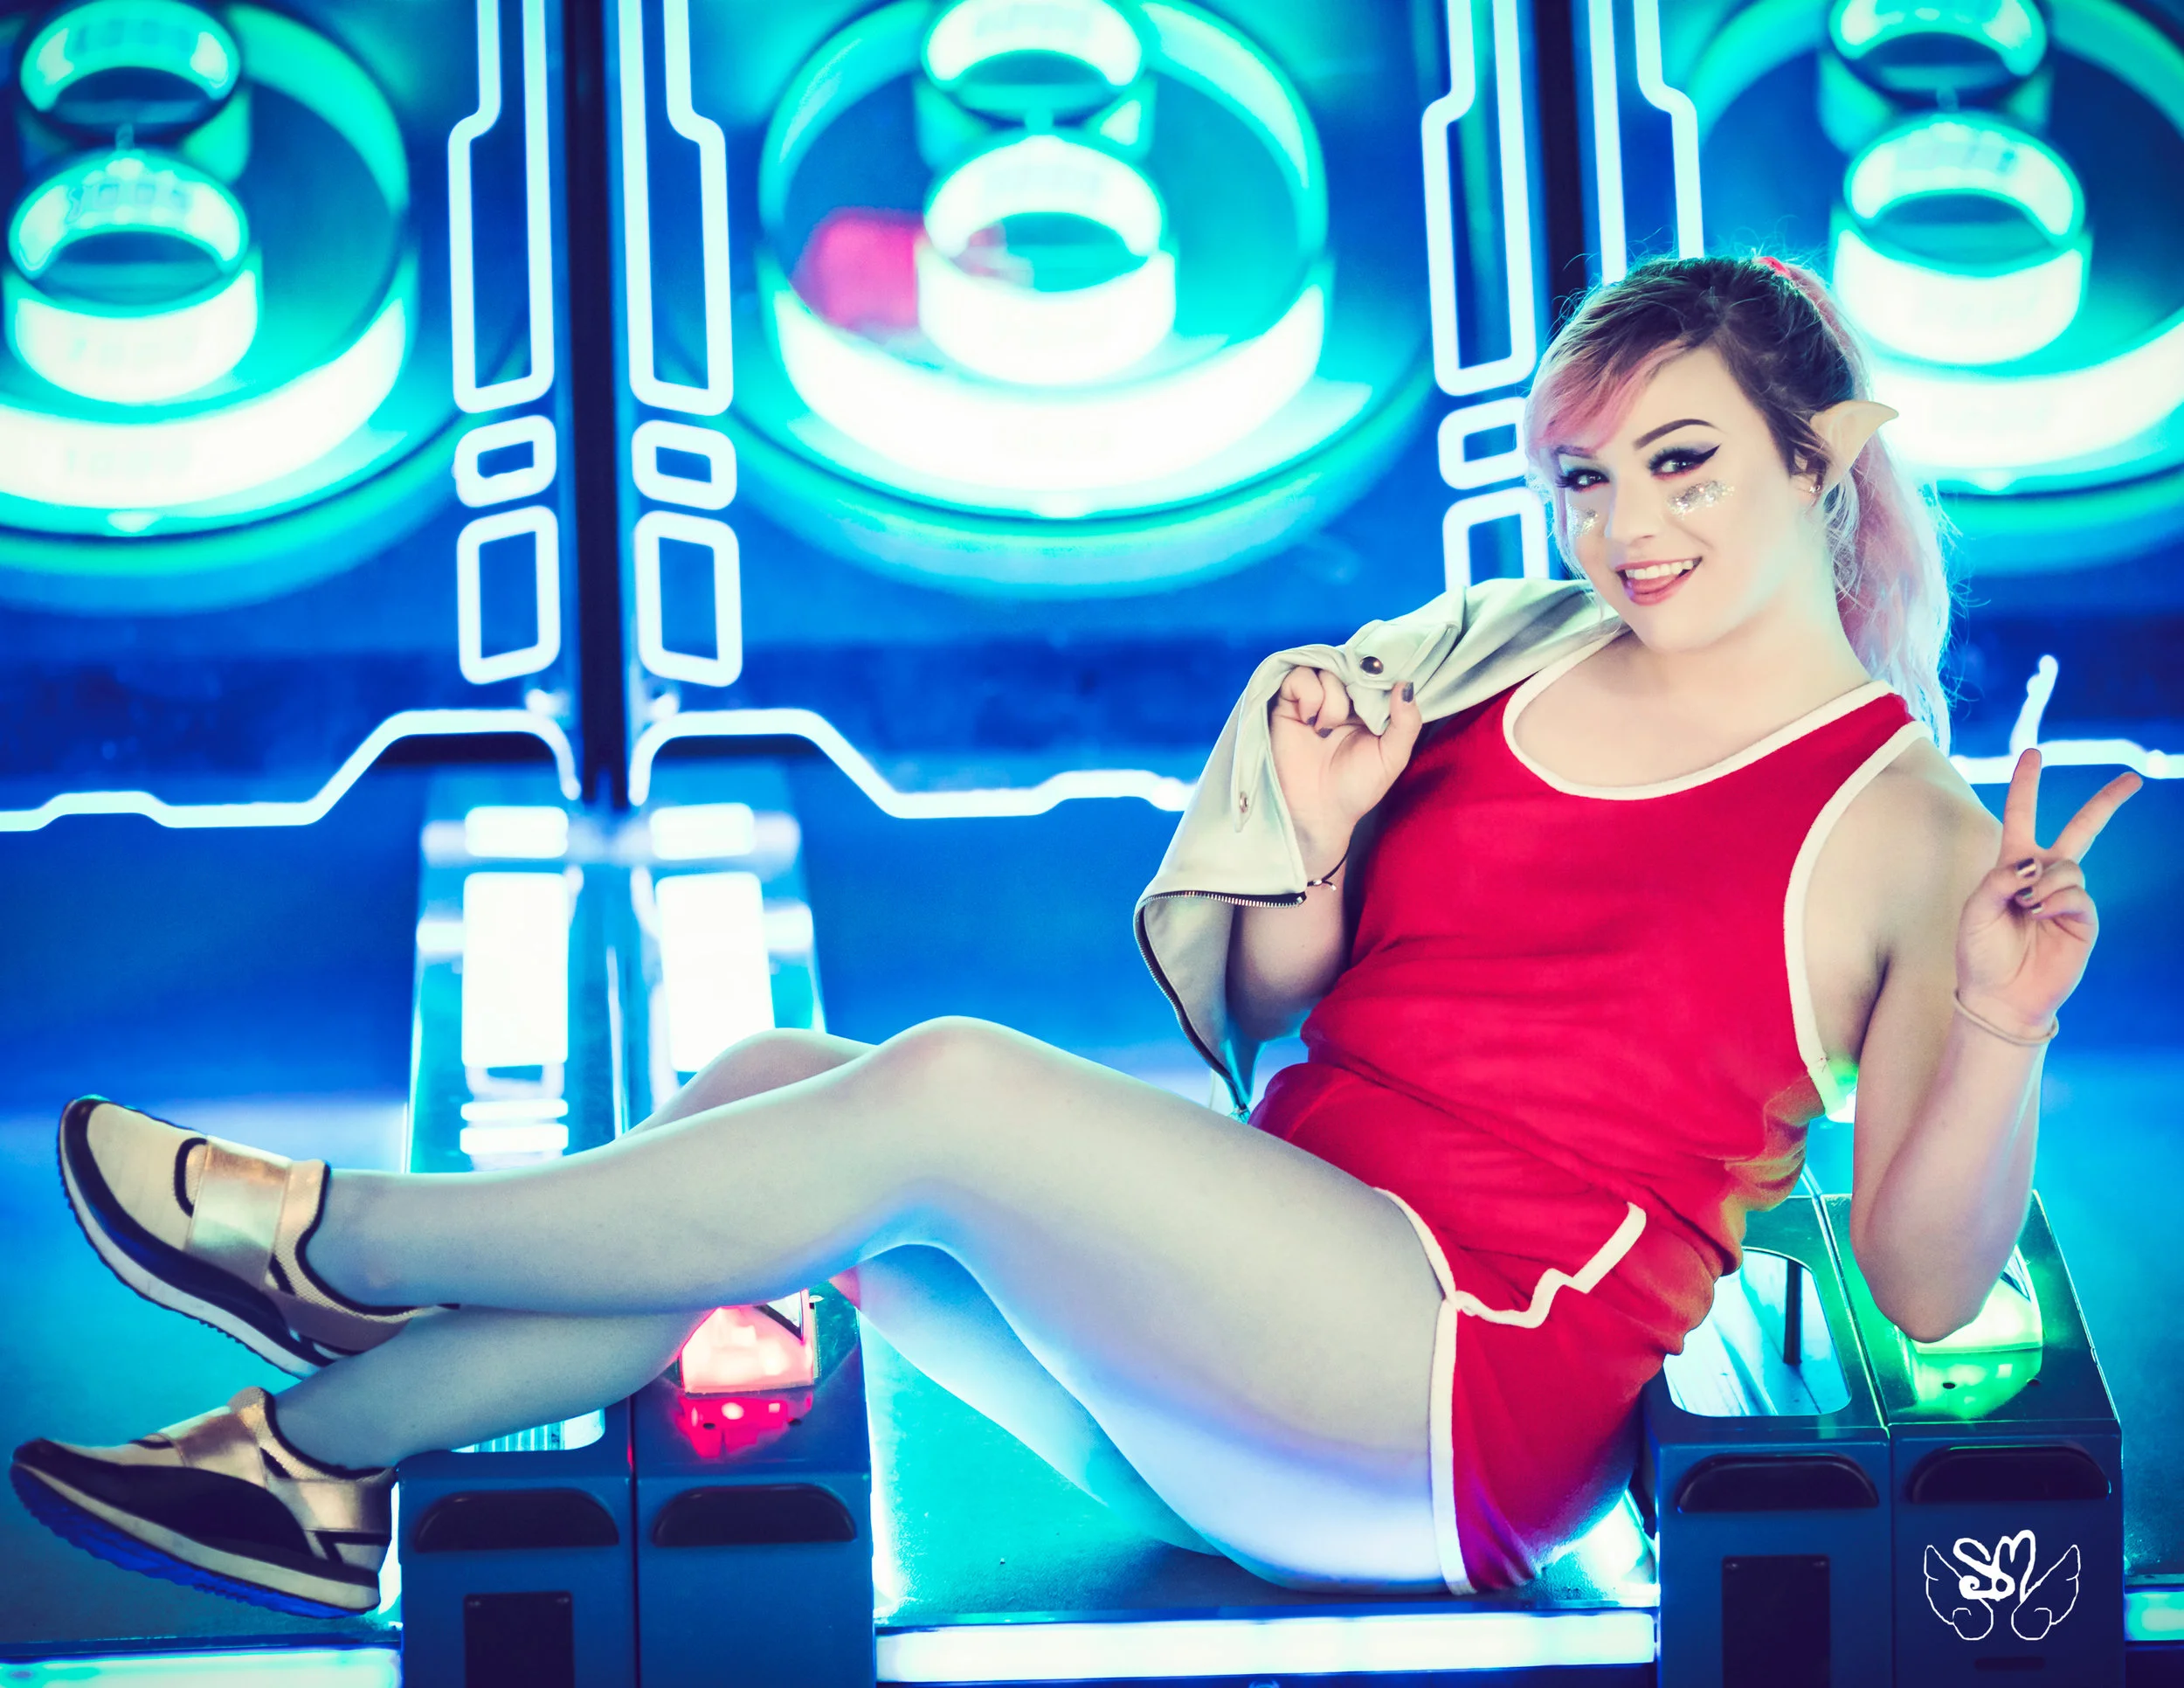
Katsucon 2019

Cosplayer: Mika Ackerman
Wowie!
Katsucon this year was honestly a lot of fun. I was fully booked (if not a little over booked) this year, but it was AMAZING! I am in LOVE with a bunch of the shots from all of the sessions I did. Thank you to everyone that booked a session with me, and thank you for your patience!
Also, huge thank you to @kurosakitaichou for shooting with me last minute at the MGM Casino in their Joker cosplay! (I think I may even do this shoot myself next year, since my Joker cosplay will be done! Or should I do Yusuke? It would be cool to get a group together!)
This year, I, also, experimented with doing milk bath sessions at cons! It was definitely an interesting experience, and I got some beautiful shots, however I will probably not be offering these sessions at the con next year! (Unless there’s just like an unusually high demand to do them. Comment to let me know if I should offer them again?)
Here are some of the highlights from the sessions I did this year, as well as some of the extra shots I took:


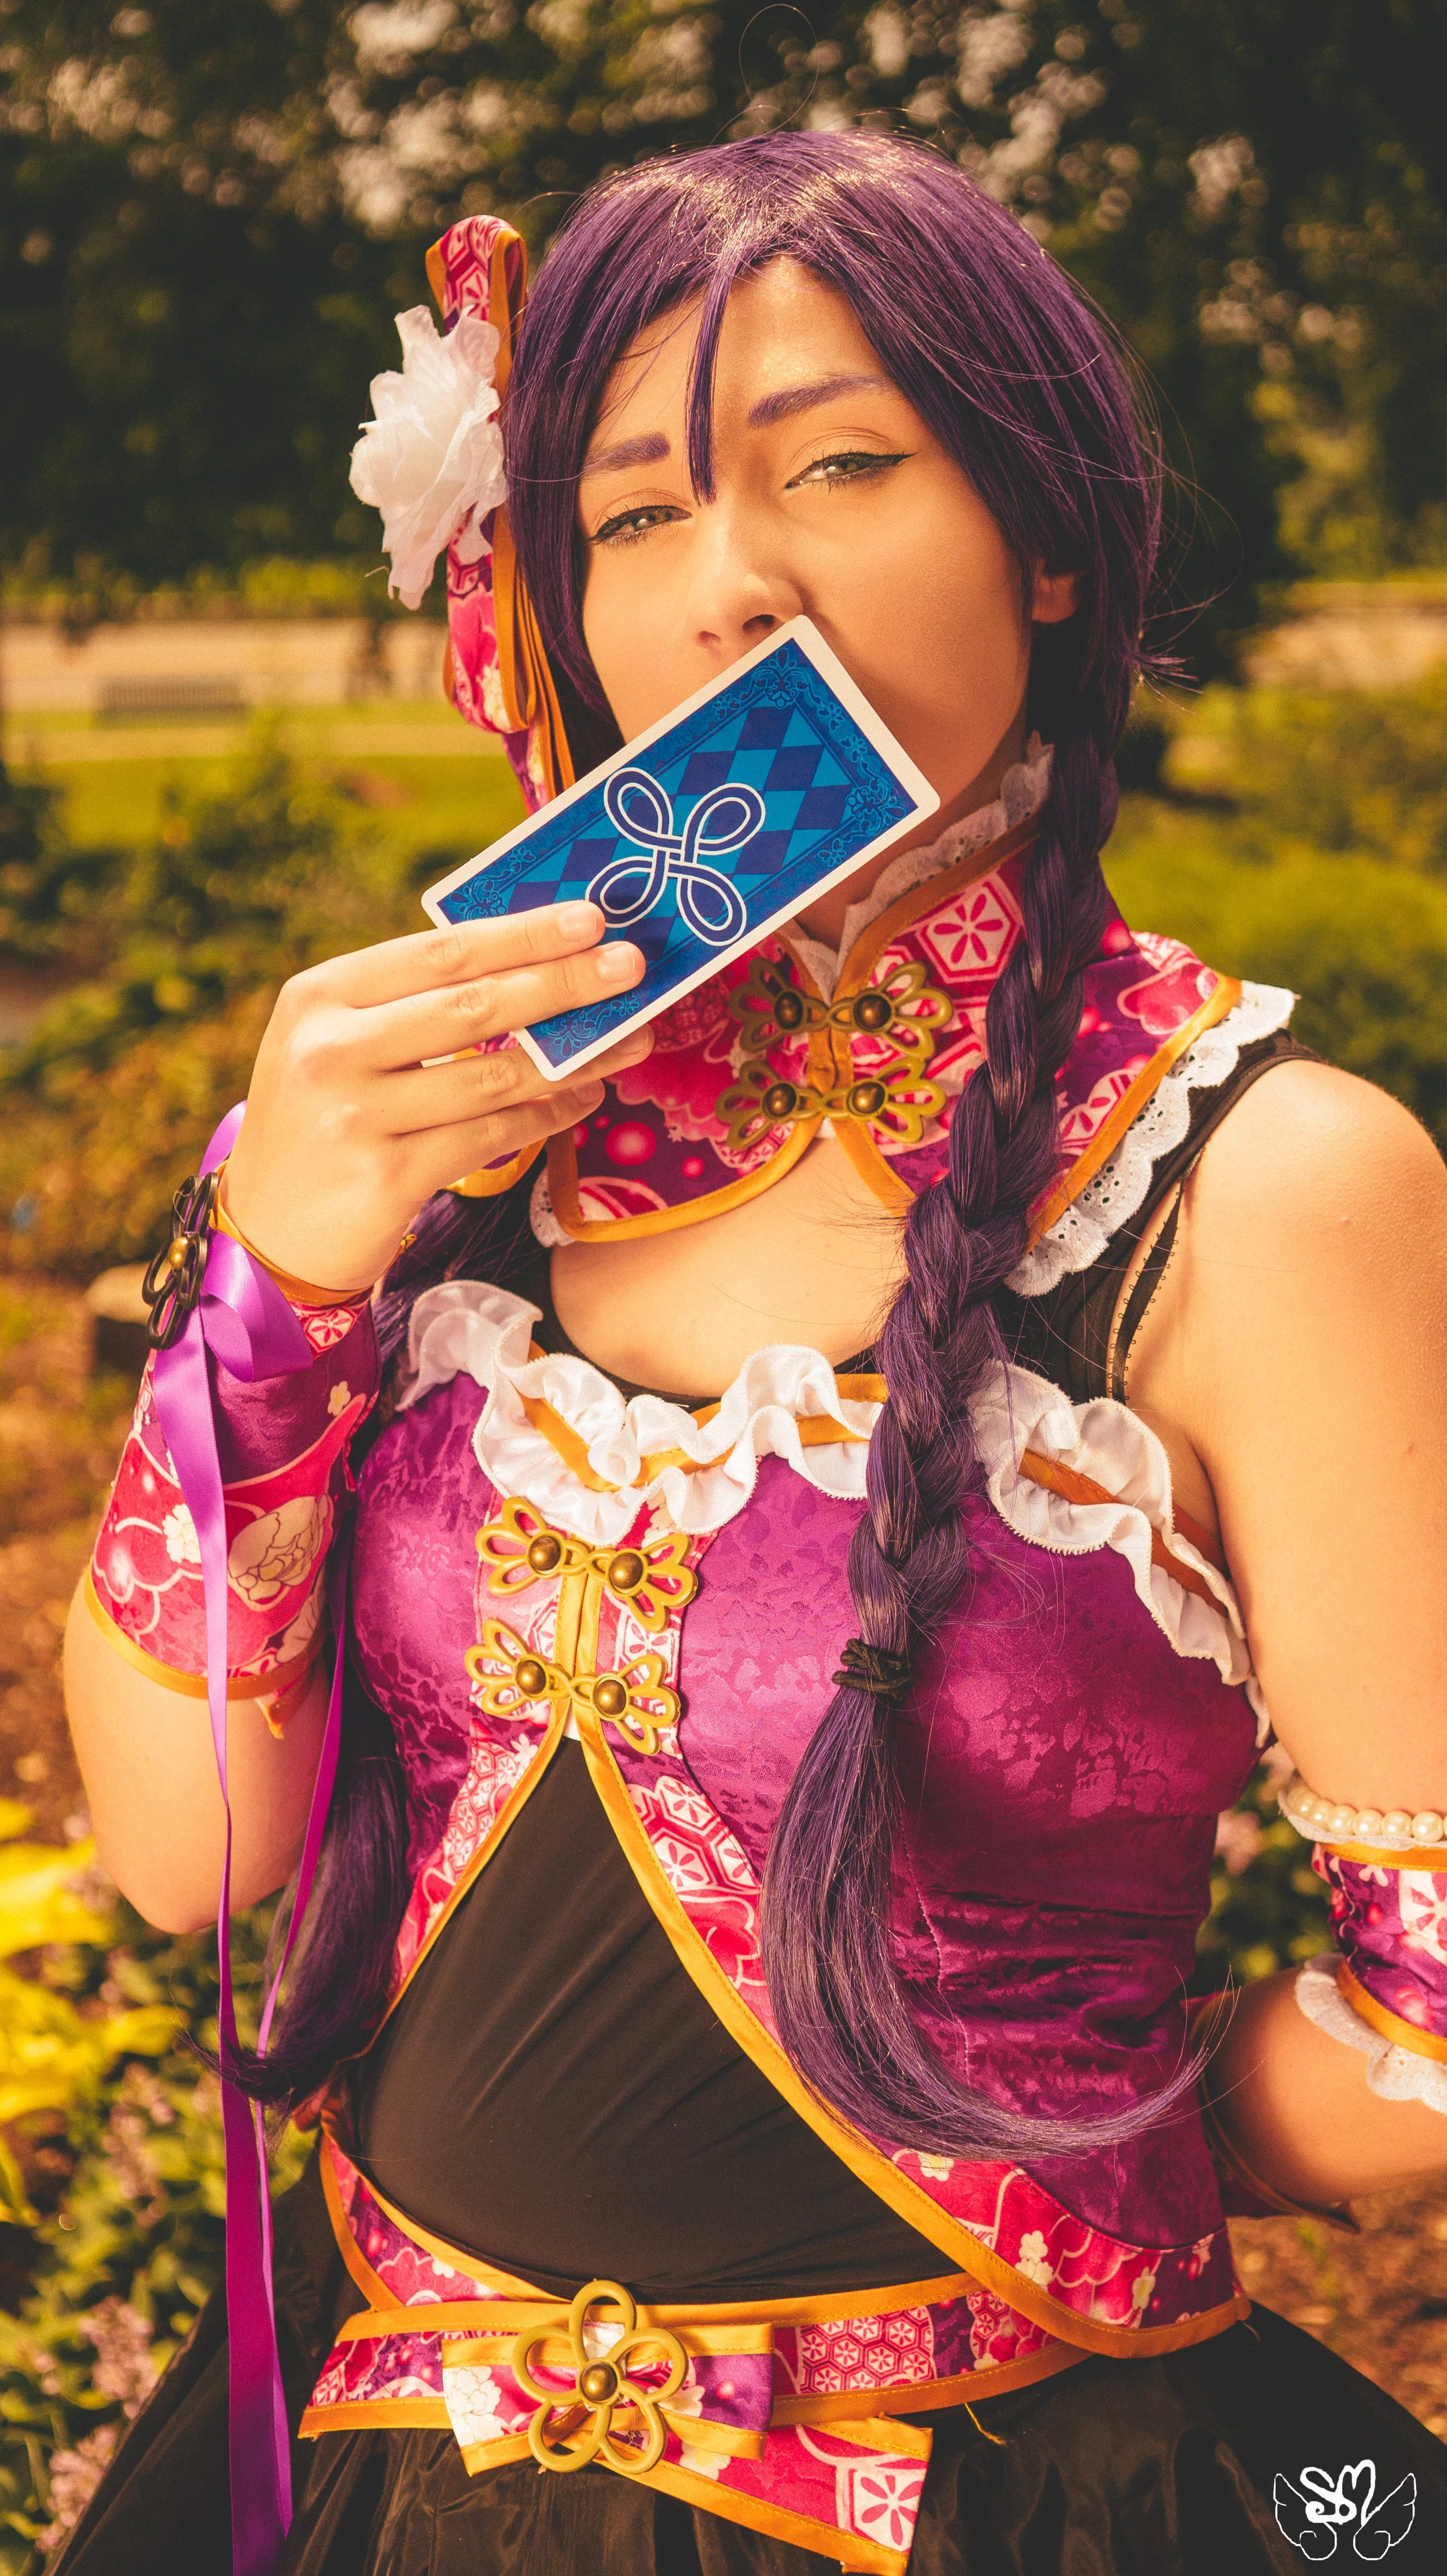
And here are the photos from the Persona 5 Casino Session!
Including some aesthetic shots…


Falltography Tour 2018
Greetings, lovelies!
If you keep up with me on social media, then you have probably seen me posting a bunch about my 2018 Southern Falltography Tour!
Basically, throughout October 20th til November 6th, I will be stopping at several locations in the southern United States getting photos for my Modern Fantasy Gallery next year! At the same time, I am booking photo shoots for anyone interested as well!
I am offering three different price packages for this tour!


Premium
1.5 hours
Includes 15 fully edited images, received digitally with print options available.
Social Media usage and limited print sale licensing. (Great option for Patreon users.)
$200
Standard
1 hour
8 fully edited images, received digitally.
Social Media licensing (Ideal for Instagram users, or for building a portfolio)
$100

Basic Boop
15-30 minutes
3 fully edited images, received digitally, social media licensing
$50
I am booking for pretty much any kind of portrait shoot, so if you are wanting some holiday family photos, needing photos in your wedding dress, or your new cosplay, or wanting to surprise your spouse (or doing it for yourself) with a boudoir or dudoir shoot, please feel free to contact me! I can also do professional headshots!
Location, Location, Location!
Here are the following dates and locations still available to book!
Knoxville, TN (Cade’s Cove) October 22nd
Ft Loudon, Vonore, TN October 23rd
Chattanooga, TN October 24th
Huntsville, AL October 25th & 26th
Birmingham, AL October 28th, 29th & 30th
Atlanta, GA October 31st & November 1st
Jacksonville, FL November 3rd, 4th, 6th
Here is a link to the application to book your shoot: https://goo.gl/forms/m5opqDuycVngrIN72
Or if you have any questions, feel free to contact me at moose@sparrowmoose.com

I’m super excited to do this tour! I plan on blogging and vlogging my adventures both here and on social media, so be sure to follow me there if you don’t already! My instagram is @sparrowmoose and @sparrowmoosemedia and I will be posting the MOST on there!

Commercial Photography on a Budget! (Under $10!)
For newer photographers or independent shop owners, here’s how to get clean images of your products for your catalog or portfolio without spending the big bucks.

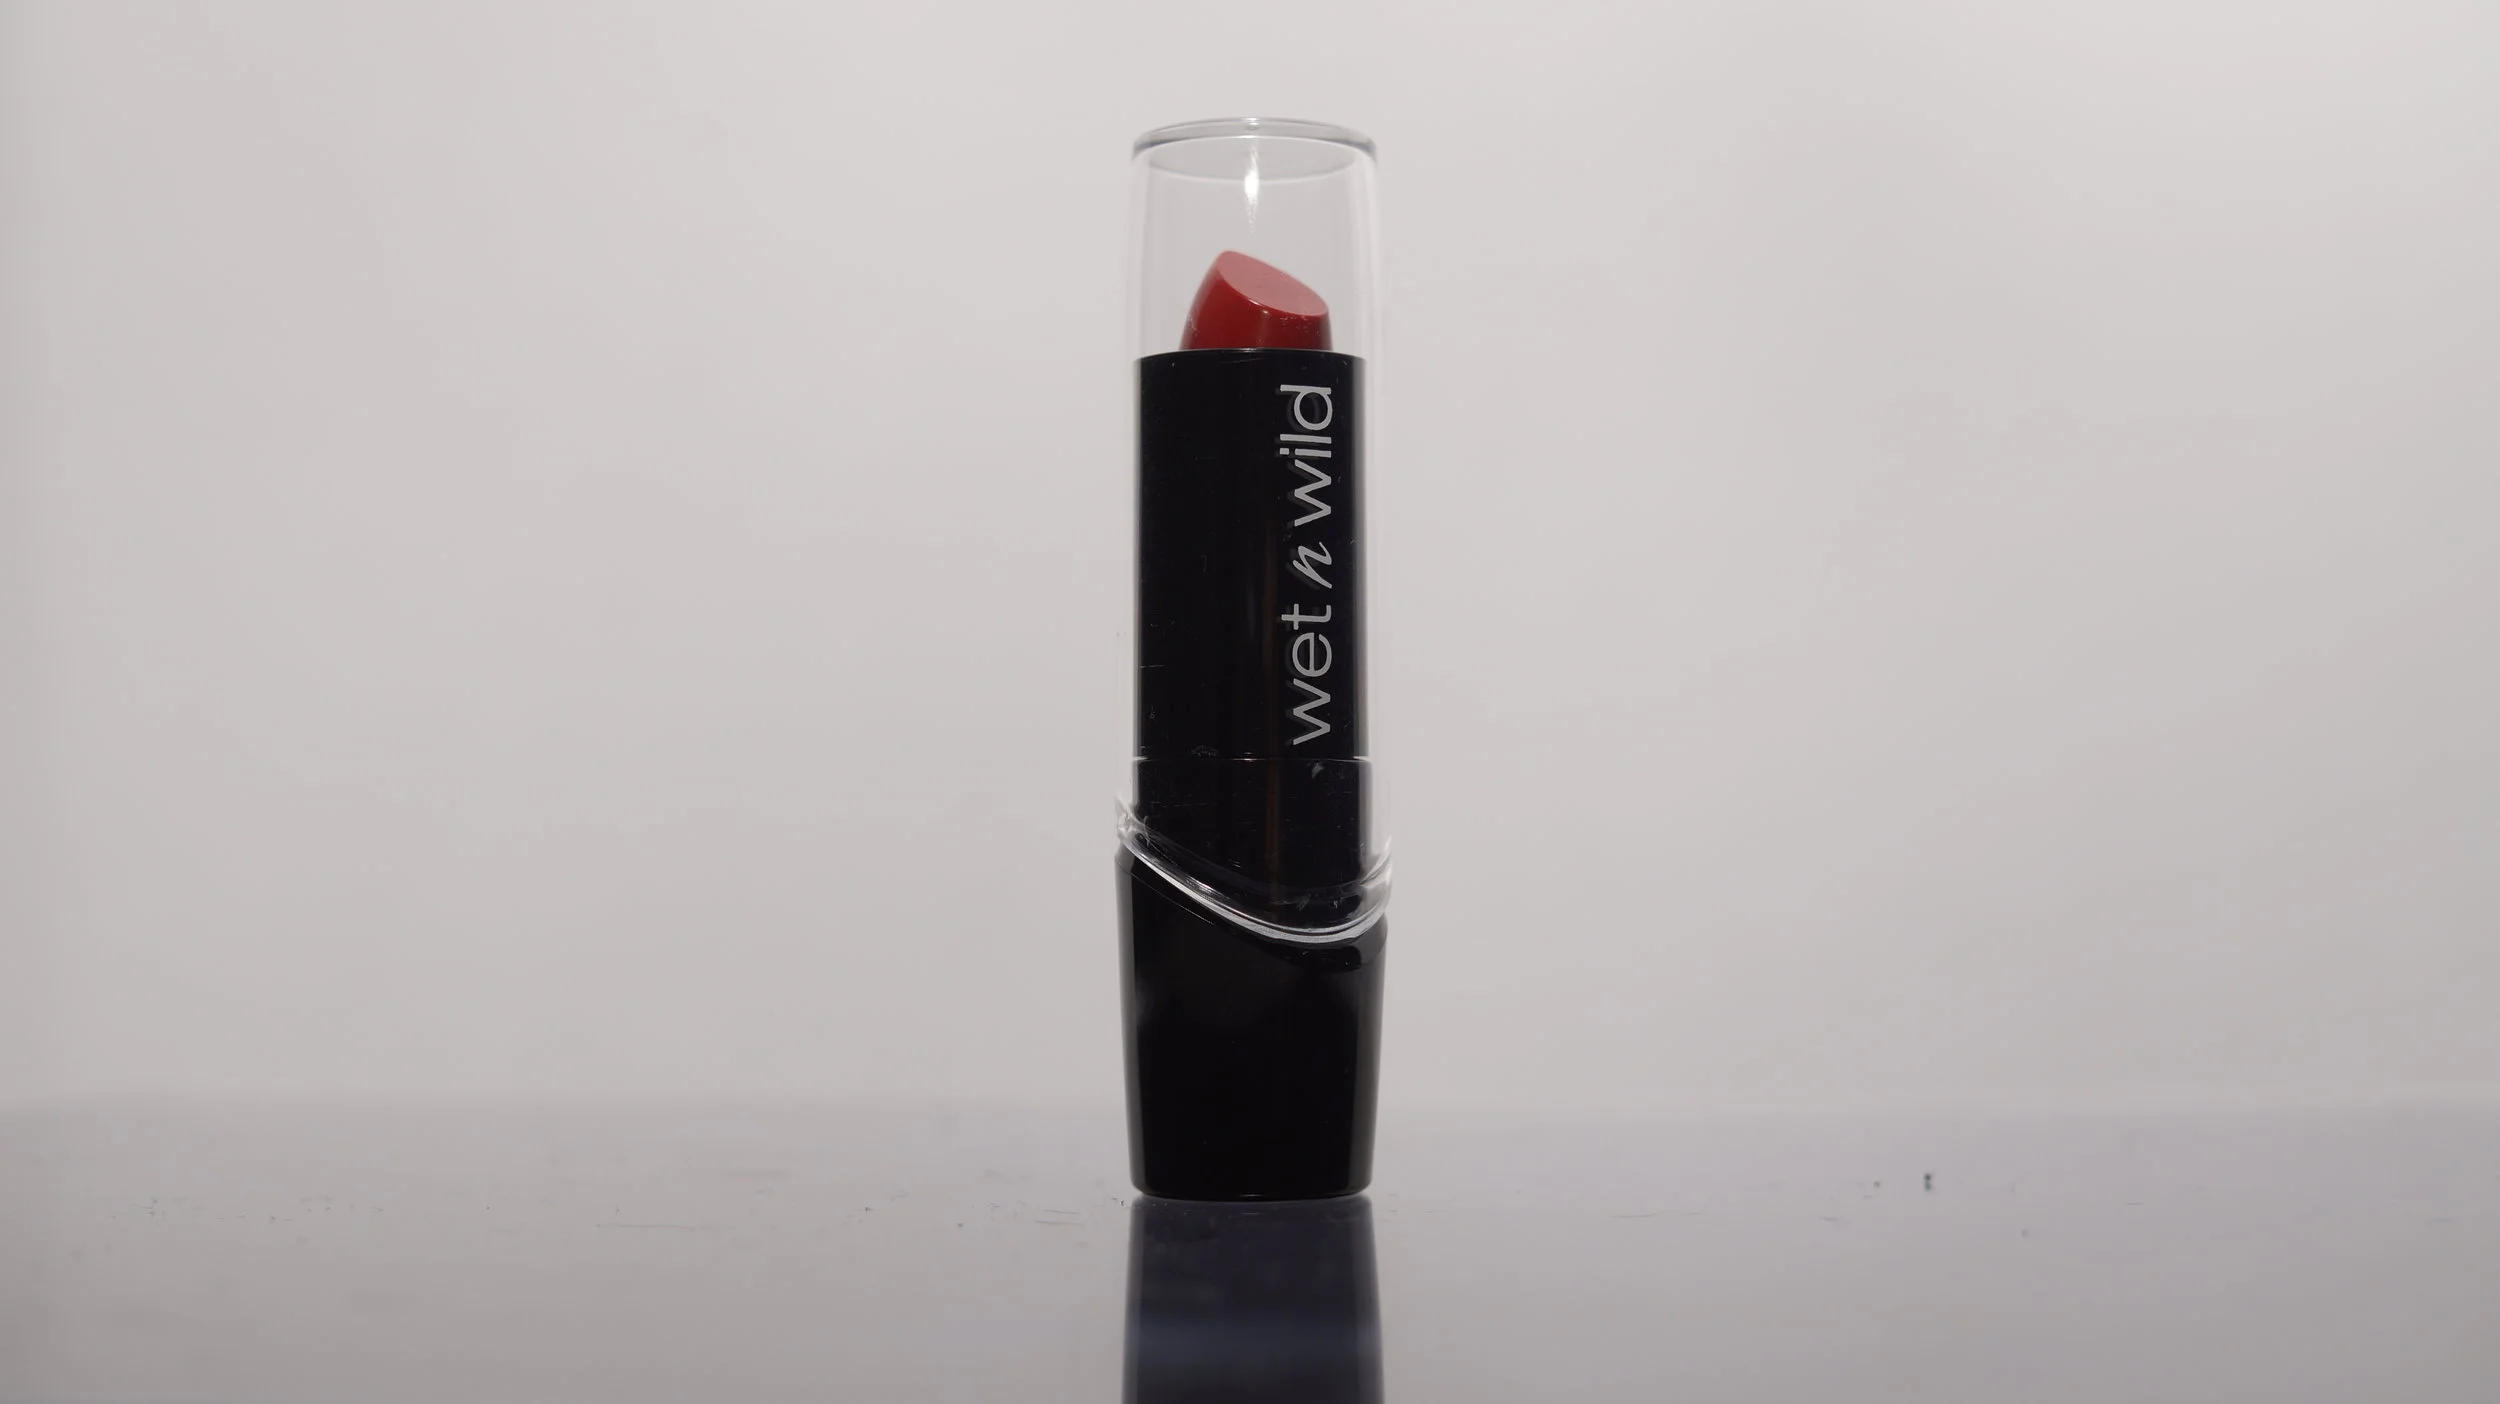
Not Sponsored by Wet n Wild.
This picture only cost me $5!
That's right! Photography doesn't have to be expensive! So, here is how you can get some clean product photos for your catalog or portfolio!
Here is what you will need! Most of these items were purchased at Dollar Tree. This is also assuming you already have a camera and light source.
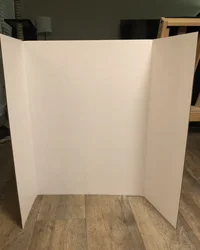
Display Board: This will act as the background. White is typically a good color that can easily be edited, however black is a great alternative. Feel free to get creative with it though, if you want to have a unique look.
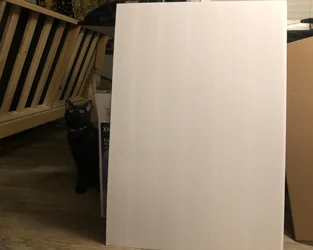
Foam Board (one or two) This will act as a light diffuser or reflector. Side note: If you do not already have a reflector, this can also be wrapped in aluminum foil! (Cat optional.)

Black Plexiglass (about $10 on Amazon) or A photo frame! Really, you just need a reflective surface that you can lay something black under. You should be able to lay it flat. The bigger the better. However, for smaller products (such as cosmetics) an 8 x 10 frame will be plenty of space.

Black craft foam or piece of paper. This will go under the glass if you are using the frame instead of Plexiglass. (If using plexiglass this is optional.)

Flat surface such as a table, in this case I used a stool. (Although, a table would probably have been smarter.)

Product you will be photographing. For this example, I am using a Wet n Wild lipstick from the dollar store.
The Set-up
Once you have all of your items gathered, you're going to set it up like the image below. You may want to set yours up on a table instead, but I didn't have any available, so I went with what I had. You will want to place your product with several inches of space between it and the display board, this will minimize shadows. You may also want to set your camera on a tripod, level with your product. However, this is optional depending on the look you want. My tripod was in my car and I didn’t want to go outside and get it, so I just set my camera on the foam board that was acting as my table. Not pictured: the plexiglass or photo frame would sit under the product, which creates a reflection of your product, giving the image some depth.
For my light source, I decided to use a speed light attached to my camera. The light is angled so it points up towards the reflector. (If you don't have a reflector, you would use one of the foam boards.)
My shutter speed on my camera was 1/160, and then I played with the f. stop to get different lighting results. my favorites were around f3.6. However, getting multiple shots of your product at different f.stops is useful if you are interested in doing a focus stacked image. I used a Sigma 30mm f/2.8 lens.
(Author’s note 4/7/2020: When I wrote this article originally, it was before I had learned the difference between f stops and how to really use a speed light/flash. For those that are unaware, f stops are related to depth of field focus. The smaller the f stop, the less the product will be in focus. The higher it is, the more that will be in focus. Playing around with different f stops though can give interesting looks to your image.)
Also, if you do not have a speed light or something similar, I found that the flash on the camera itself actually worked fairly well with this set-up. However, constant overhead light is fine if you have absolutely none of these things. Just be conscious of any shadows your product may be casting. Another alternative would be to look into light painting the subject.

The set-up.
Final Image results (After Minor Editing)
Here are some of the results from the shoot. Remember, the point of catalog photography is to capture the product as closely as possible, while making it look appealing. So if you do edit the images in post production, remember to keep it very basic: cropping and subtle contrast or brightness adjustments. Try to do as much as you can during the shooting process, so that you can save time during the post production. For example, remember to have your white balance set accordingly so that the hue of your final image isn't too warm or too cool. If necessary, use a gray card.
Before, straight from camera.

After some minor editing. By adjusting the brightness and contrast slightly, the line where the glass meets the background fades making it seem almost seamless. Cropping can also bring the focus in more towards the subject.

Custom jewelry piece I made.
There you have it, the cheapest way that I have found to create beautiful, clean catalog images. If you have any questions, feel free to leave a comment with them or send me an email or a direct message on Instagram. (My photography based one is @sparrowmoosemedia.)
If you do use this method, feel free to tag me on Instagram so I can see your work!
If you enjoyed this tutorial, feel free to leave a comment about what you'd like to read about in the future!
Thank you for reading!
Sparrow Moose