

Red
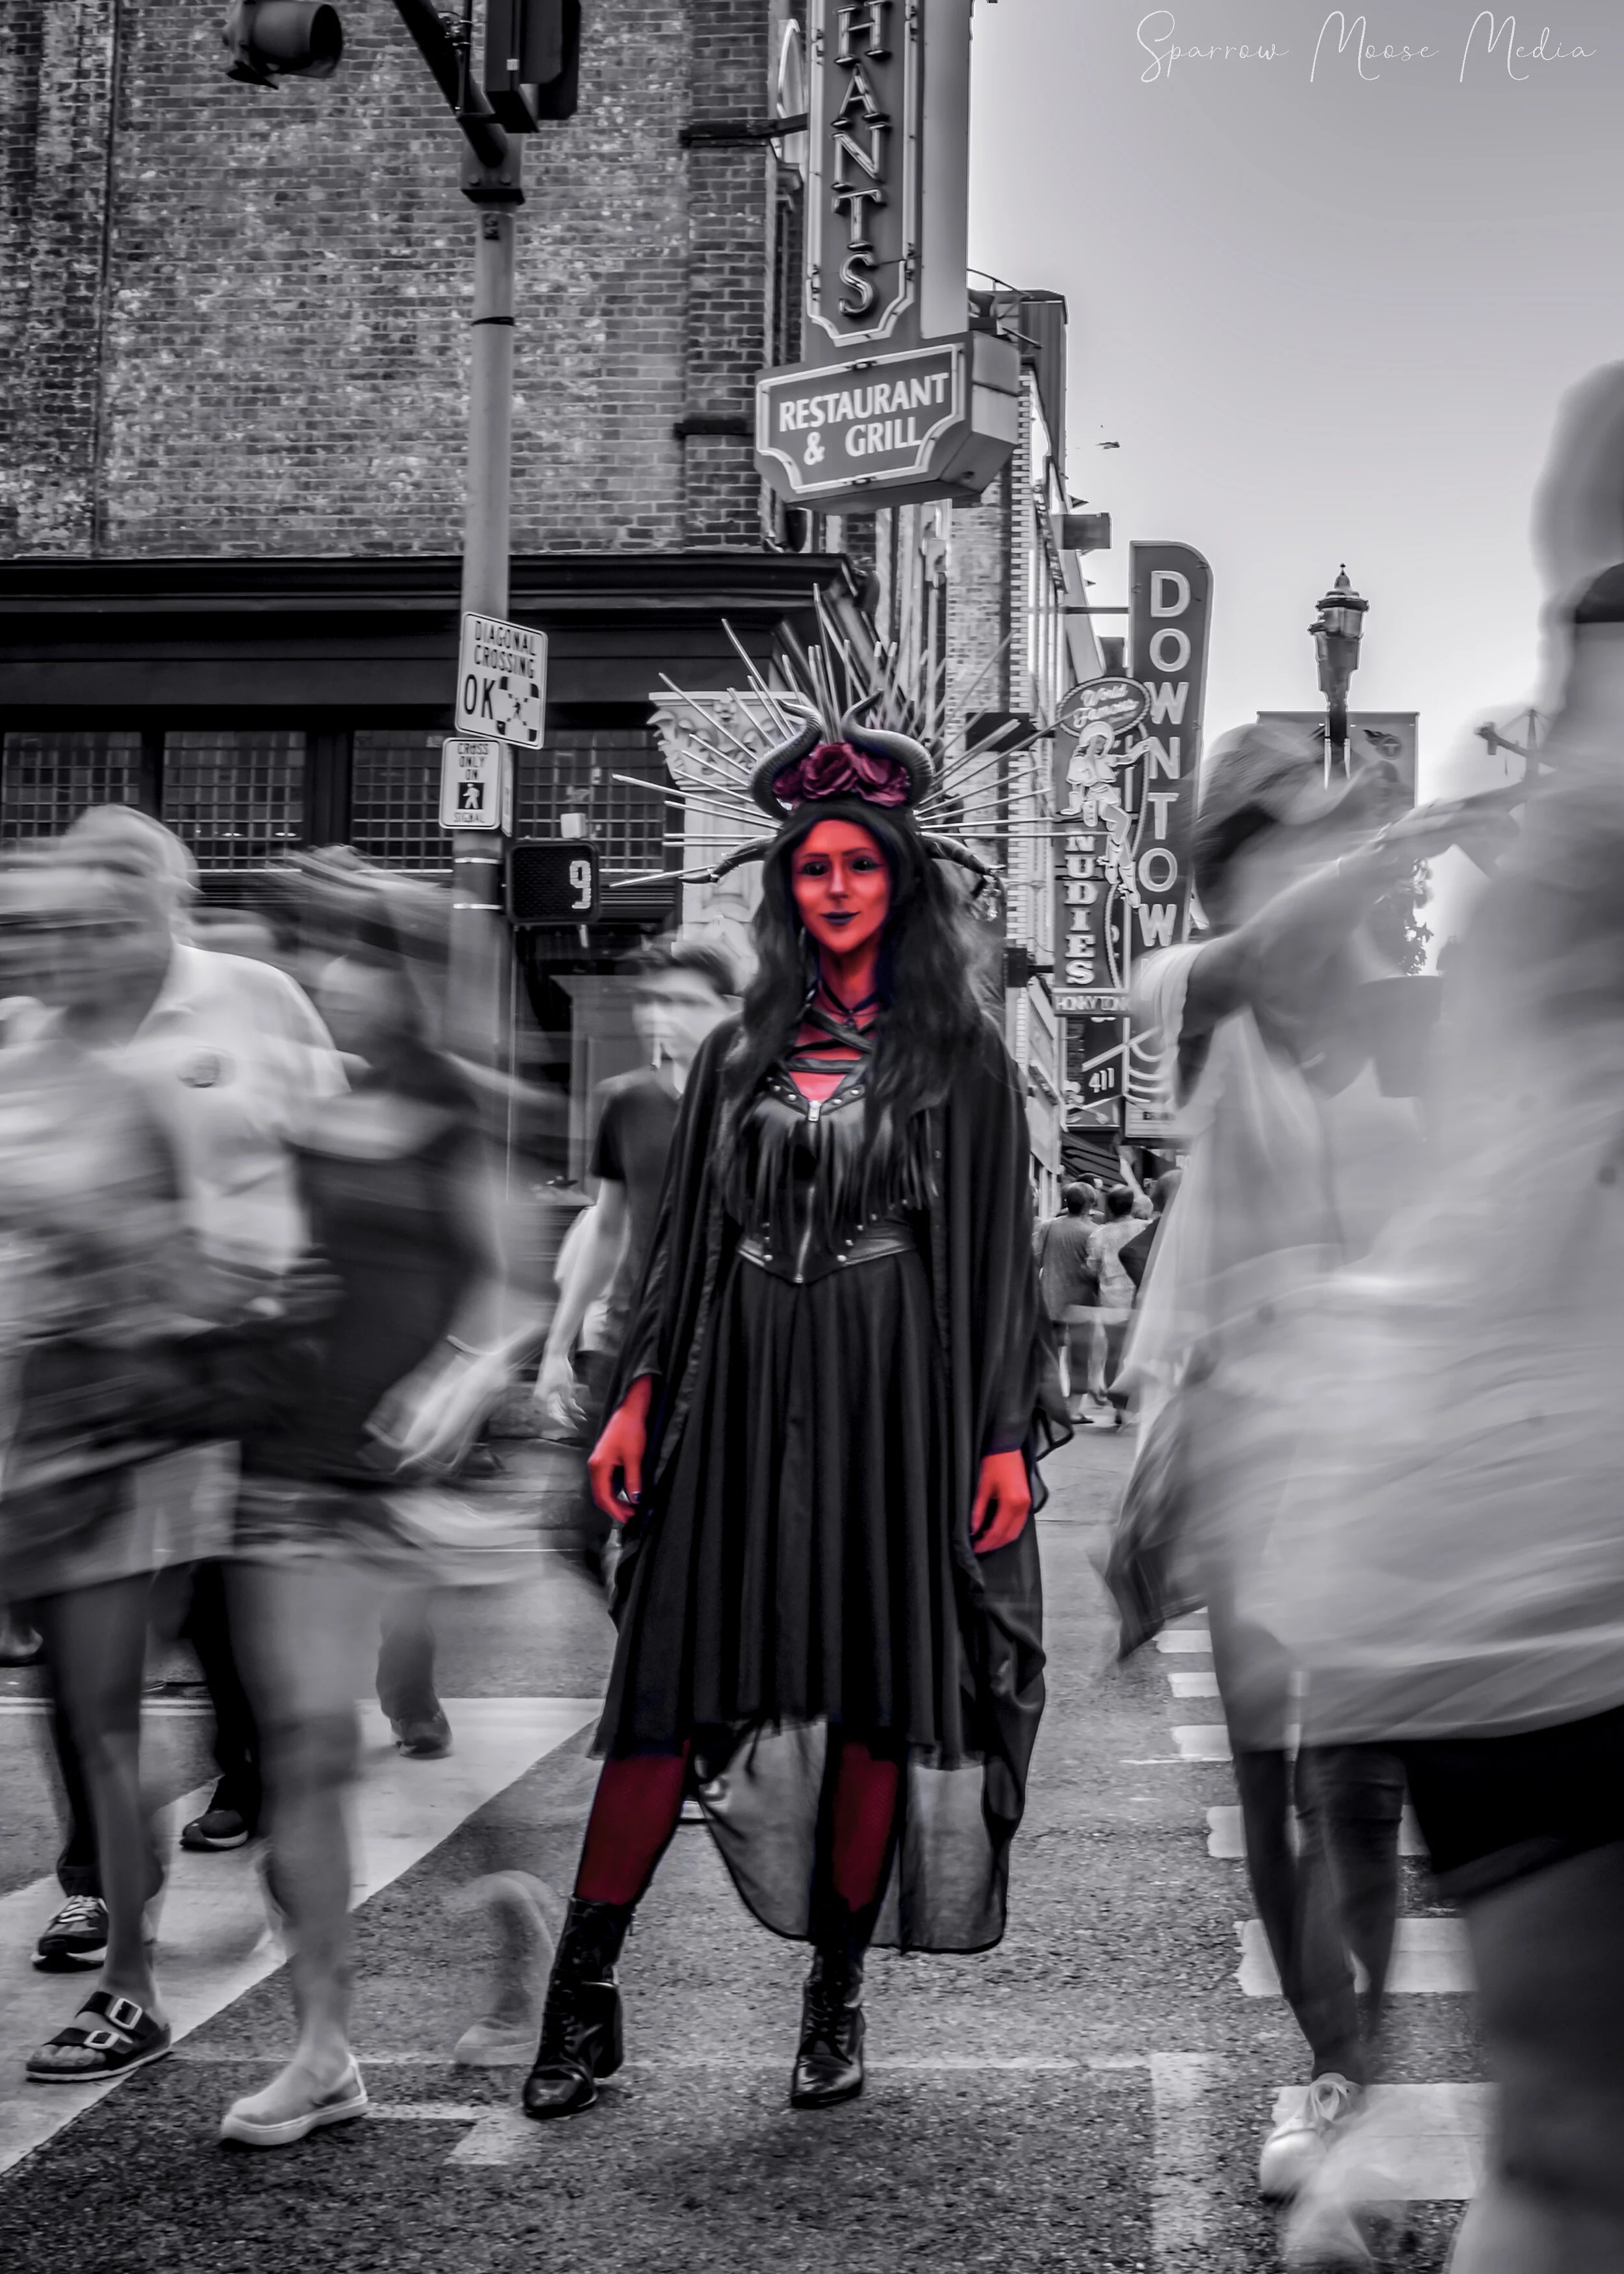
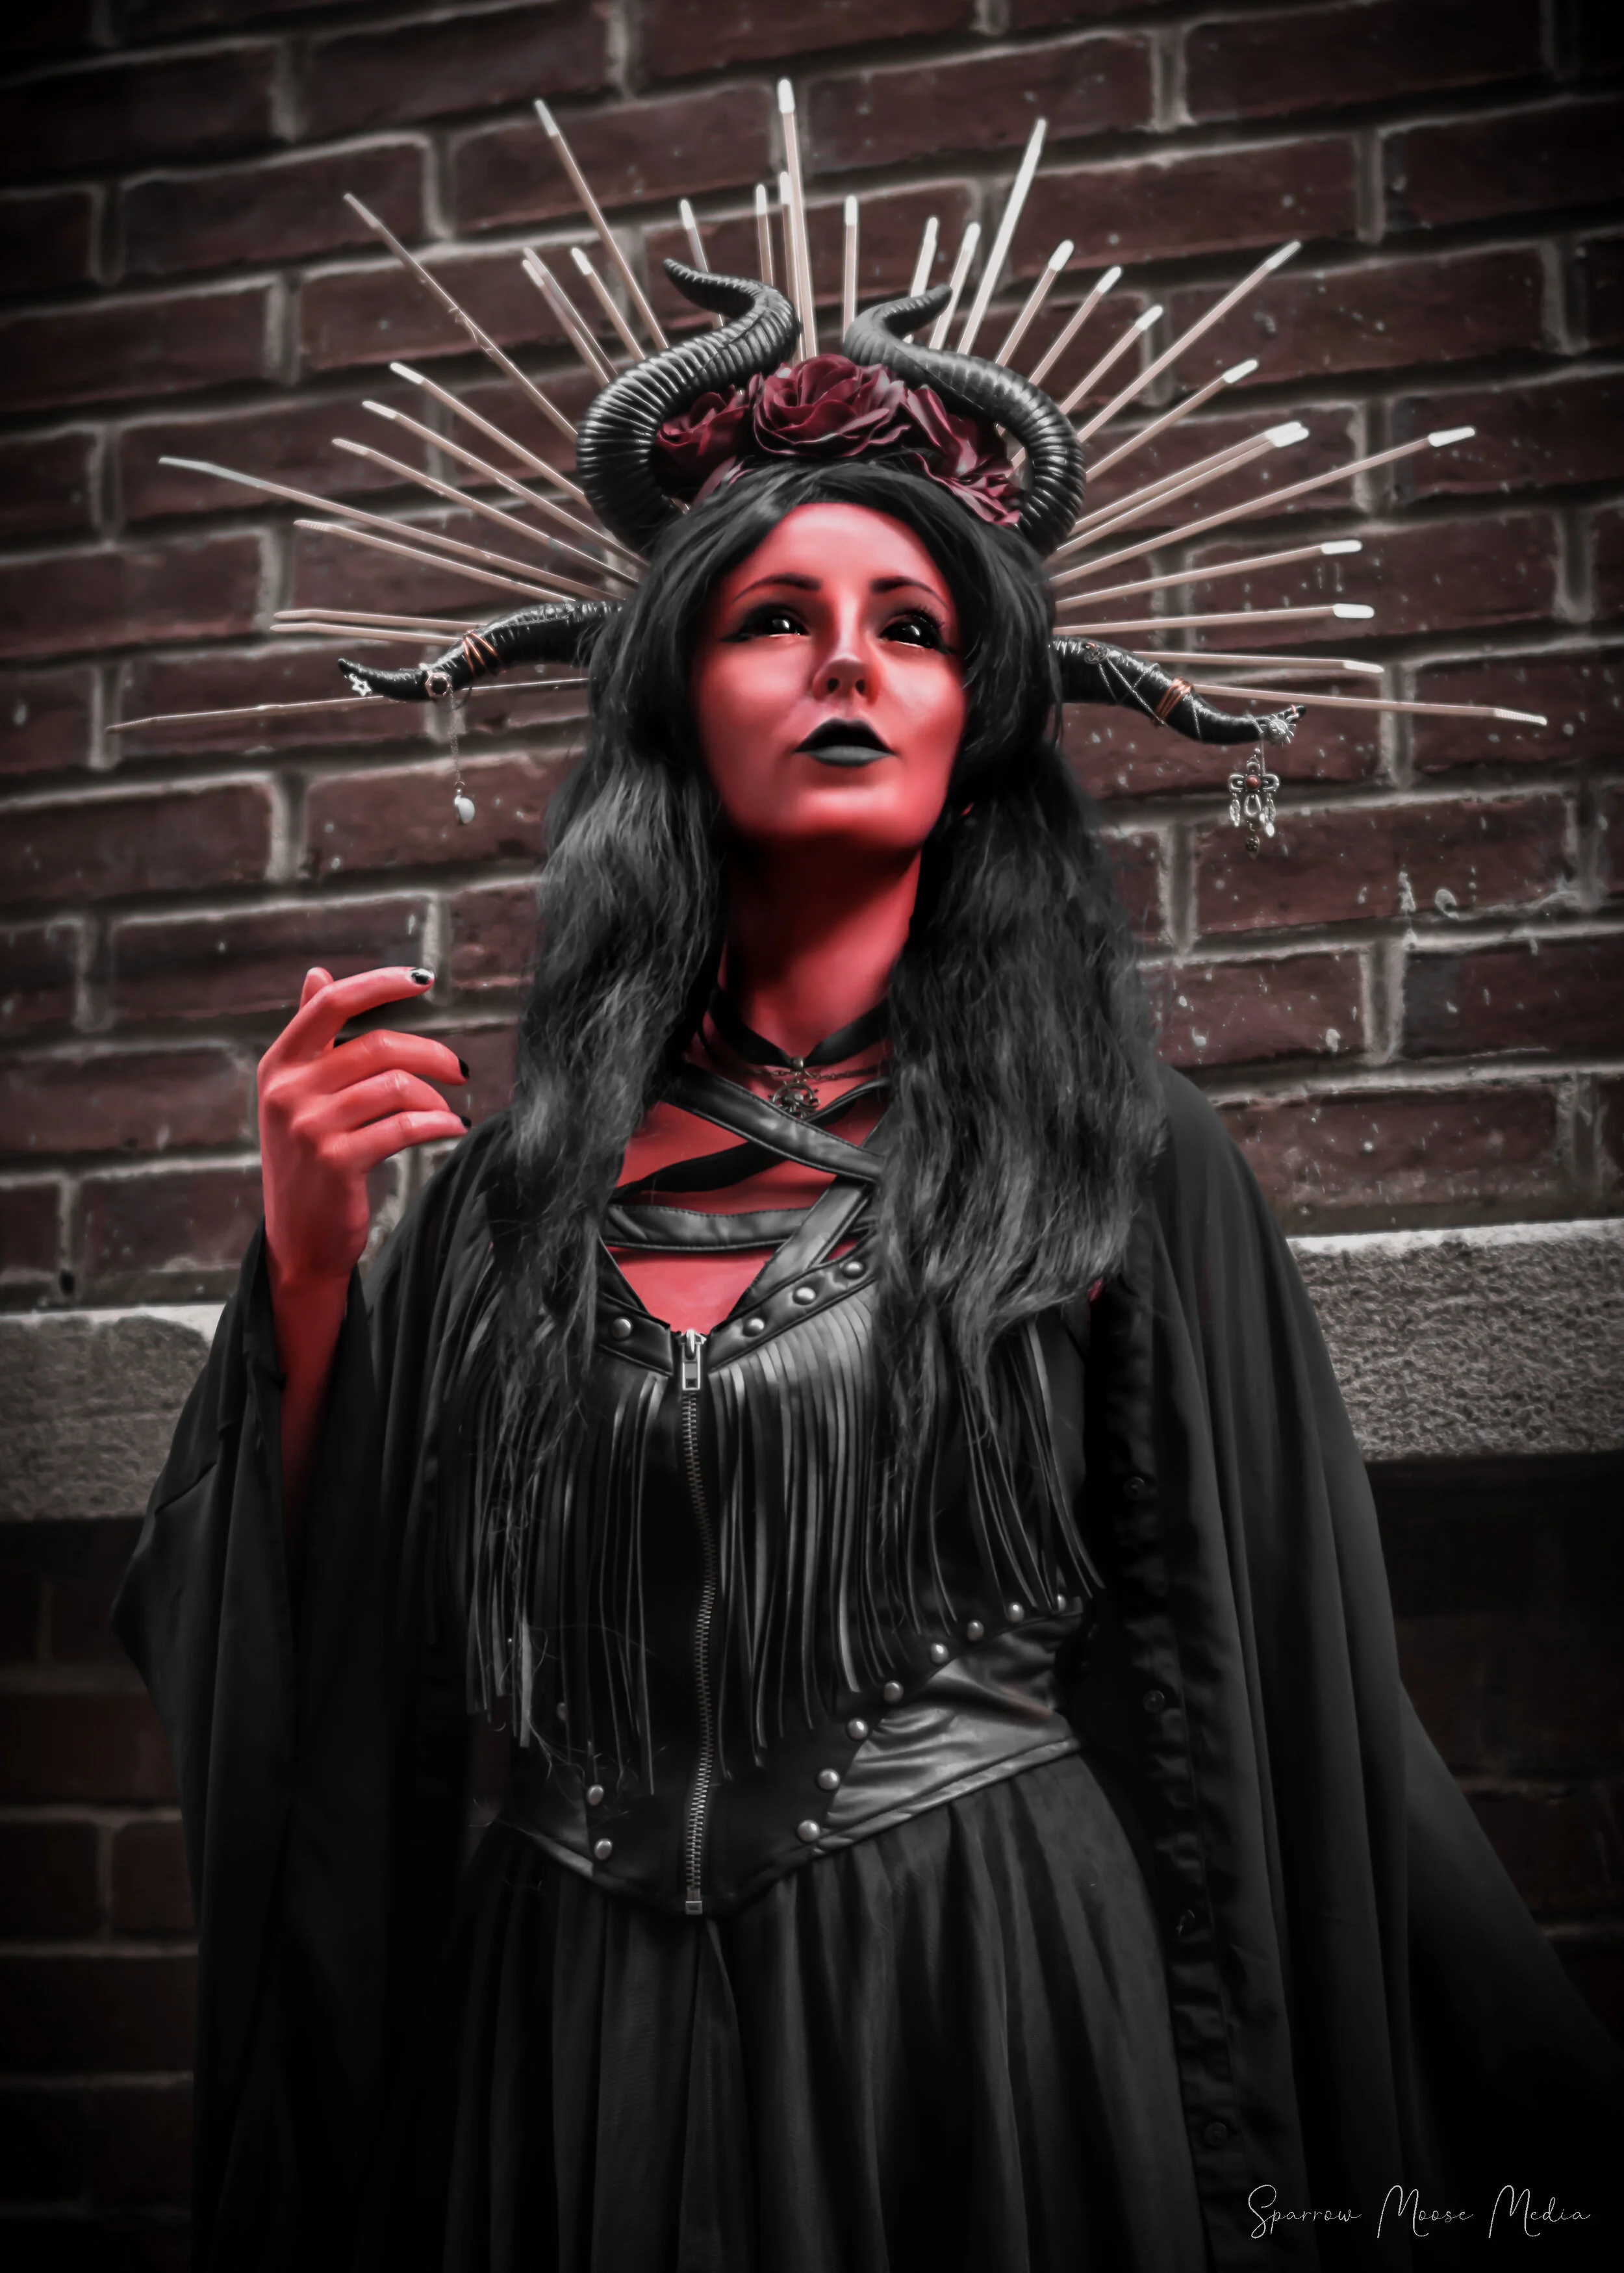
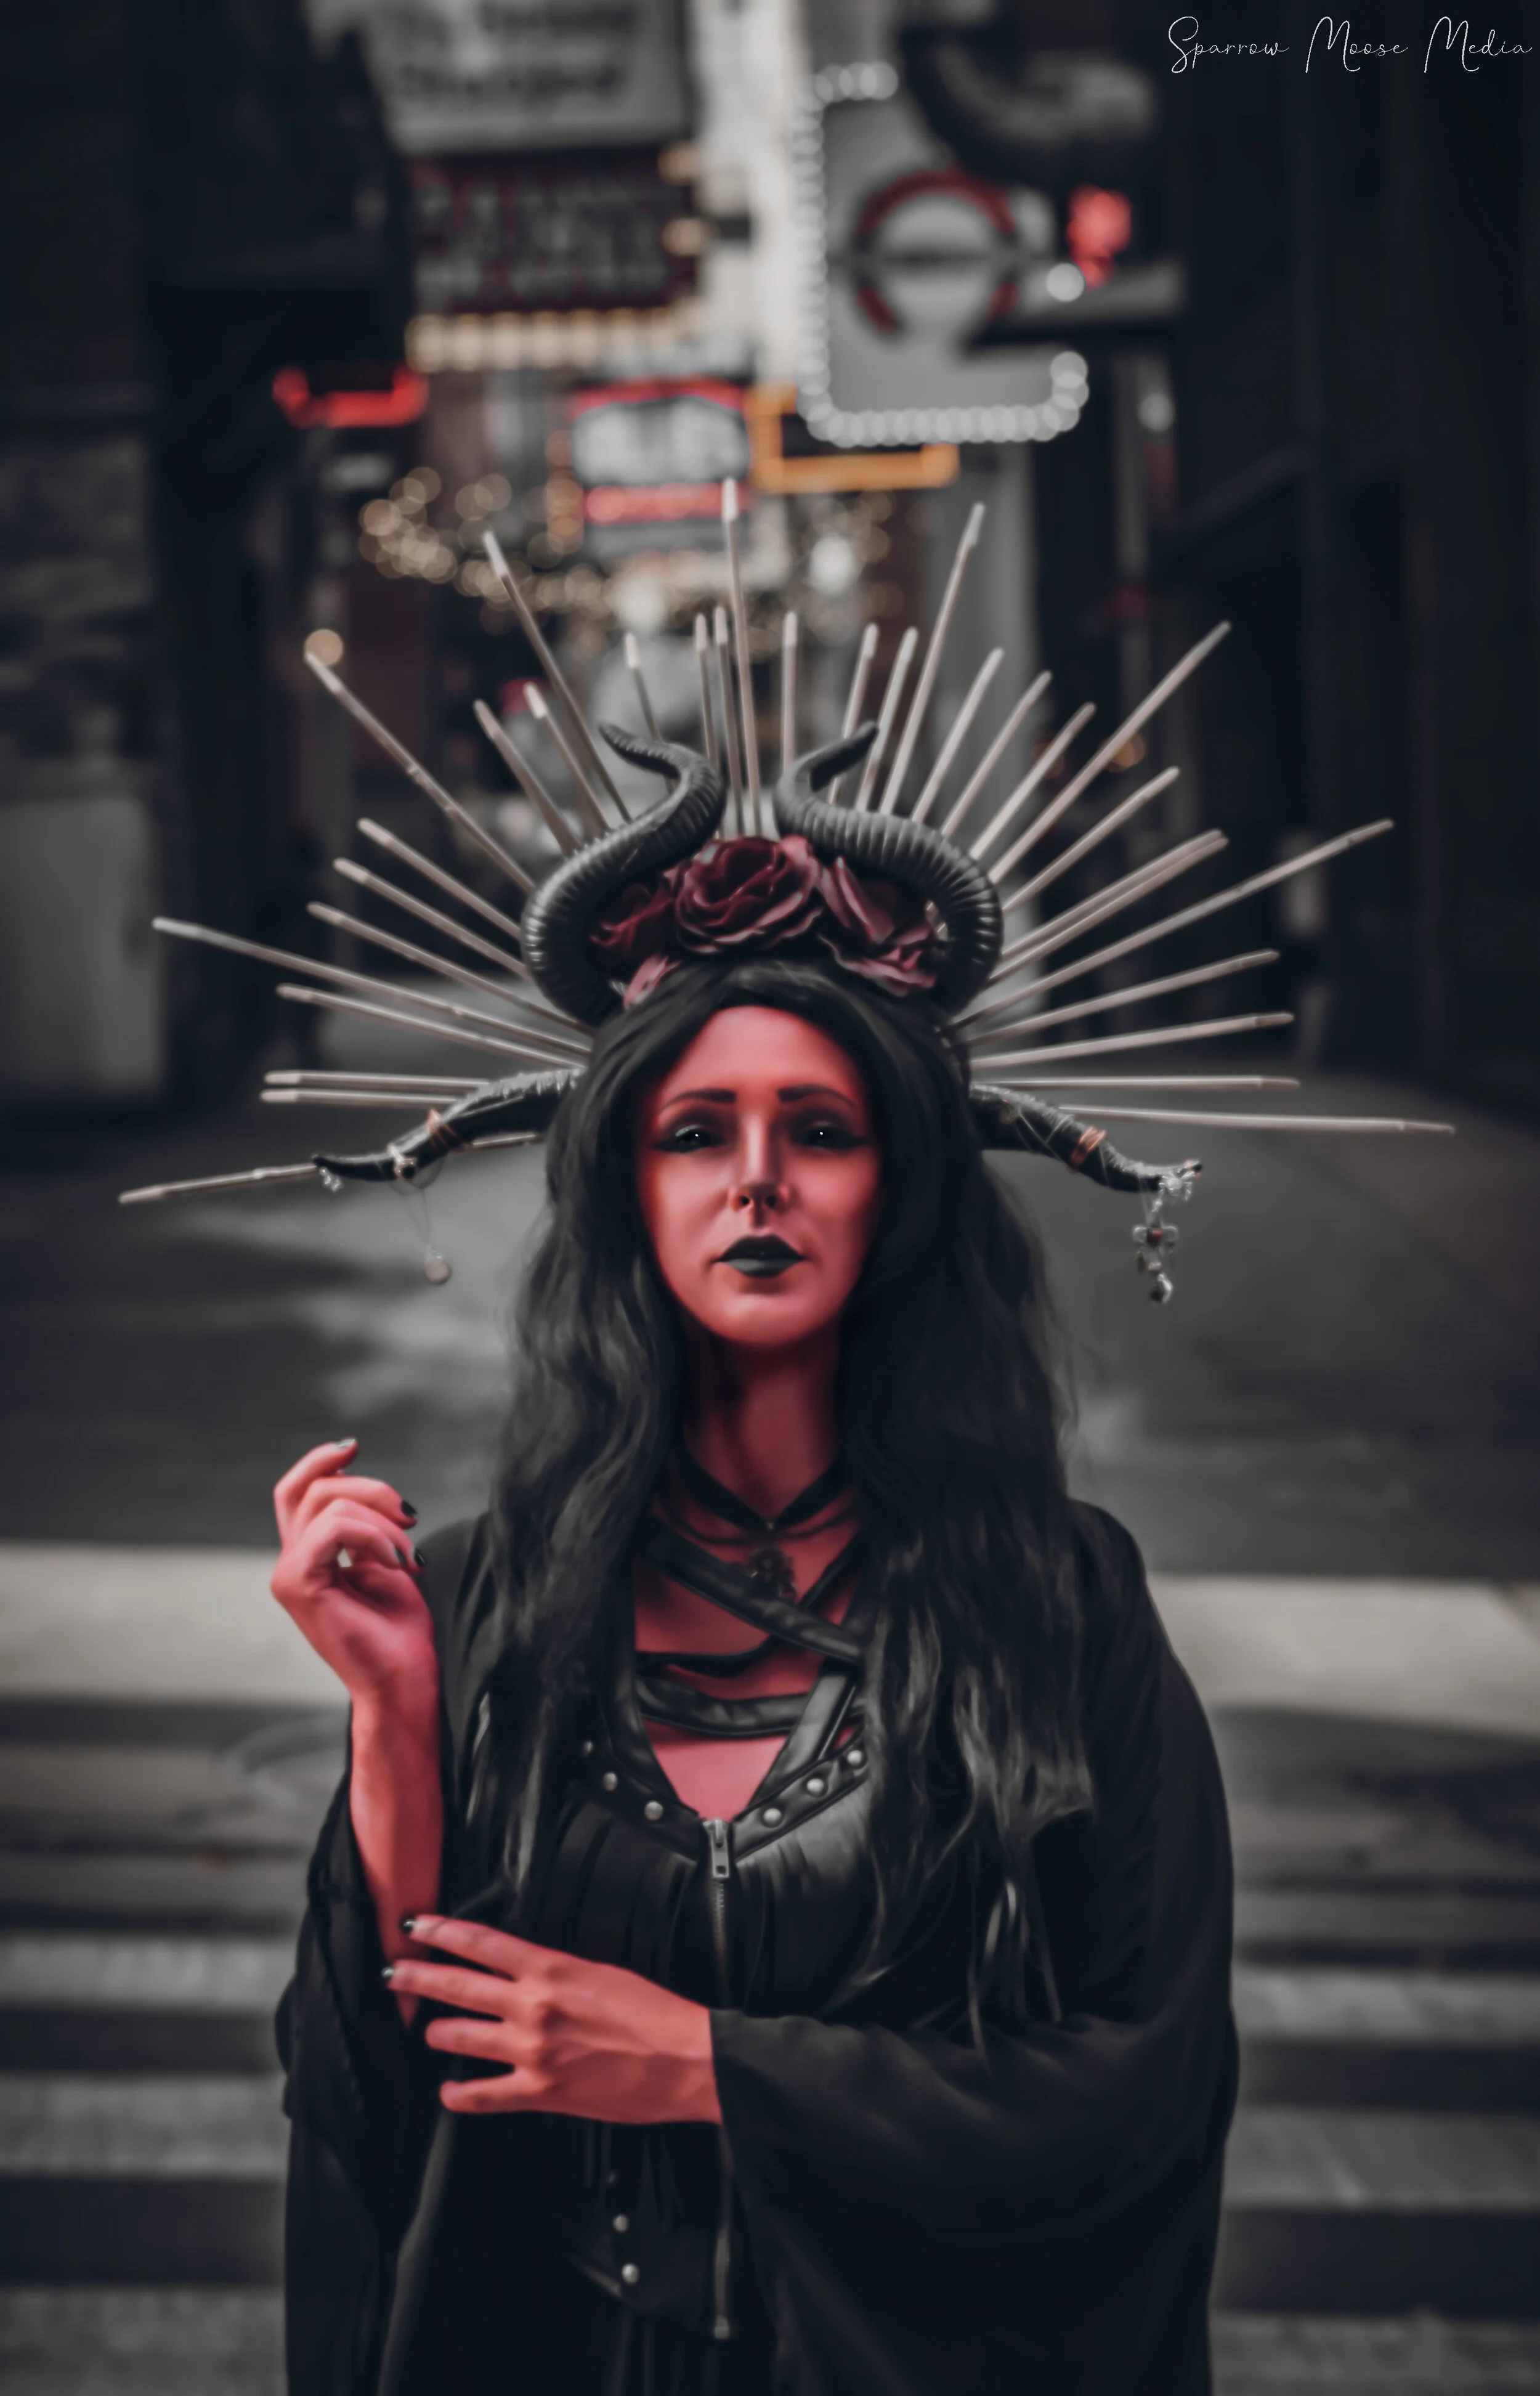
First look at Sparrow Moose Media’s Inner Demons series!
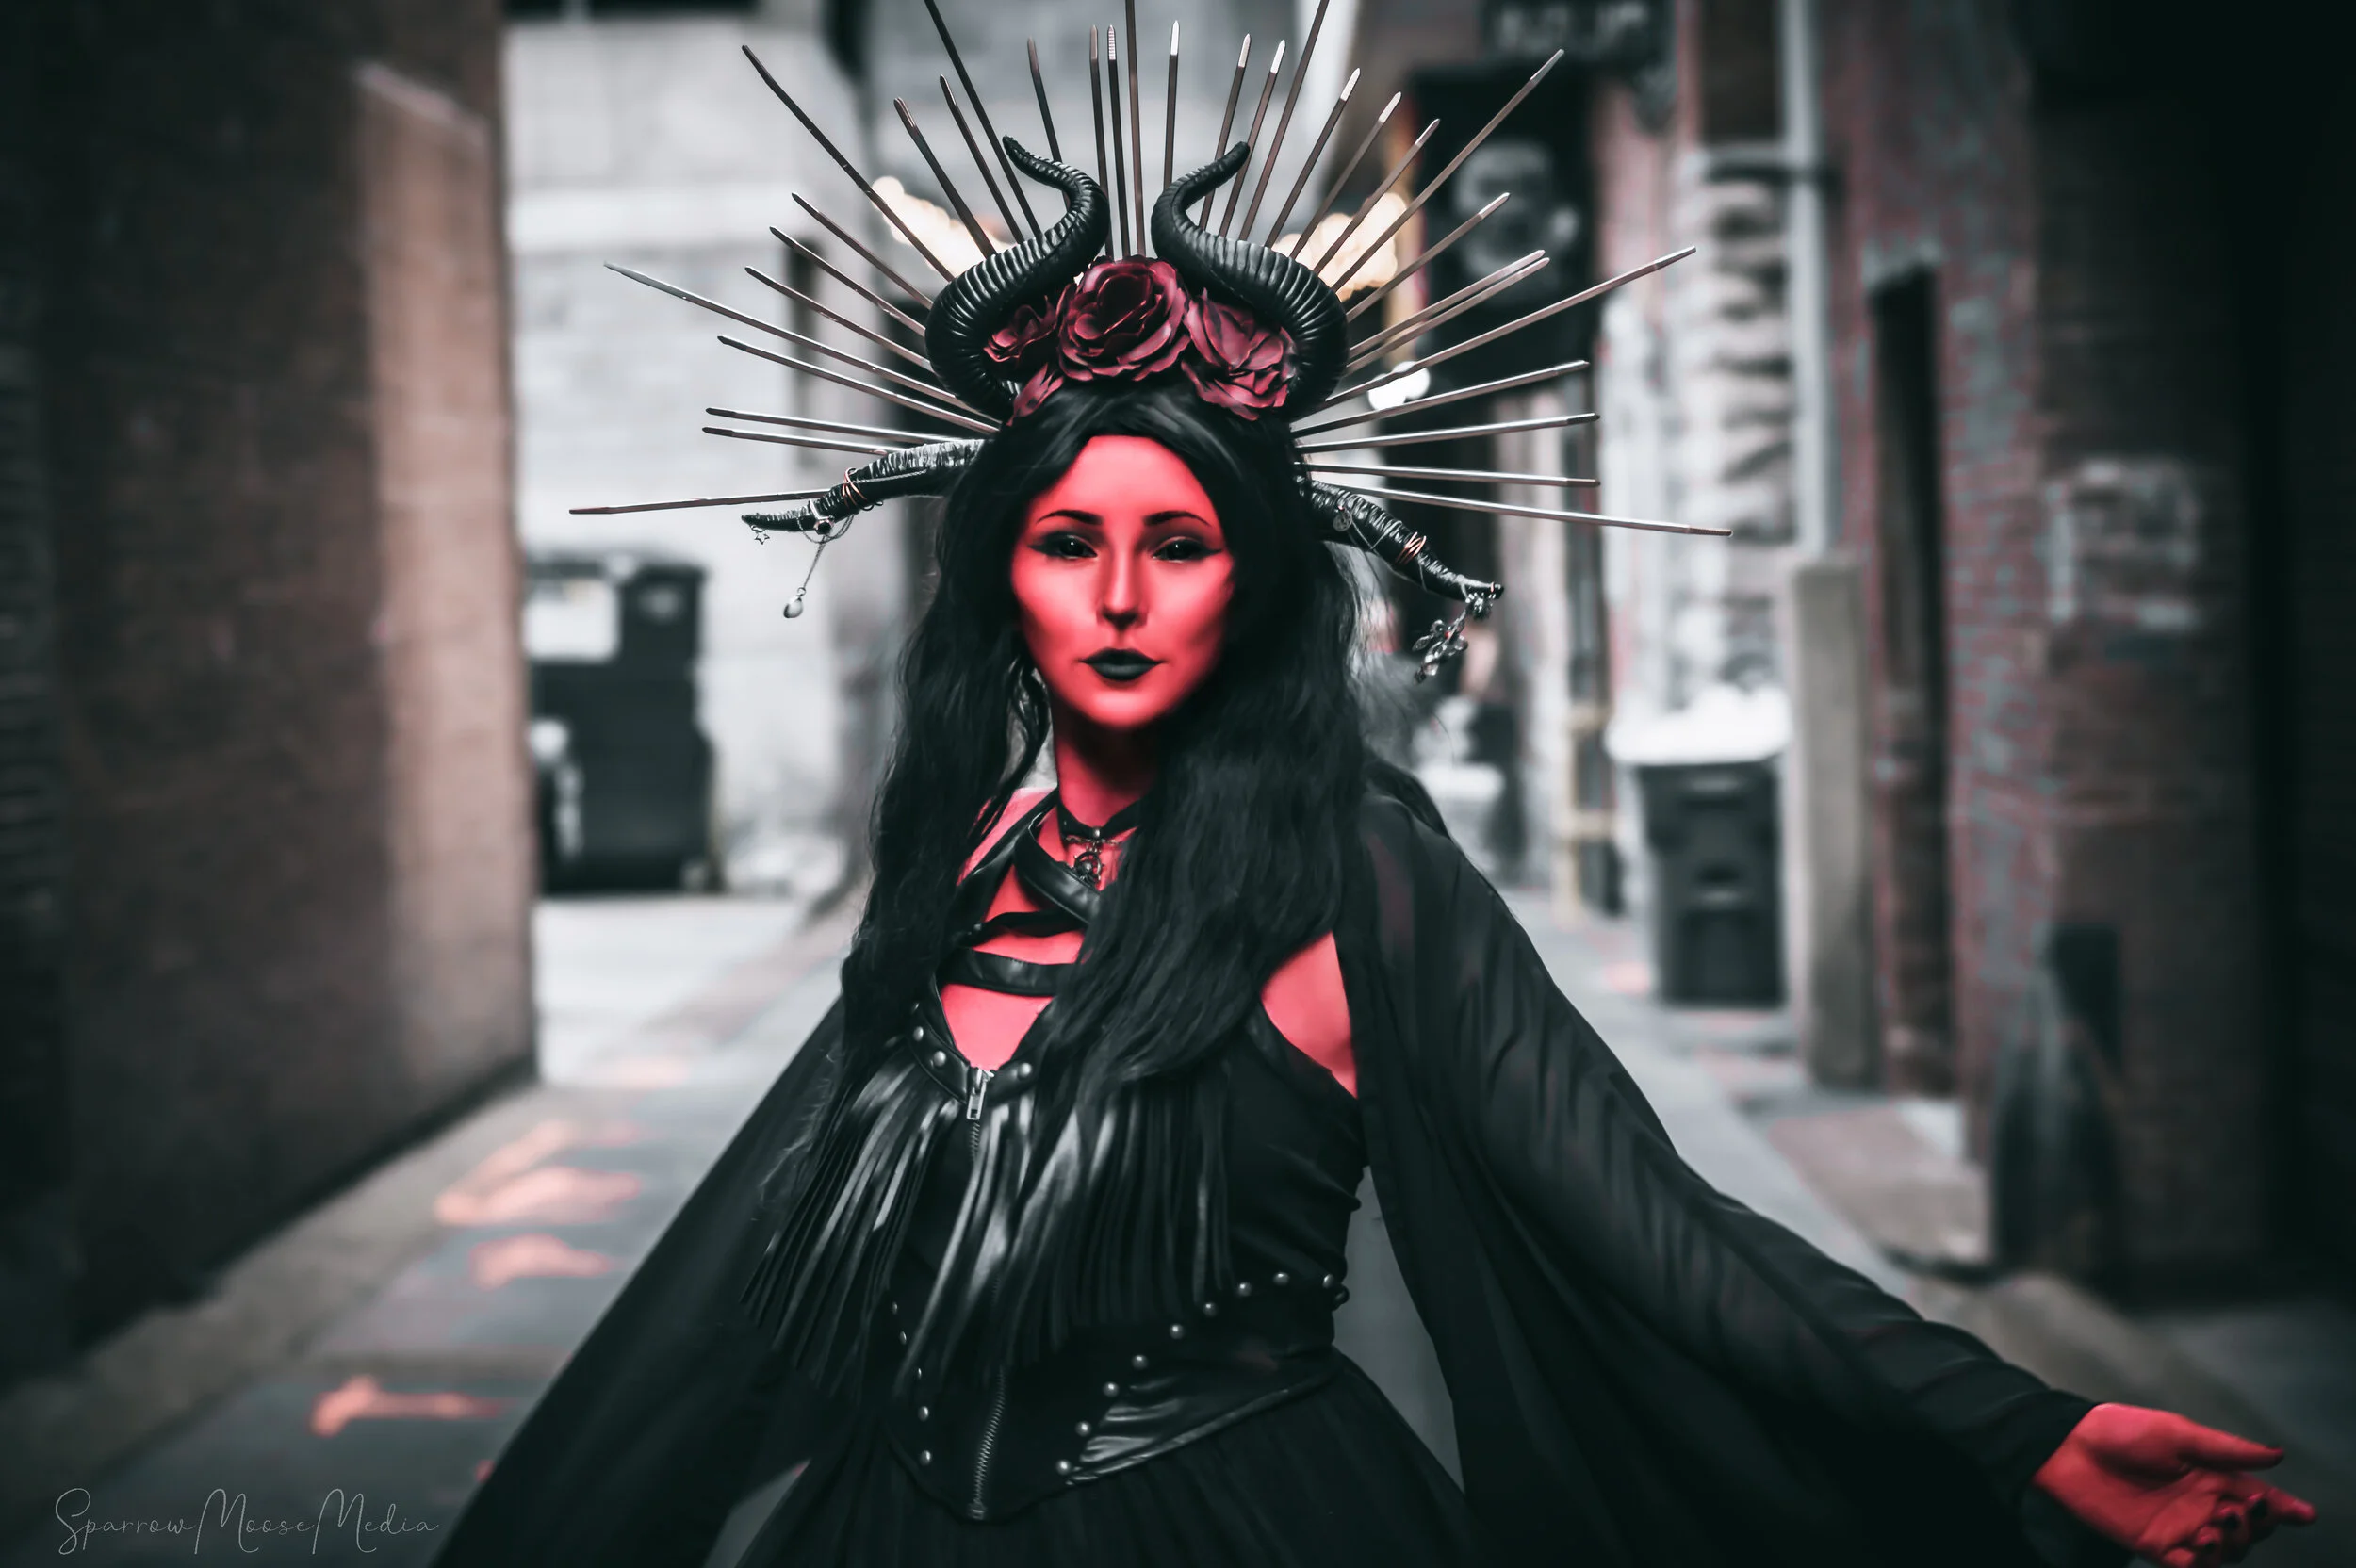
Thank you Ketzel for modeling for me in this conceptual shoot!
This was for an assignment with the theme of “red.” I collaborated with the talented special fx makeup artist @the_ketzelpretzel to do a more demonic look.
This will be a part of my Inner Demons collection, which will be a photo series exploring the Seven Deadly Sins, mental illnesses, and different coping methods, such as self medication.


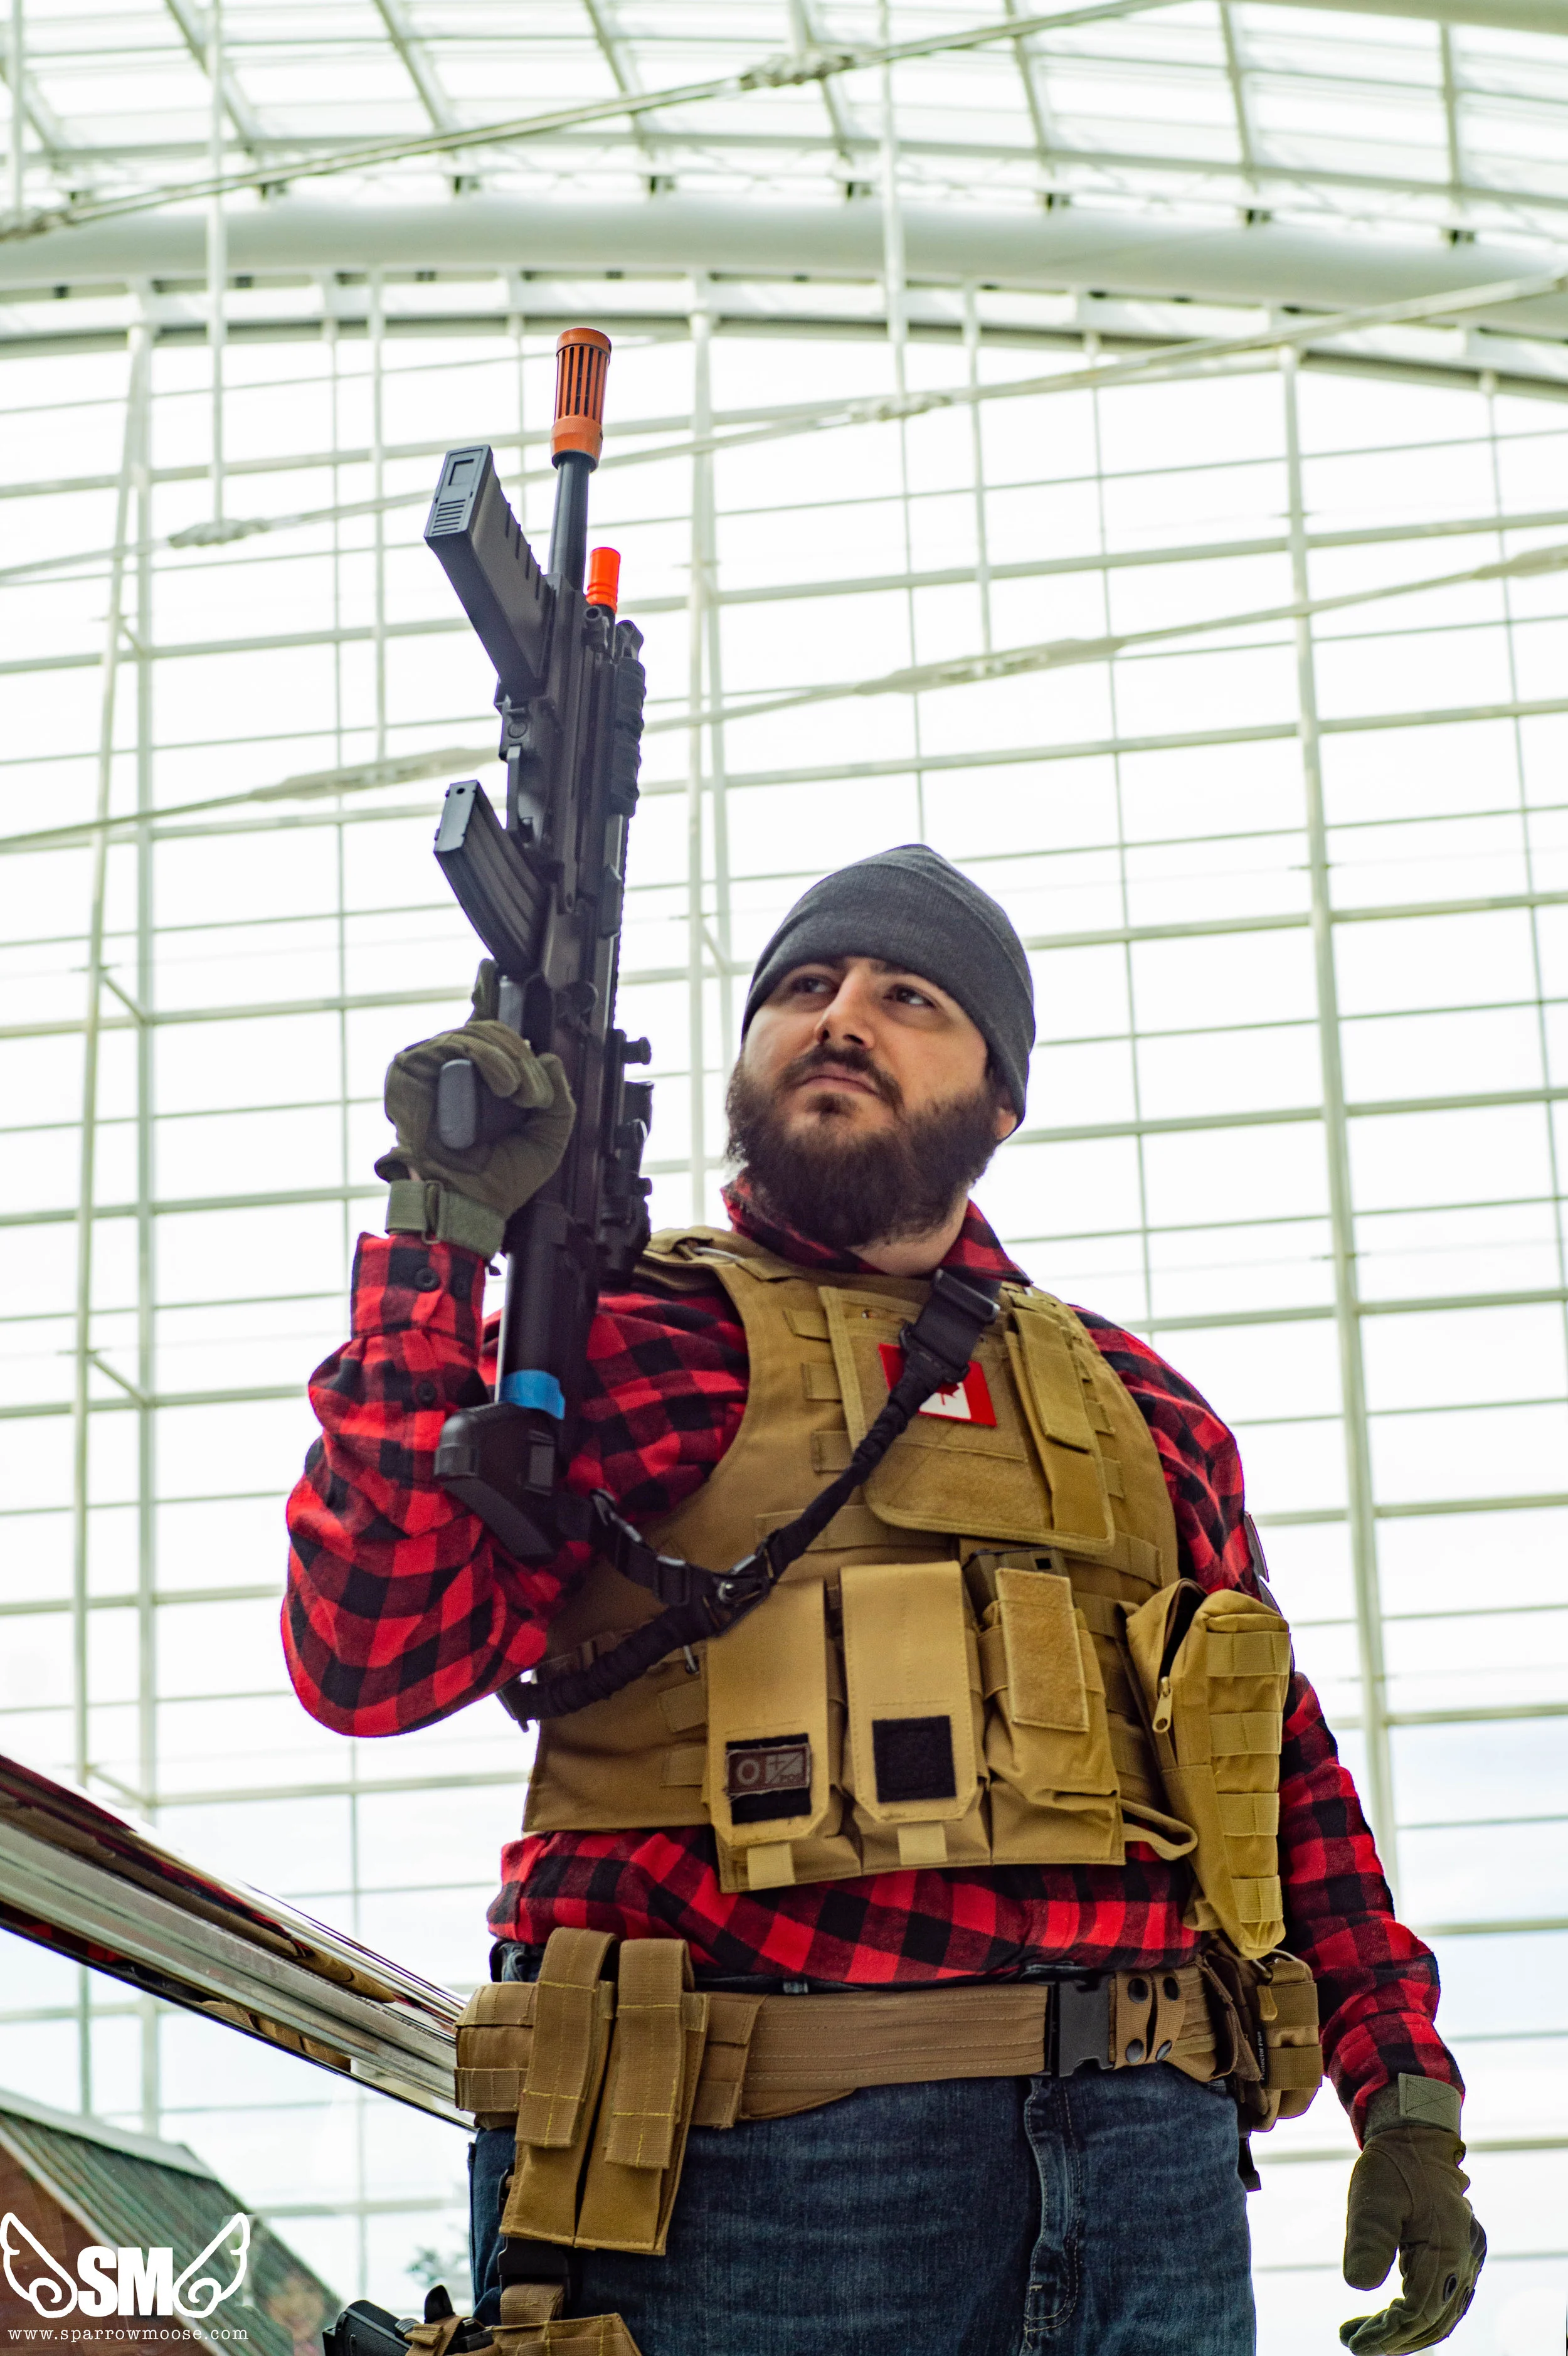
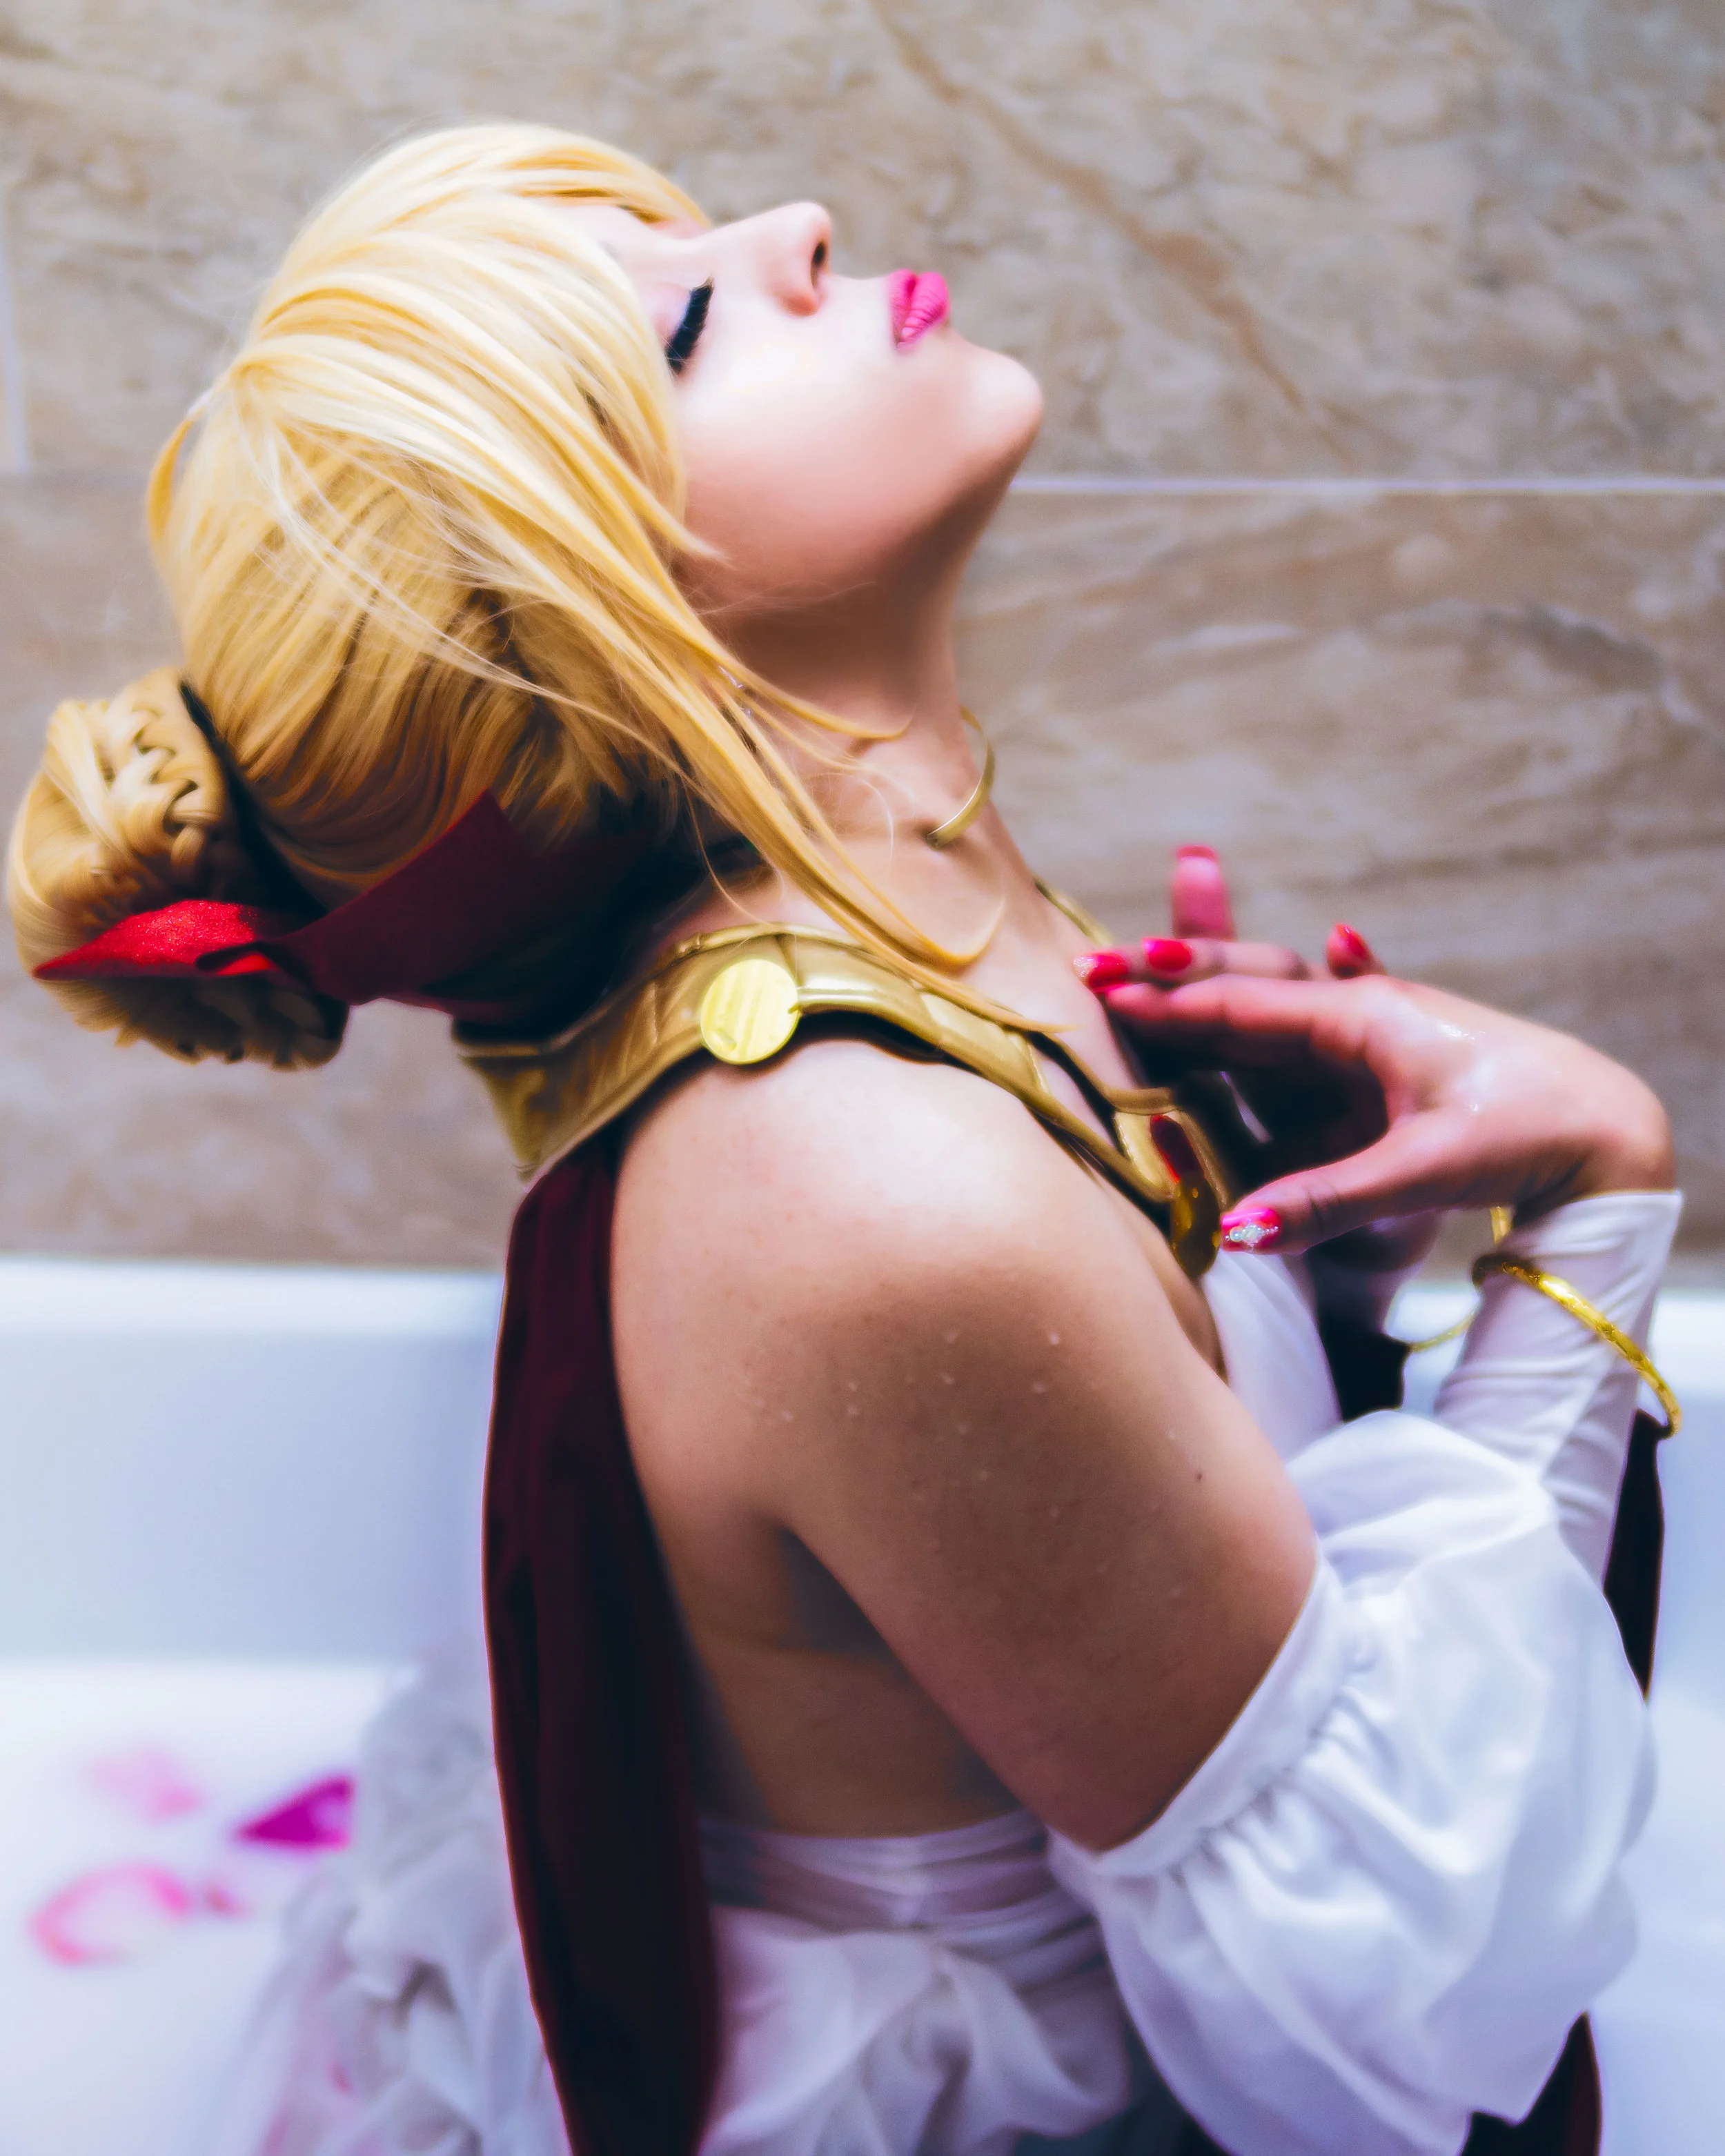
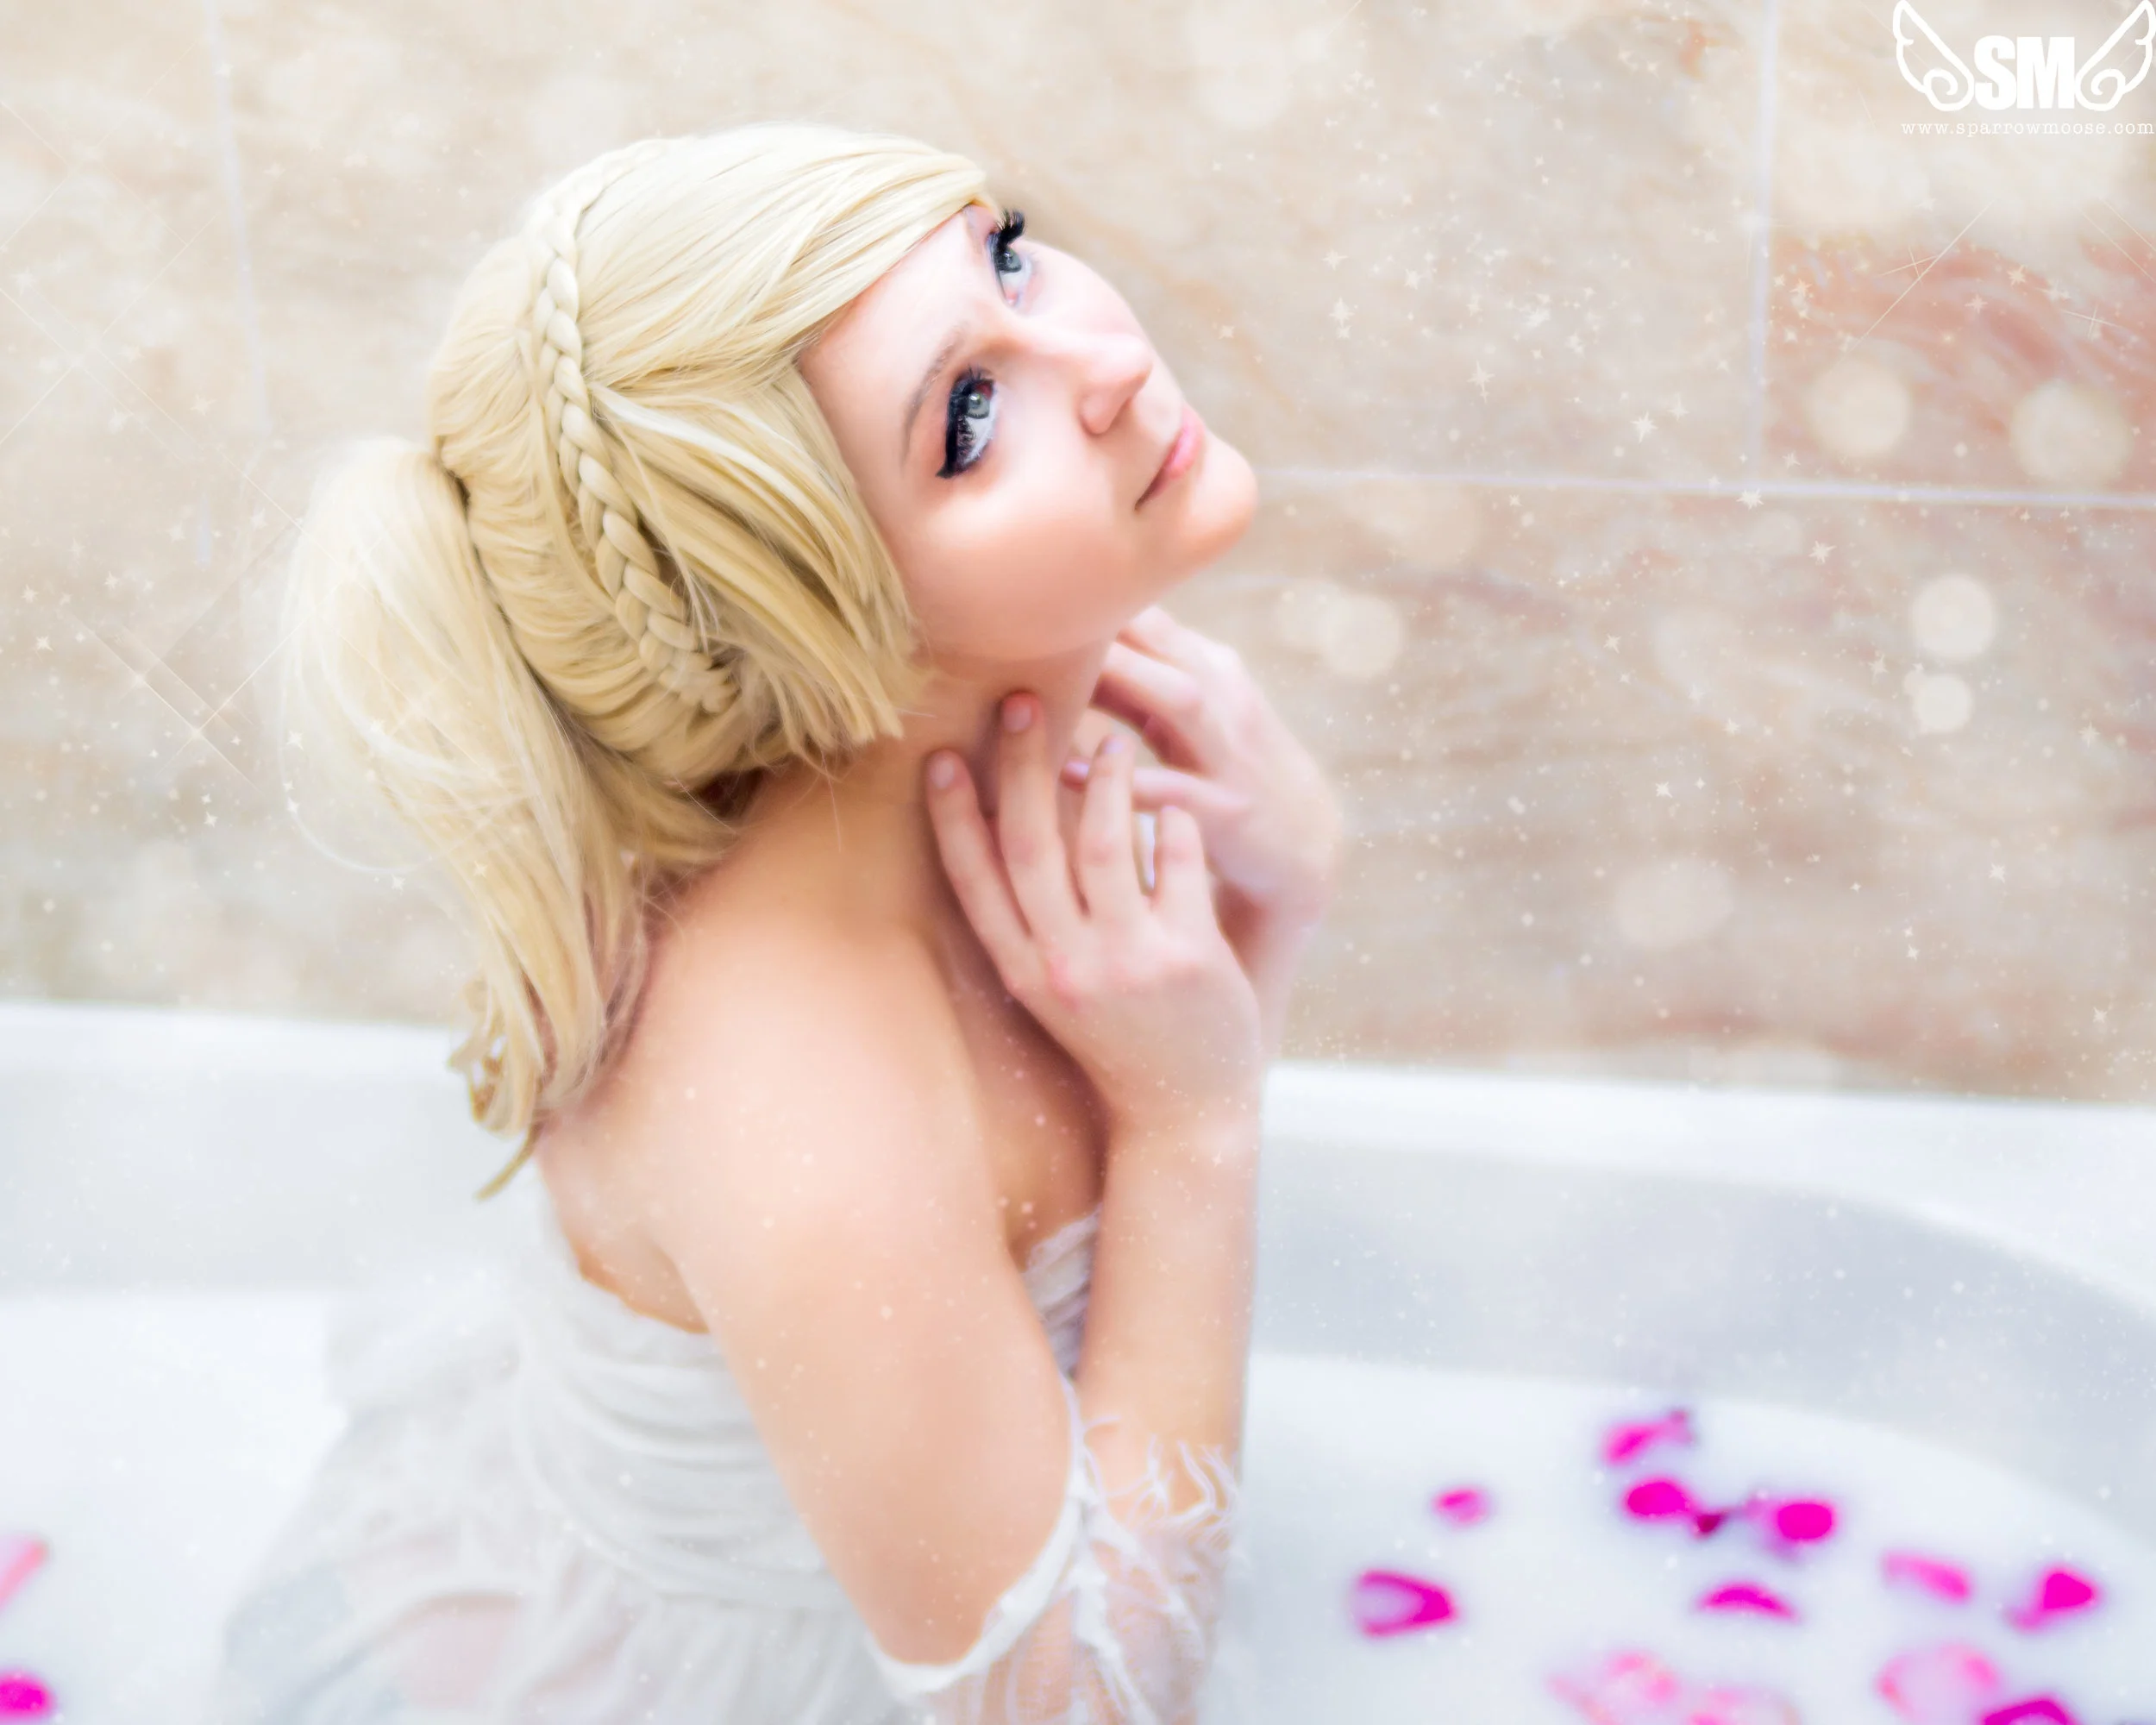
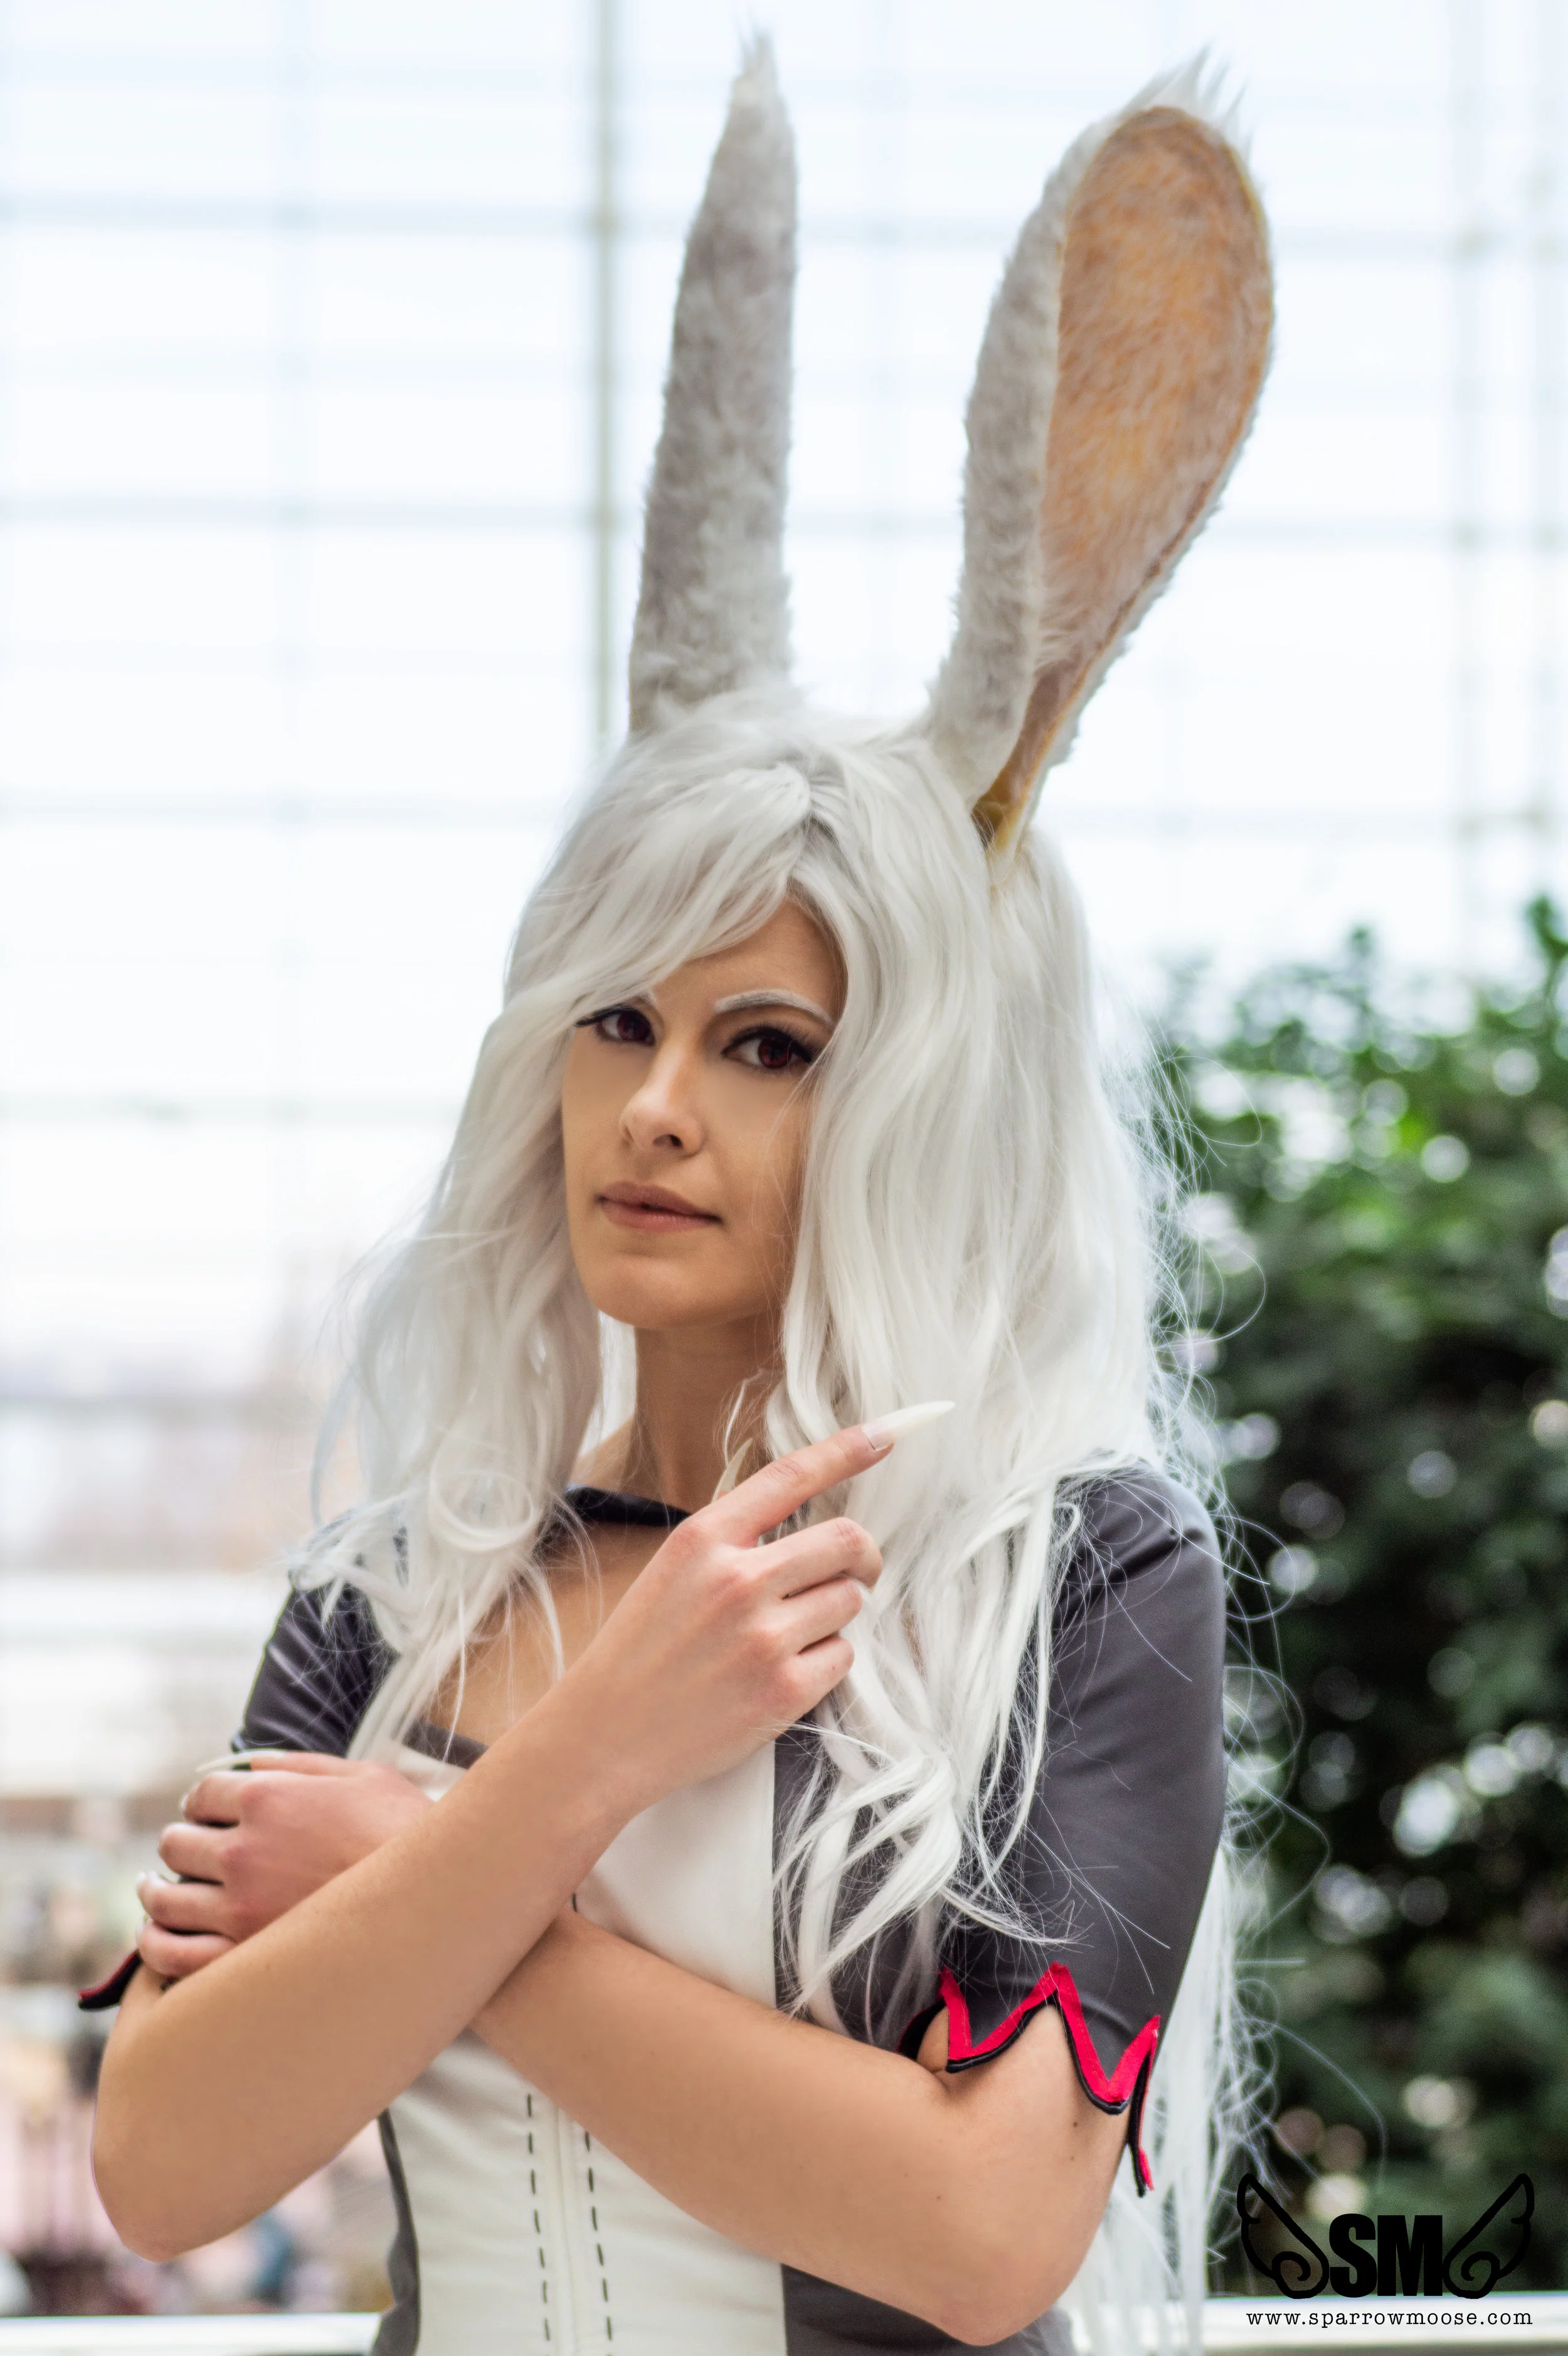
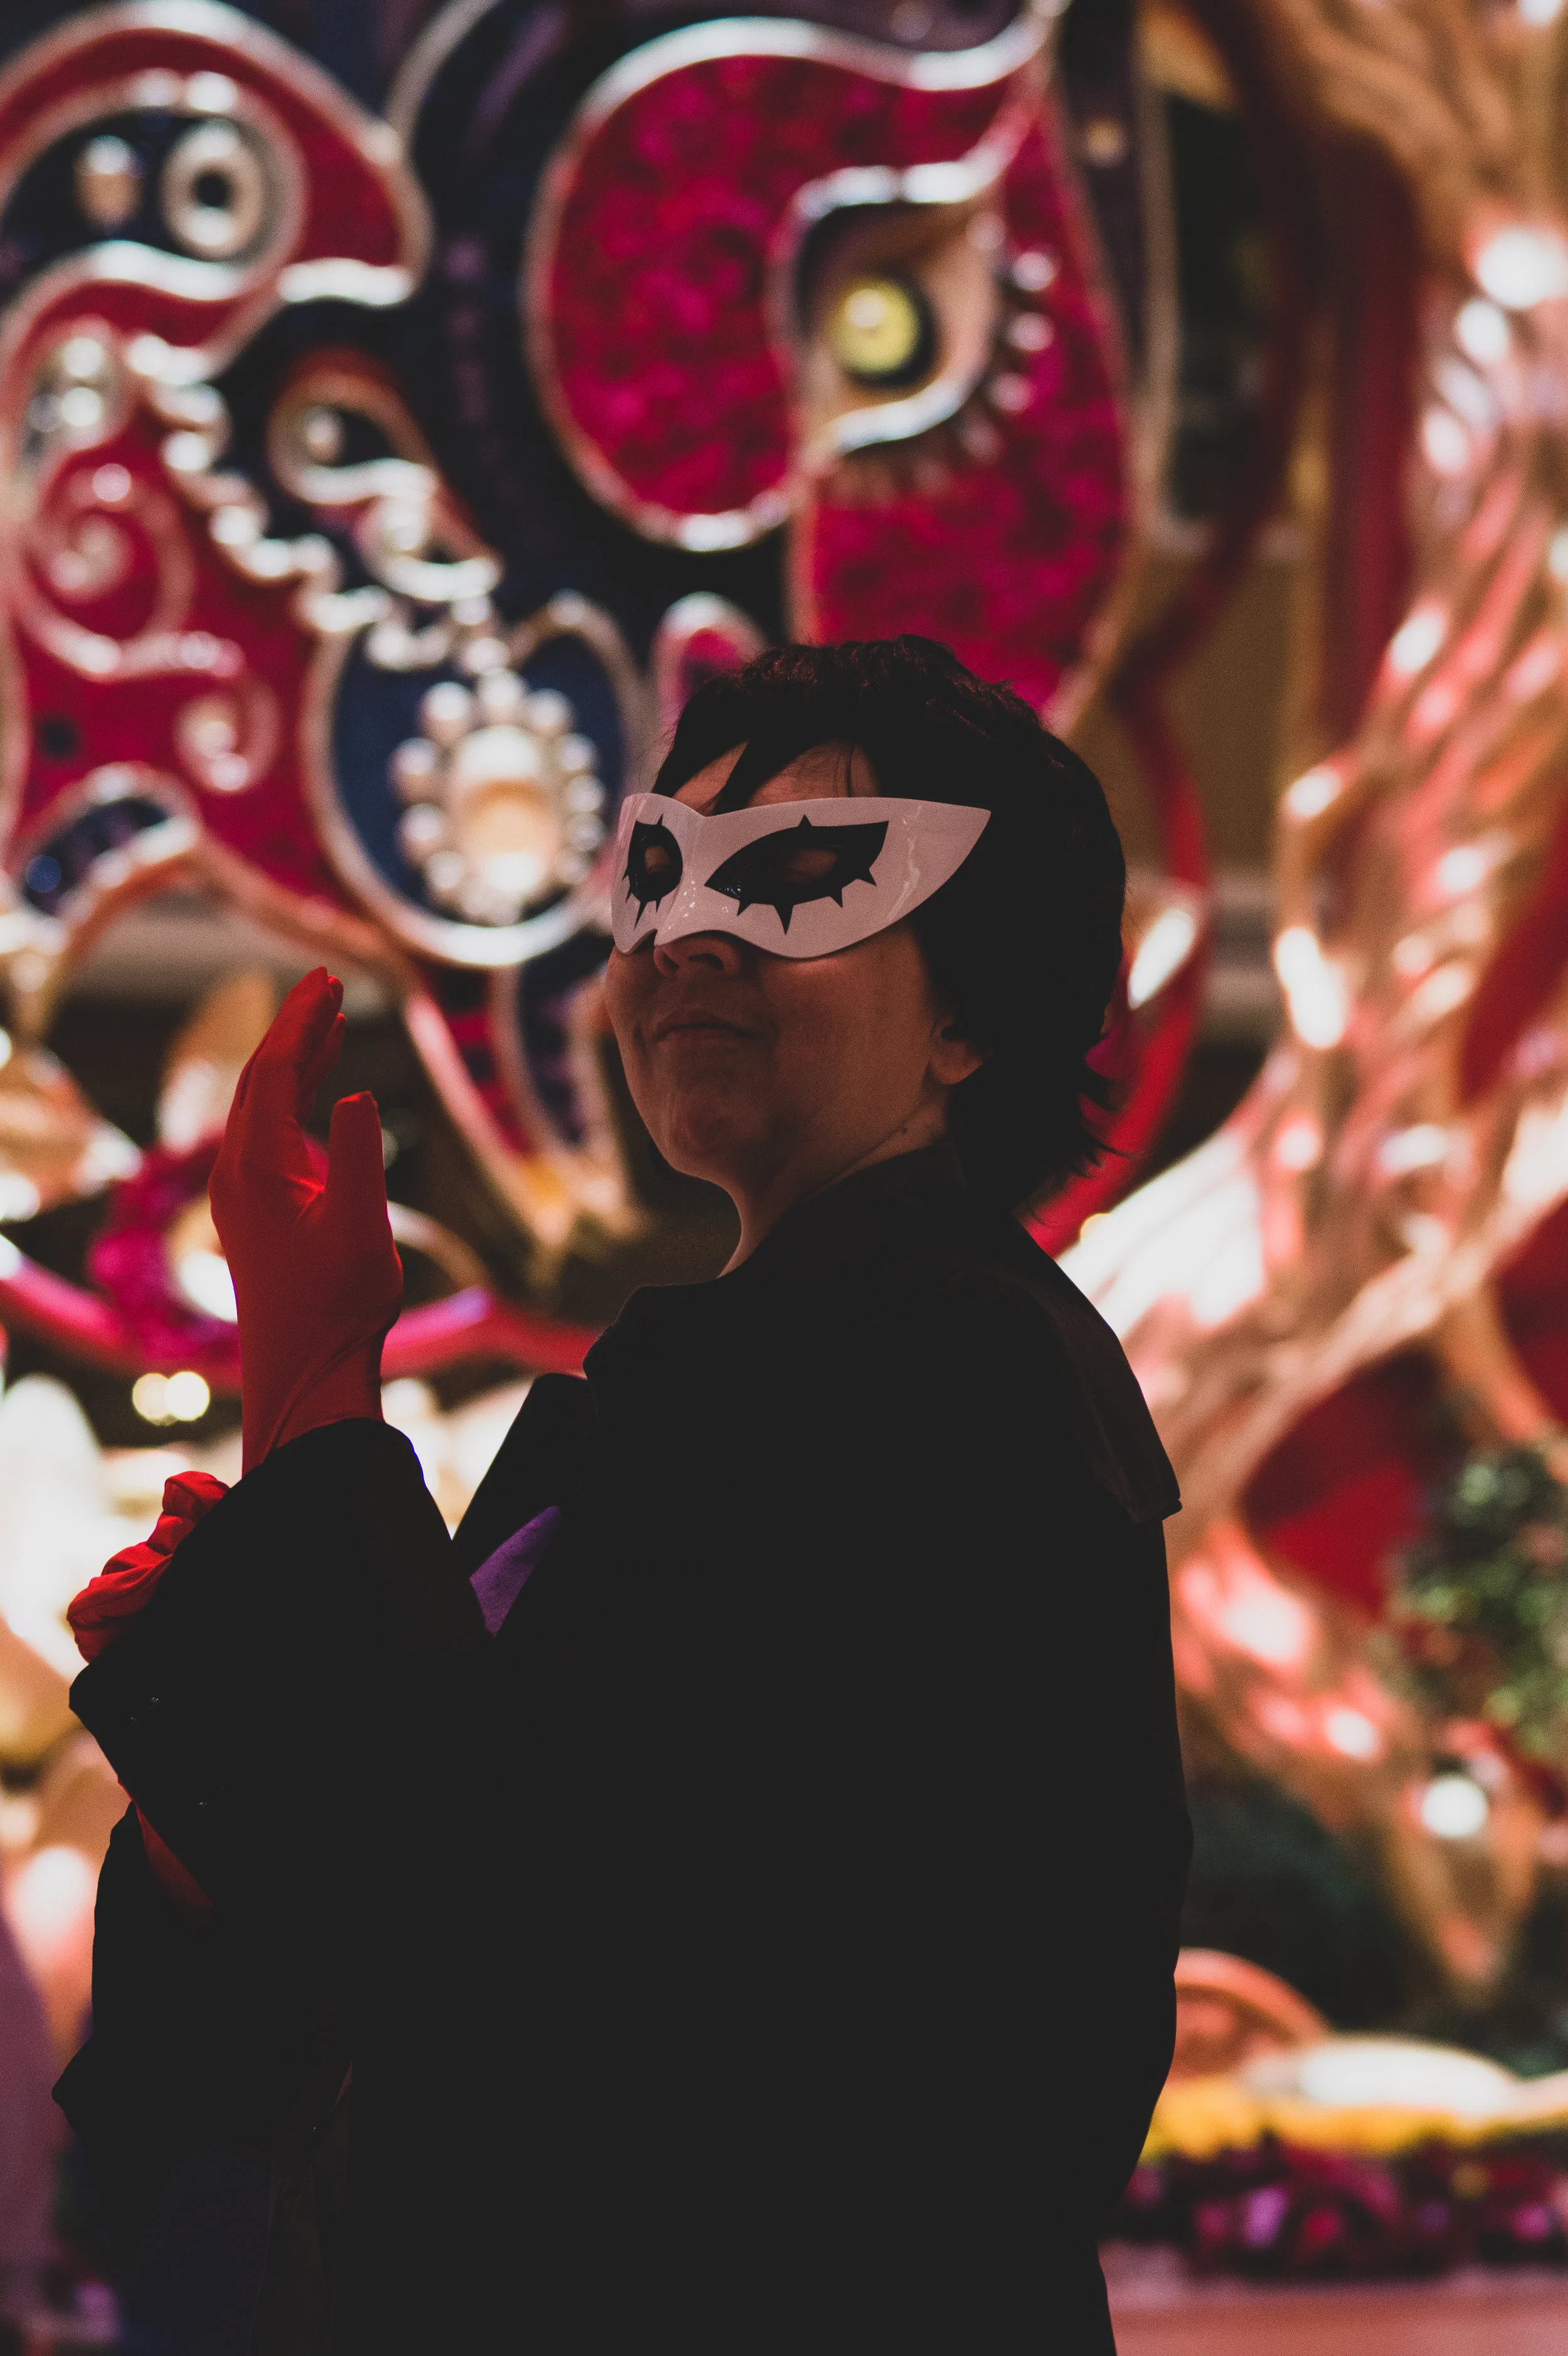
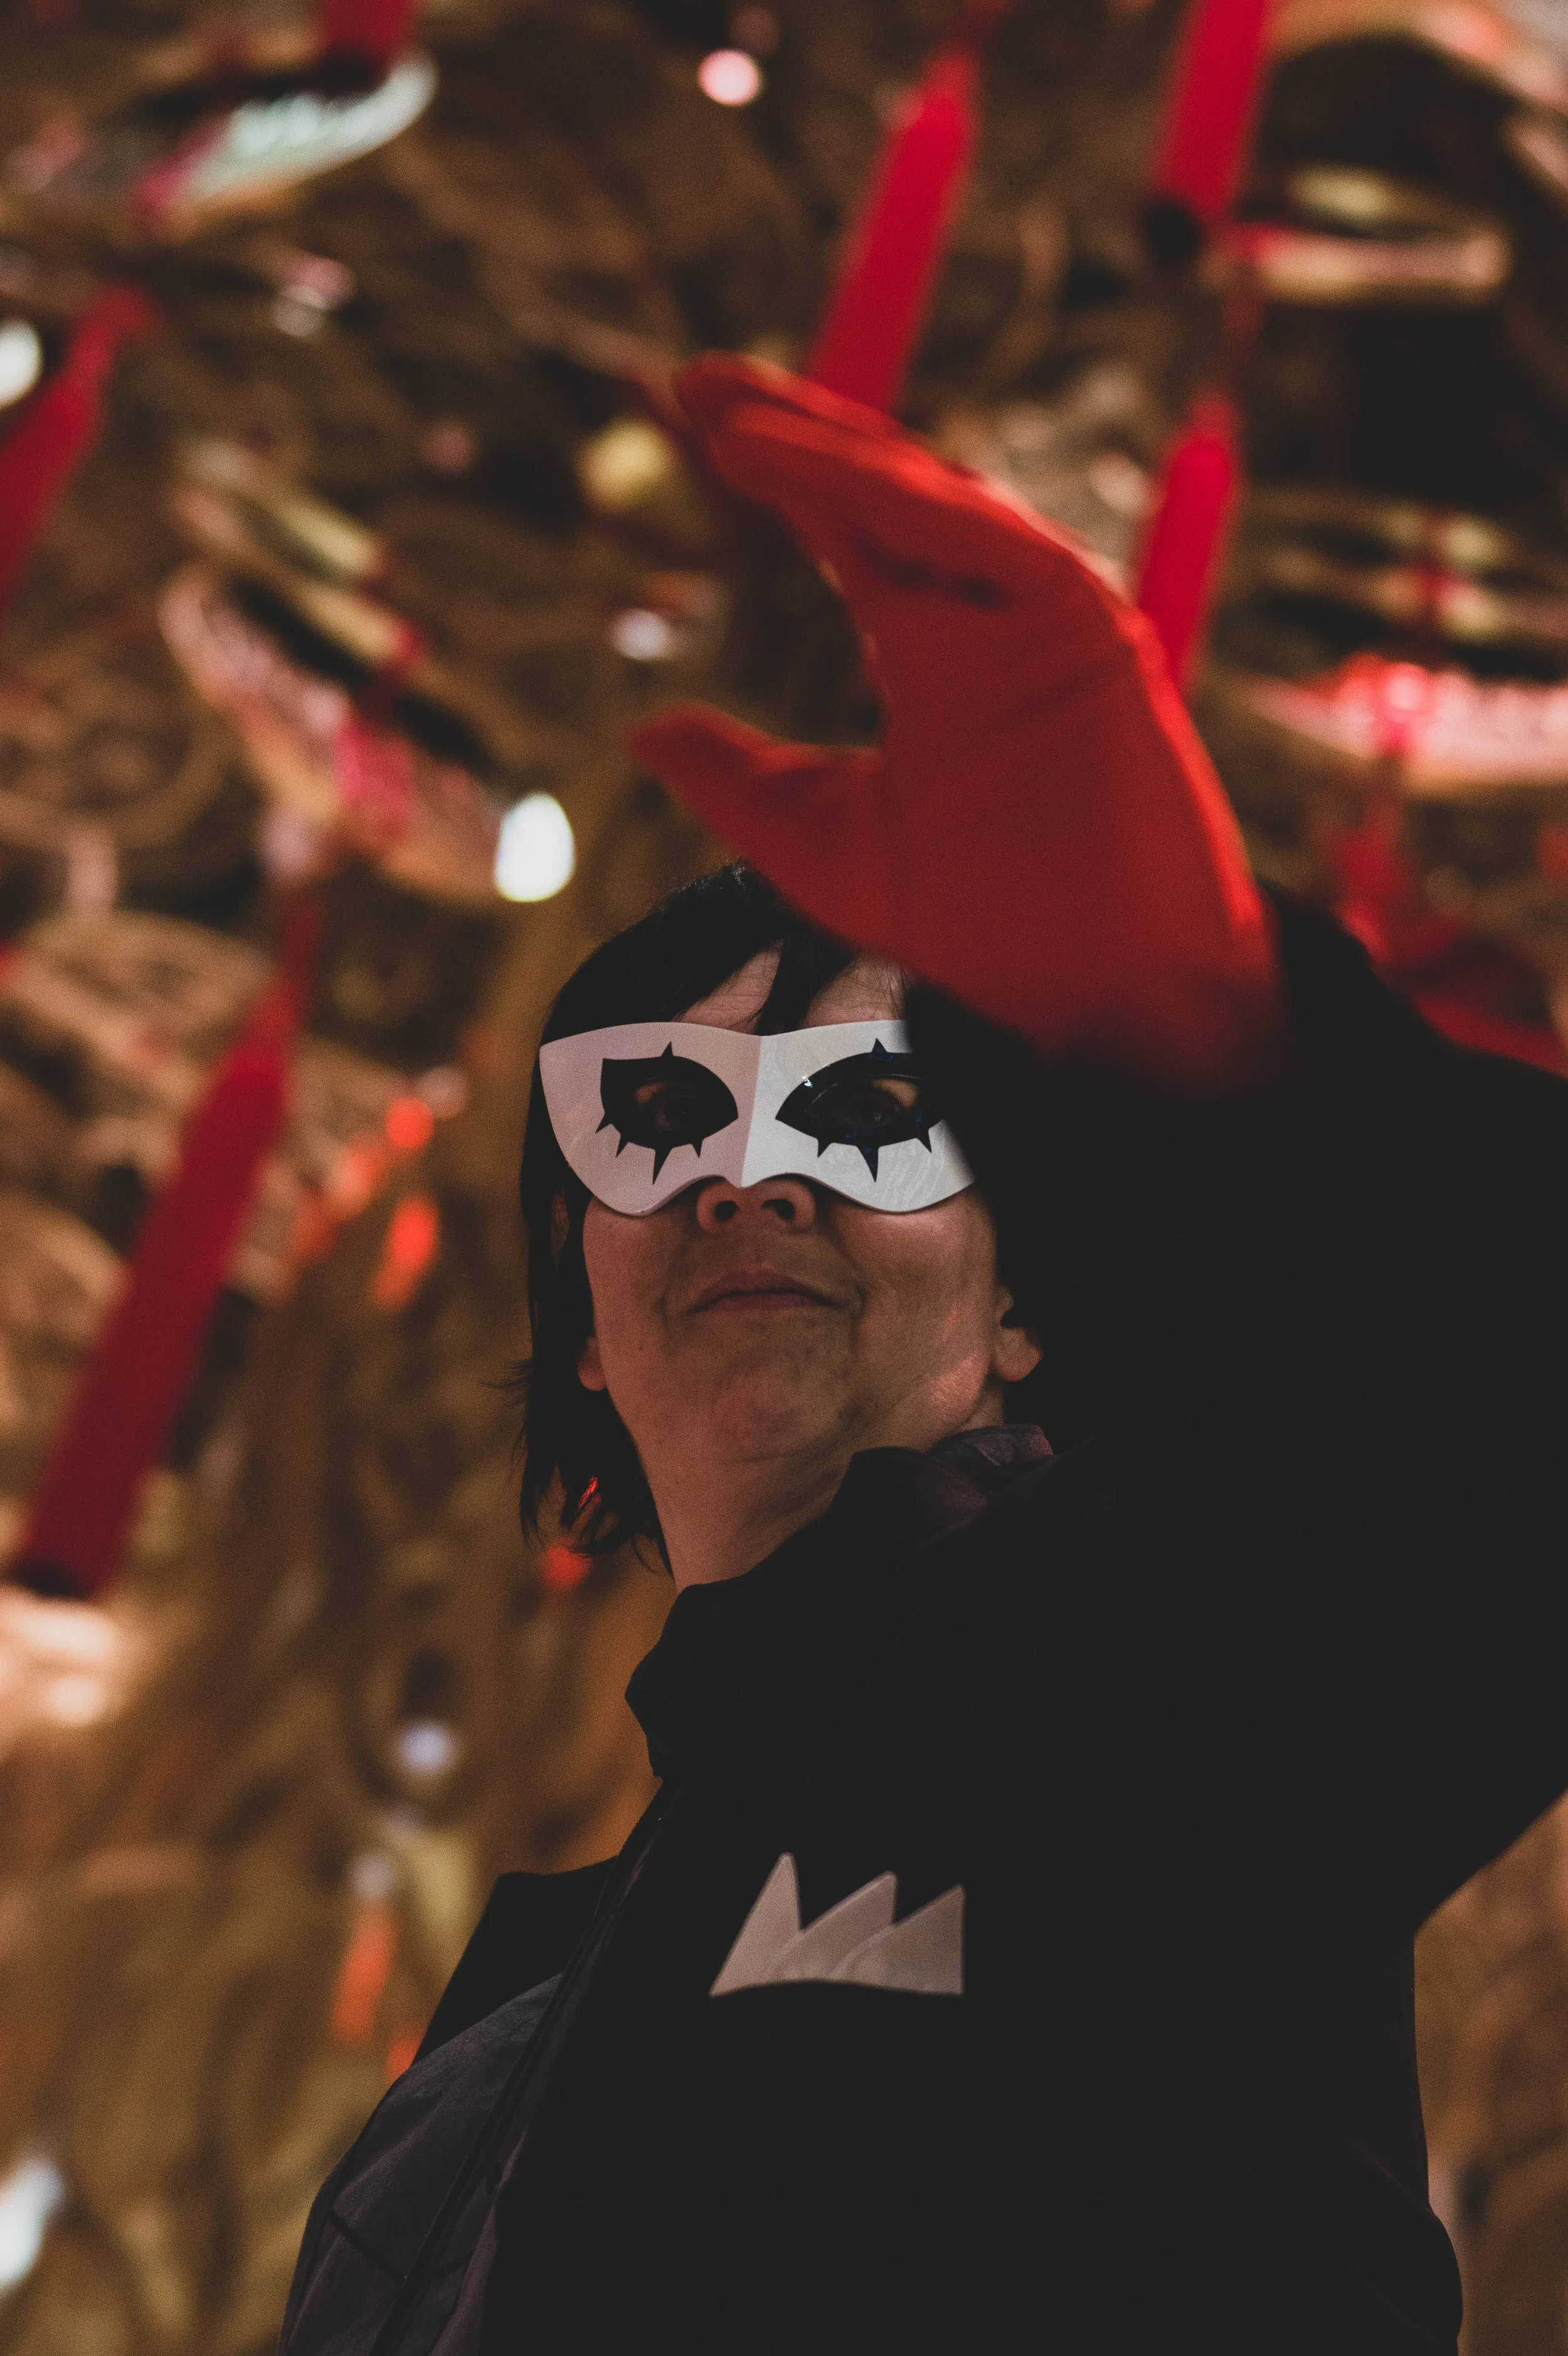
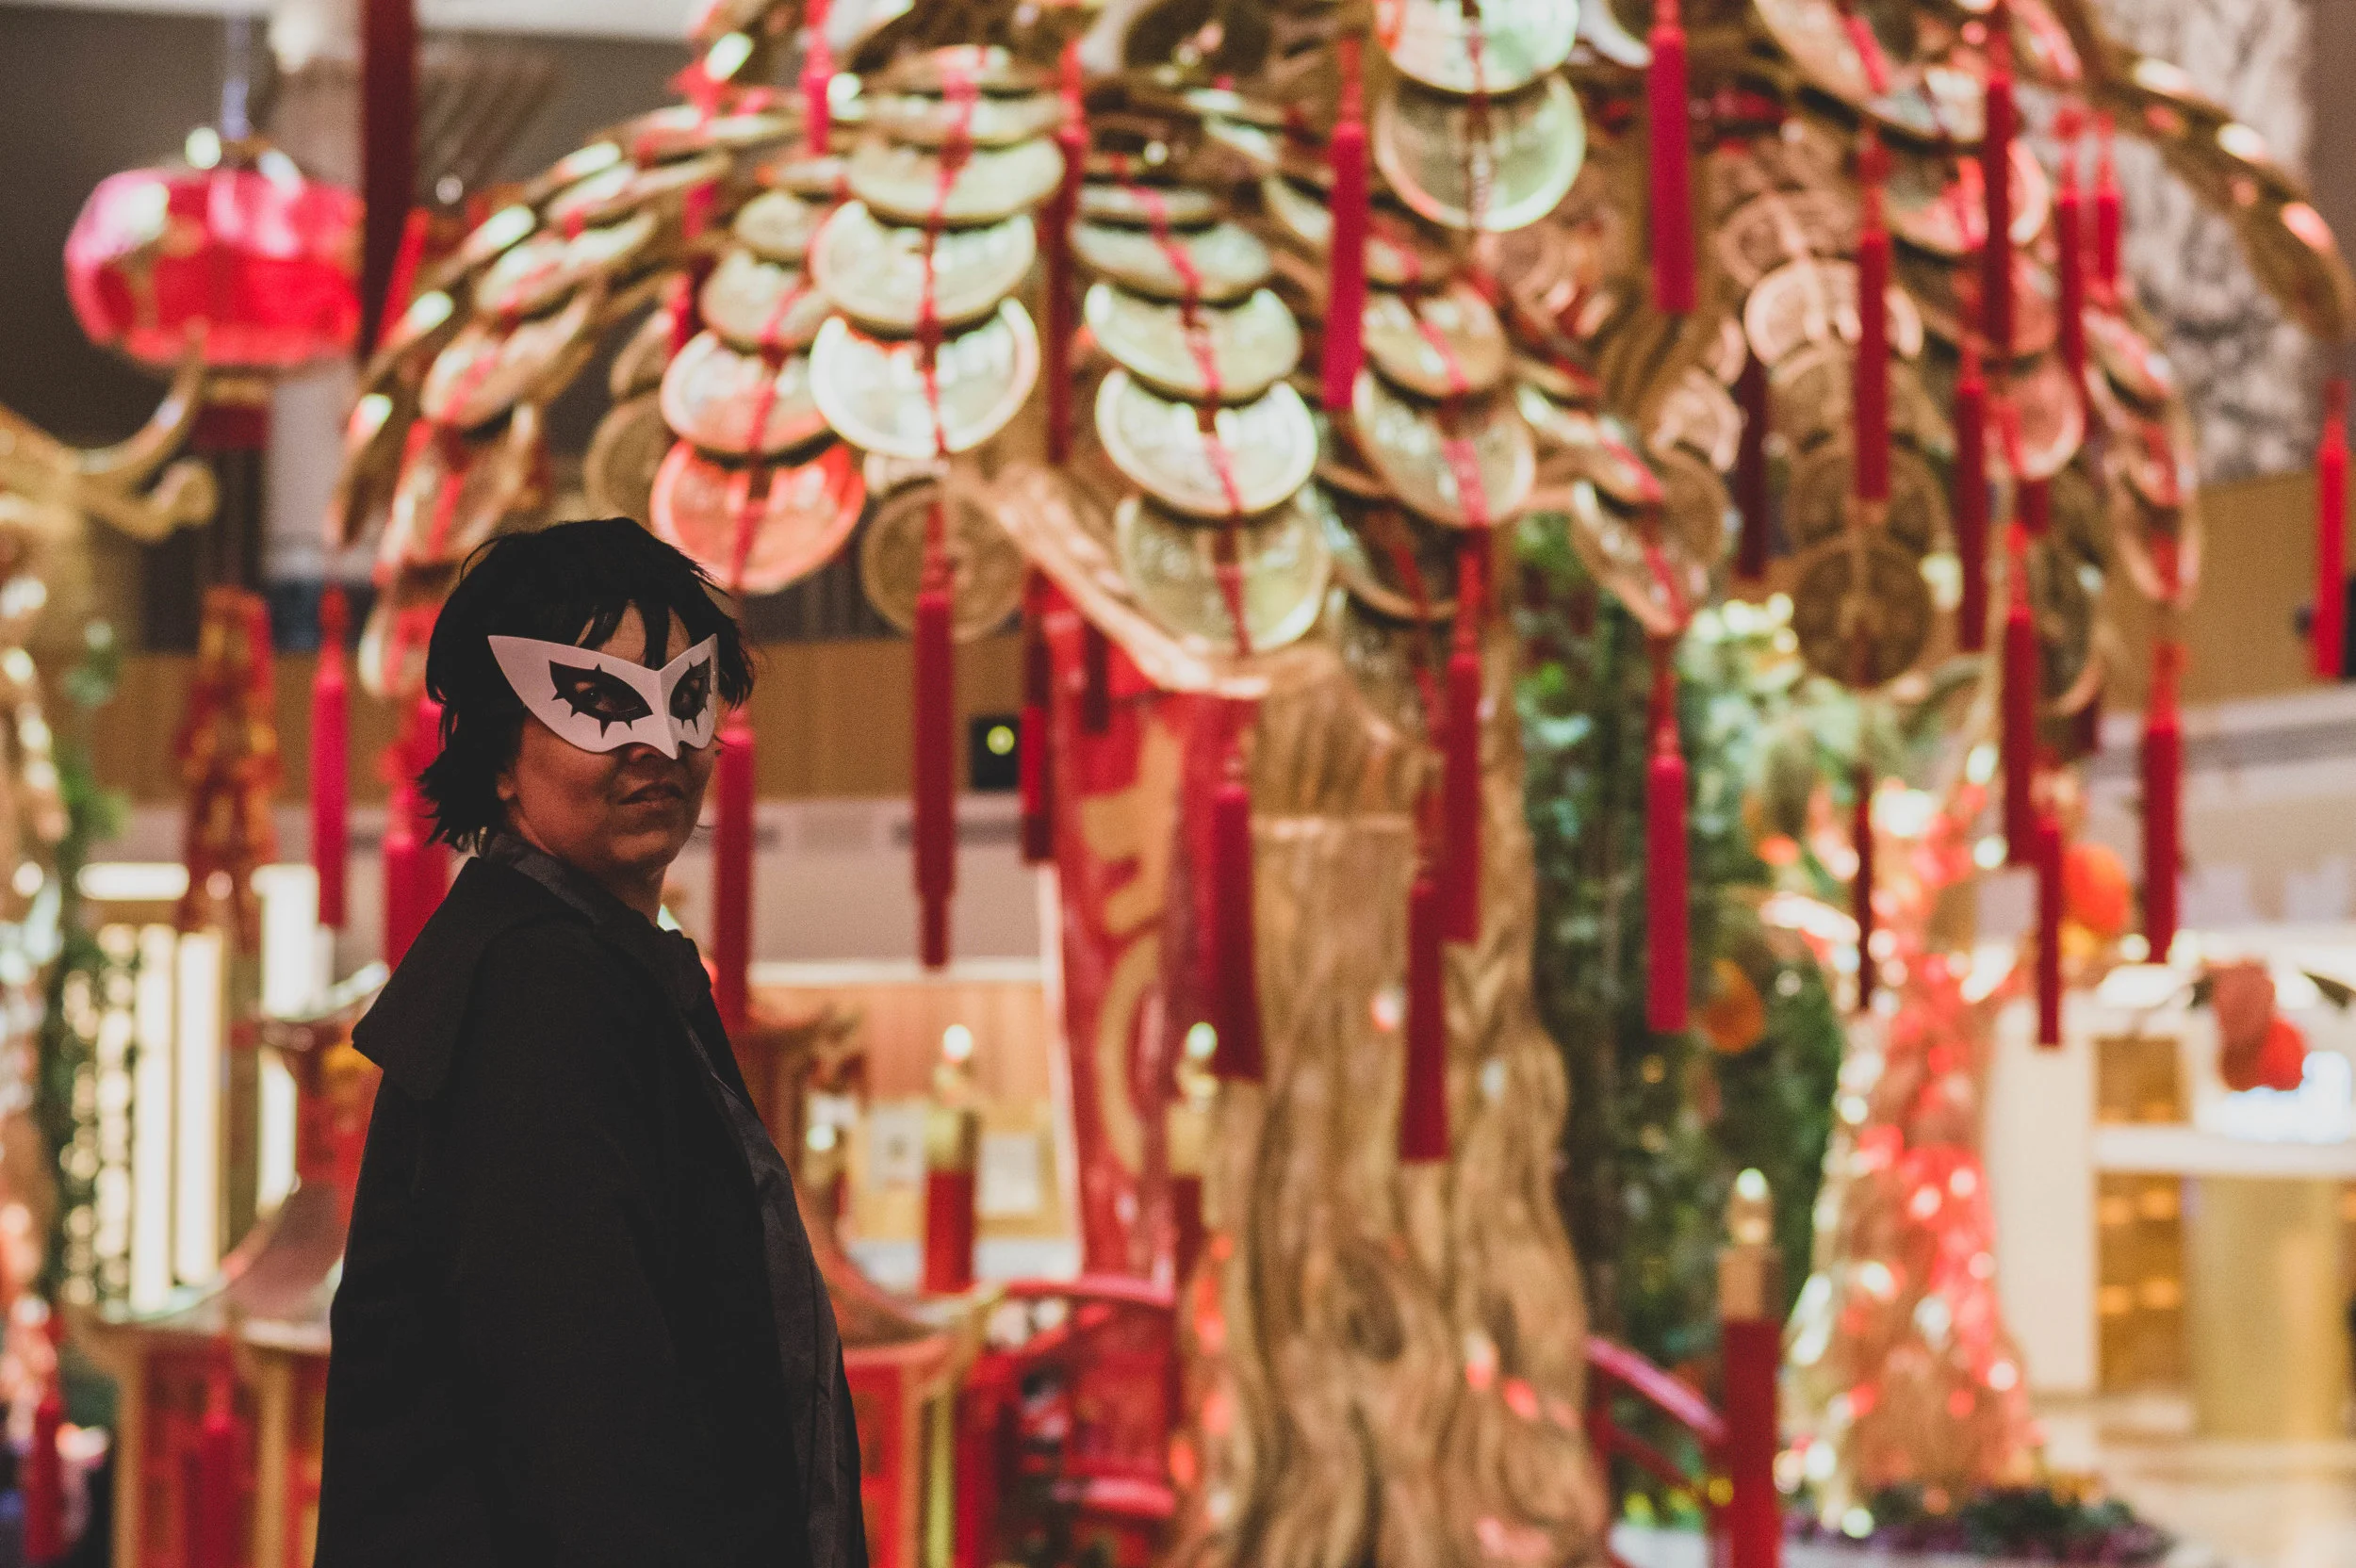
Katsucon 2019

Cosplayer: Mika Ackerman
Wowie!
Katsucon this year was honestly a lot of fun. I was fully booked (if not a little over booked) this year, but it was AMAZING! I am in LOVE with a bunch of the shots from all of the sessions I did. Thank you to everyone that booked a session with me, and thank you for your patience!
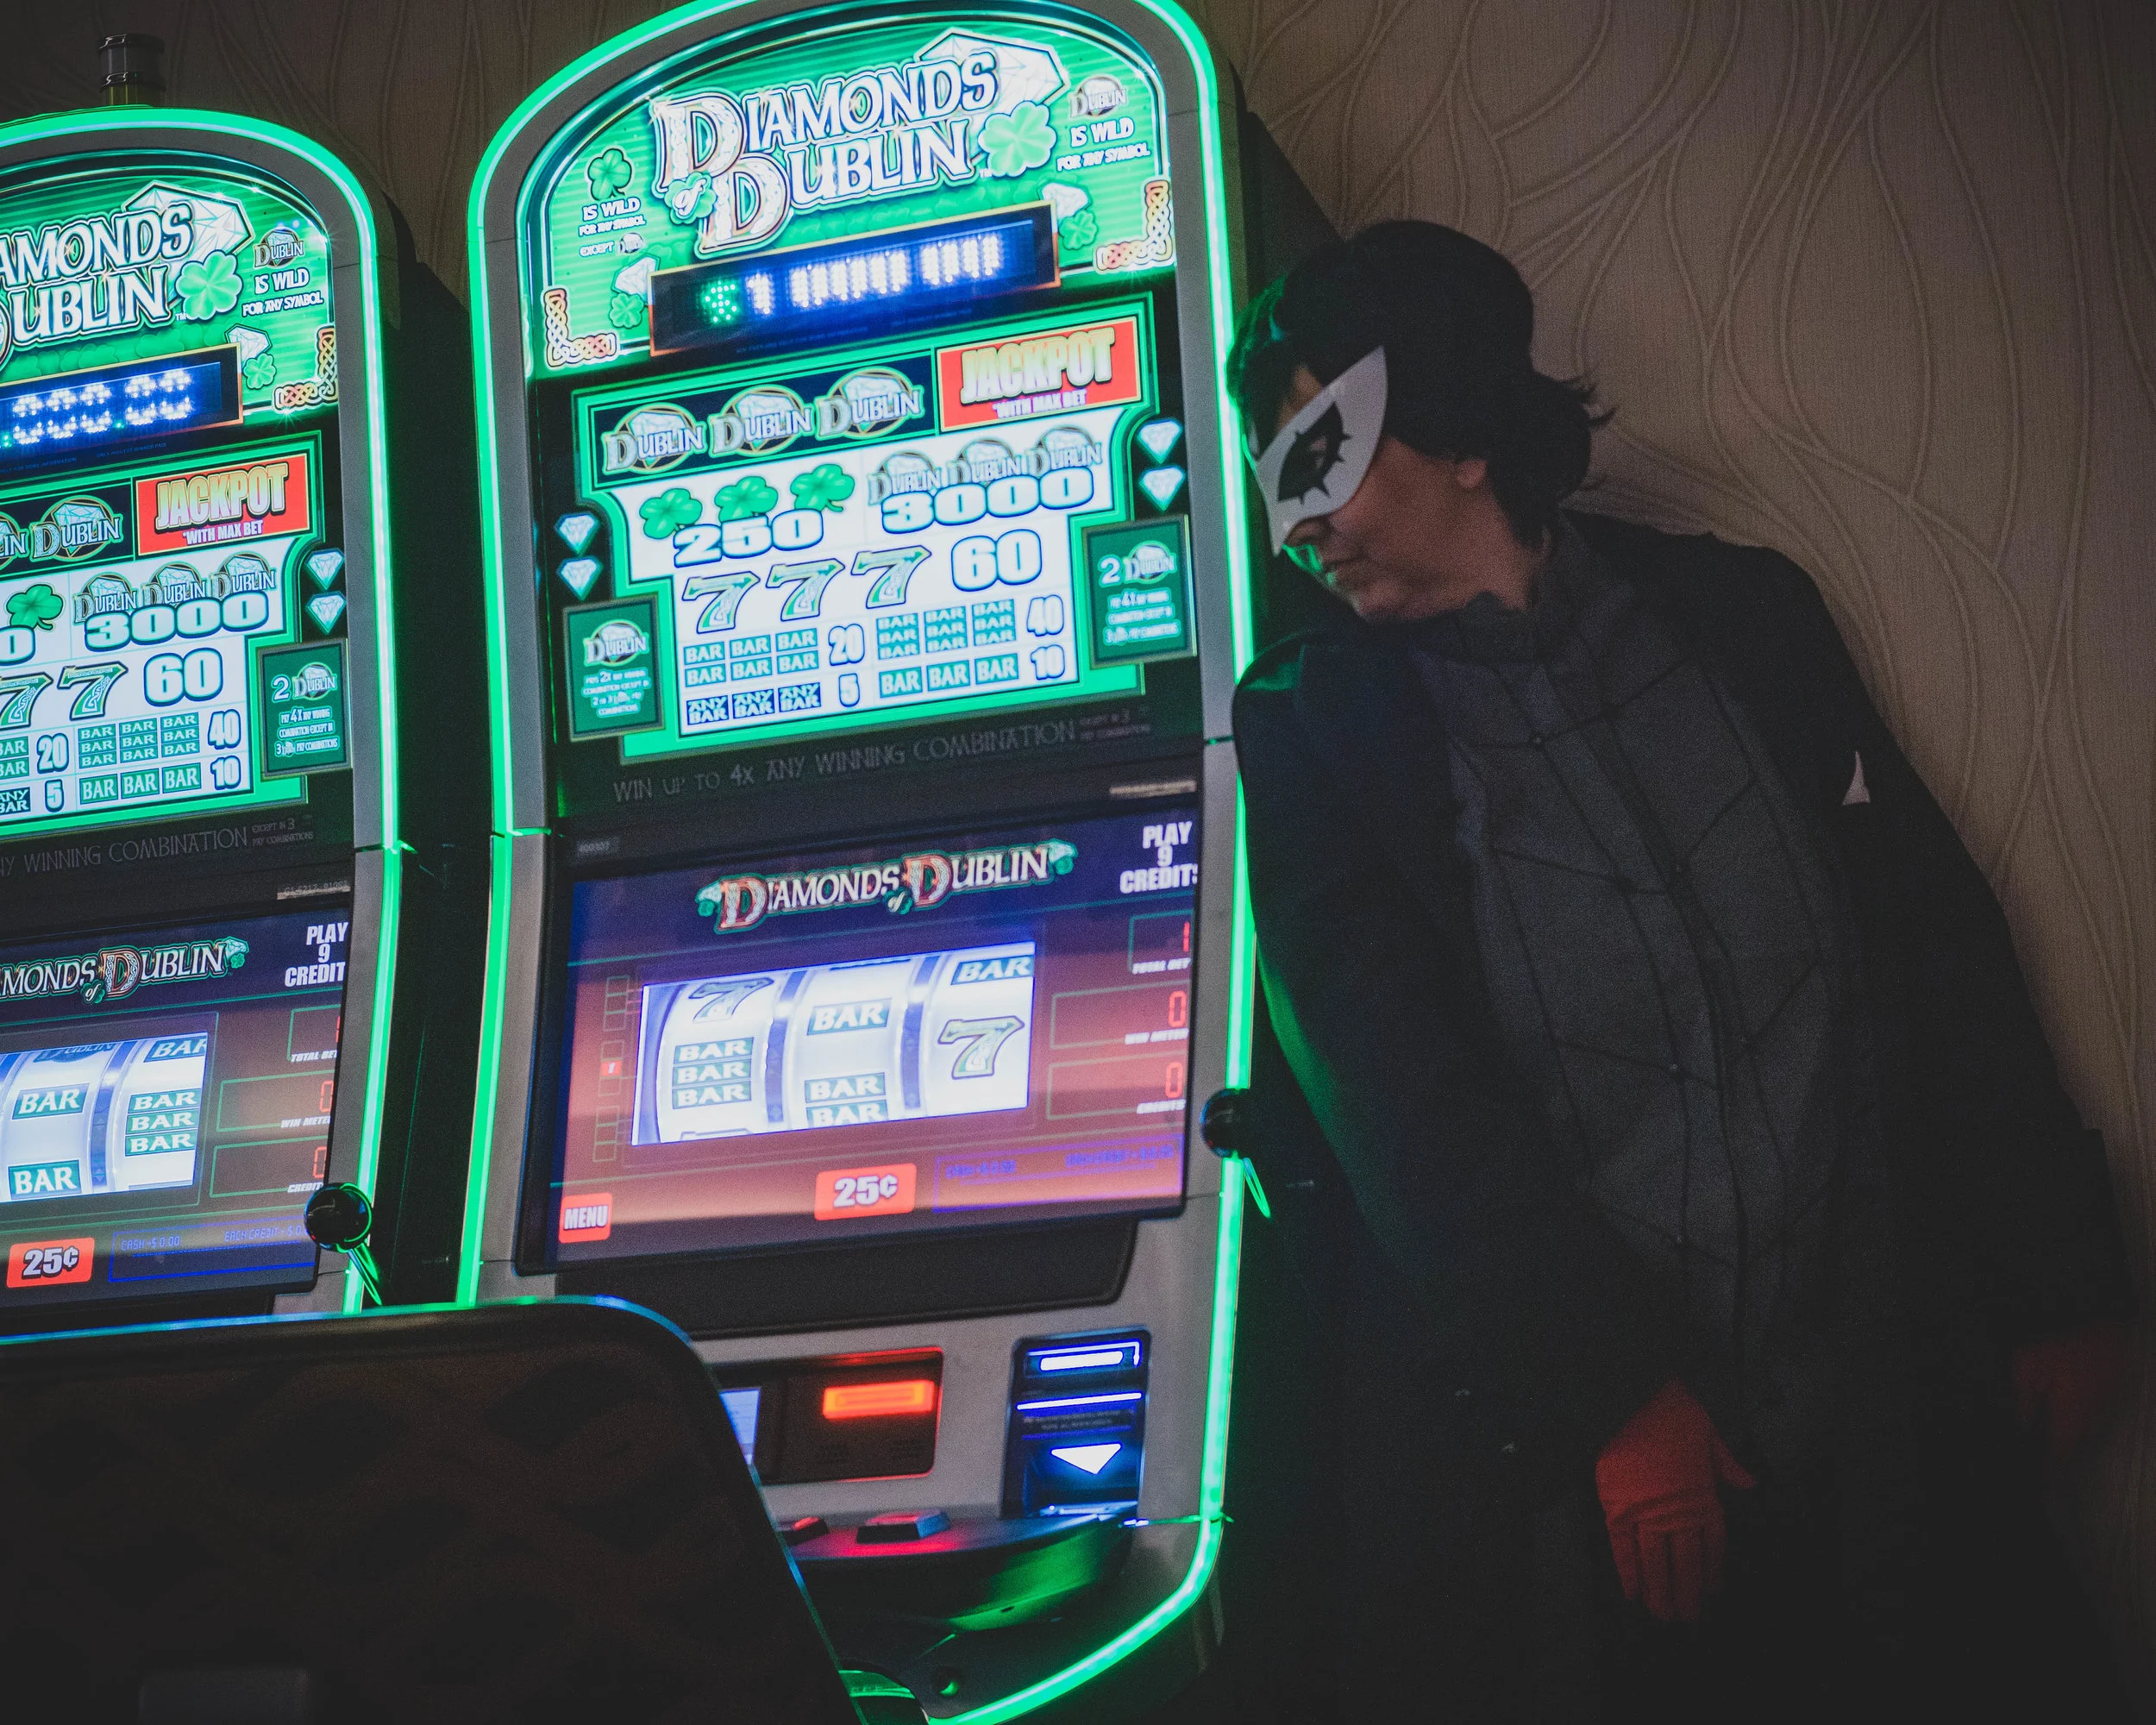
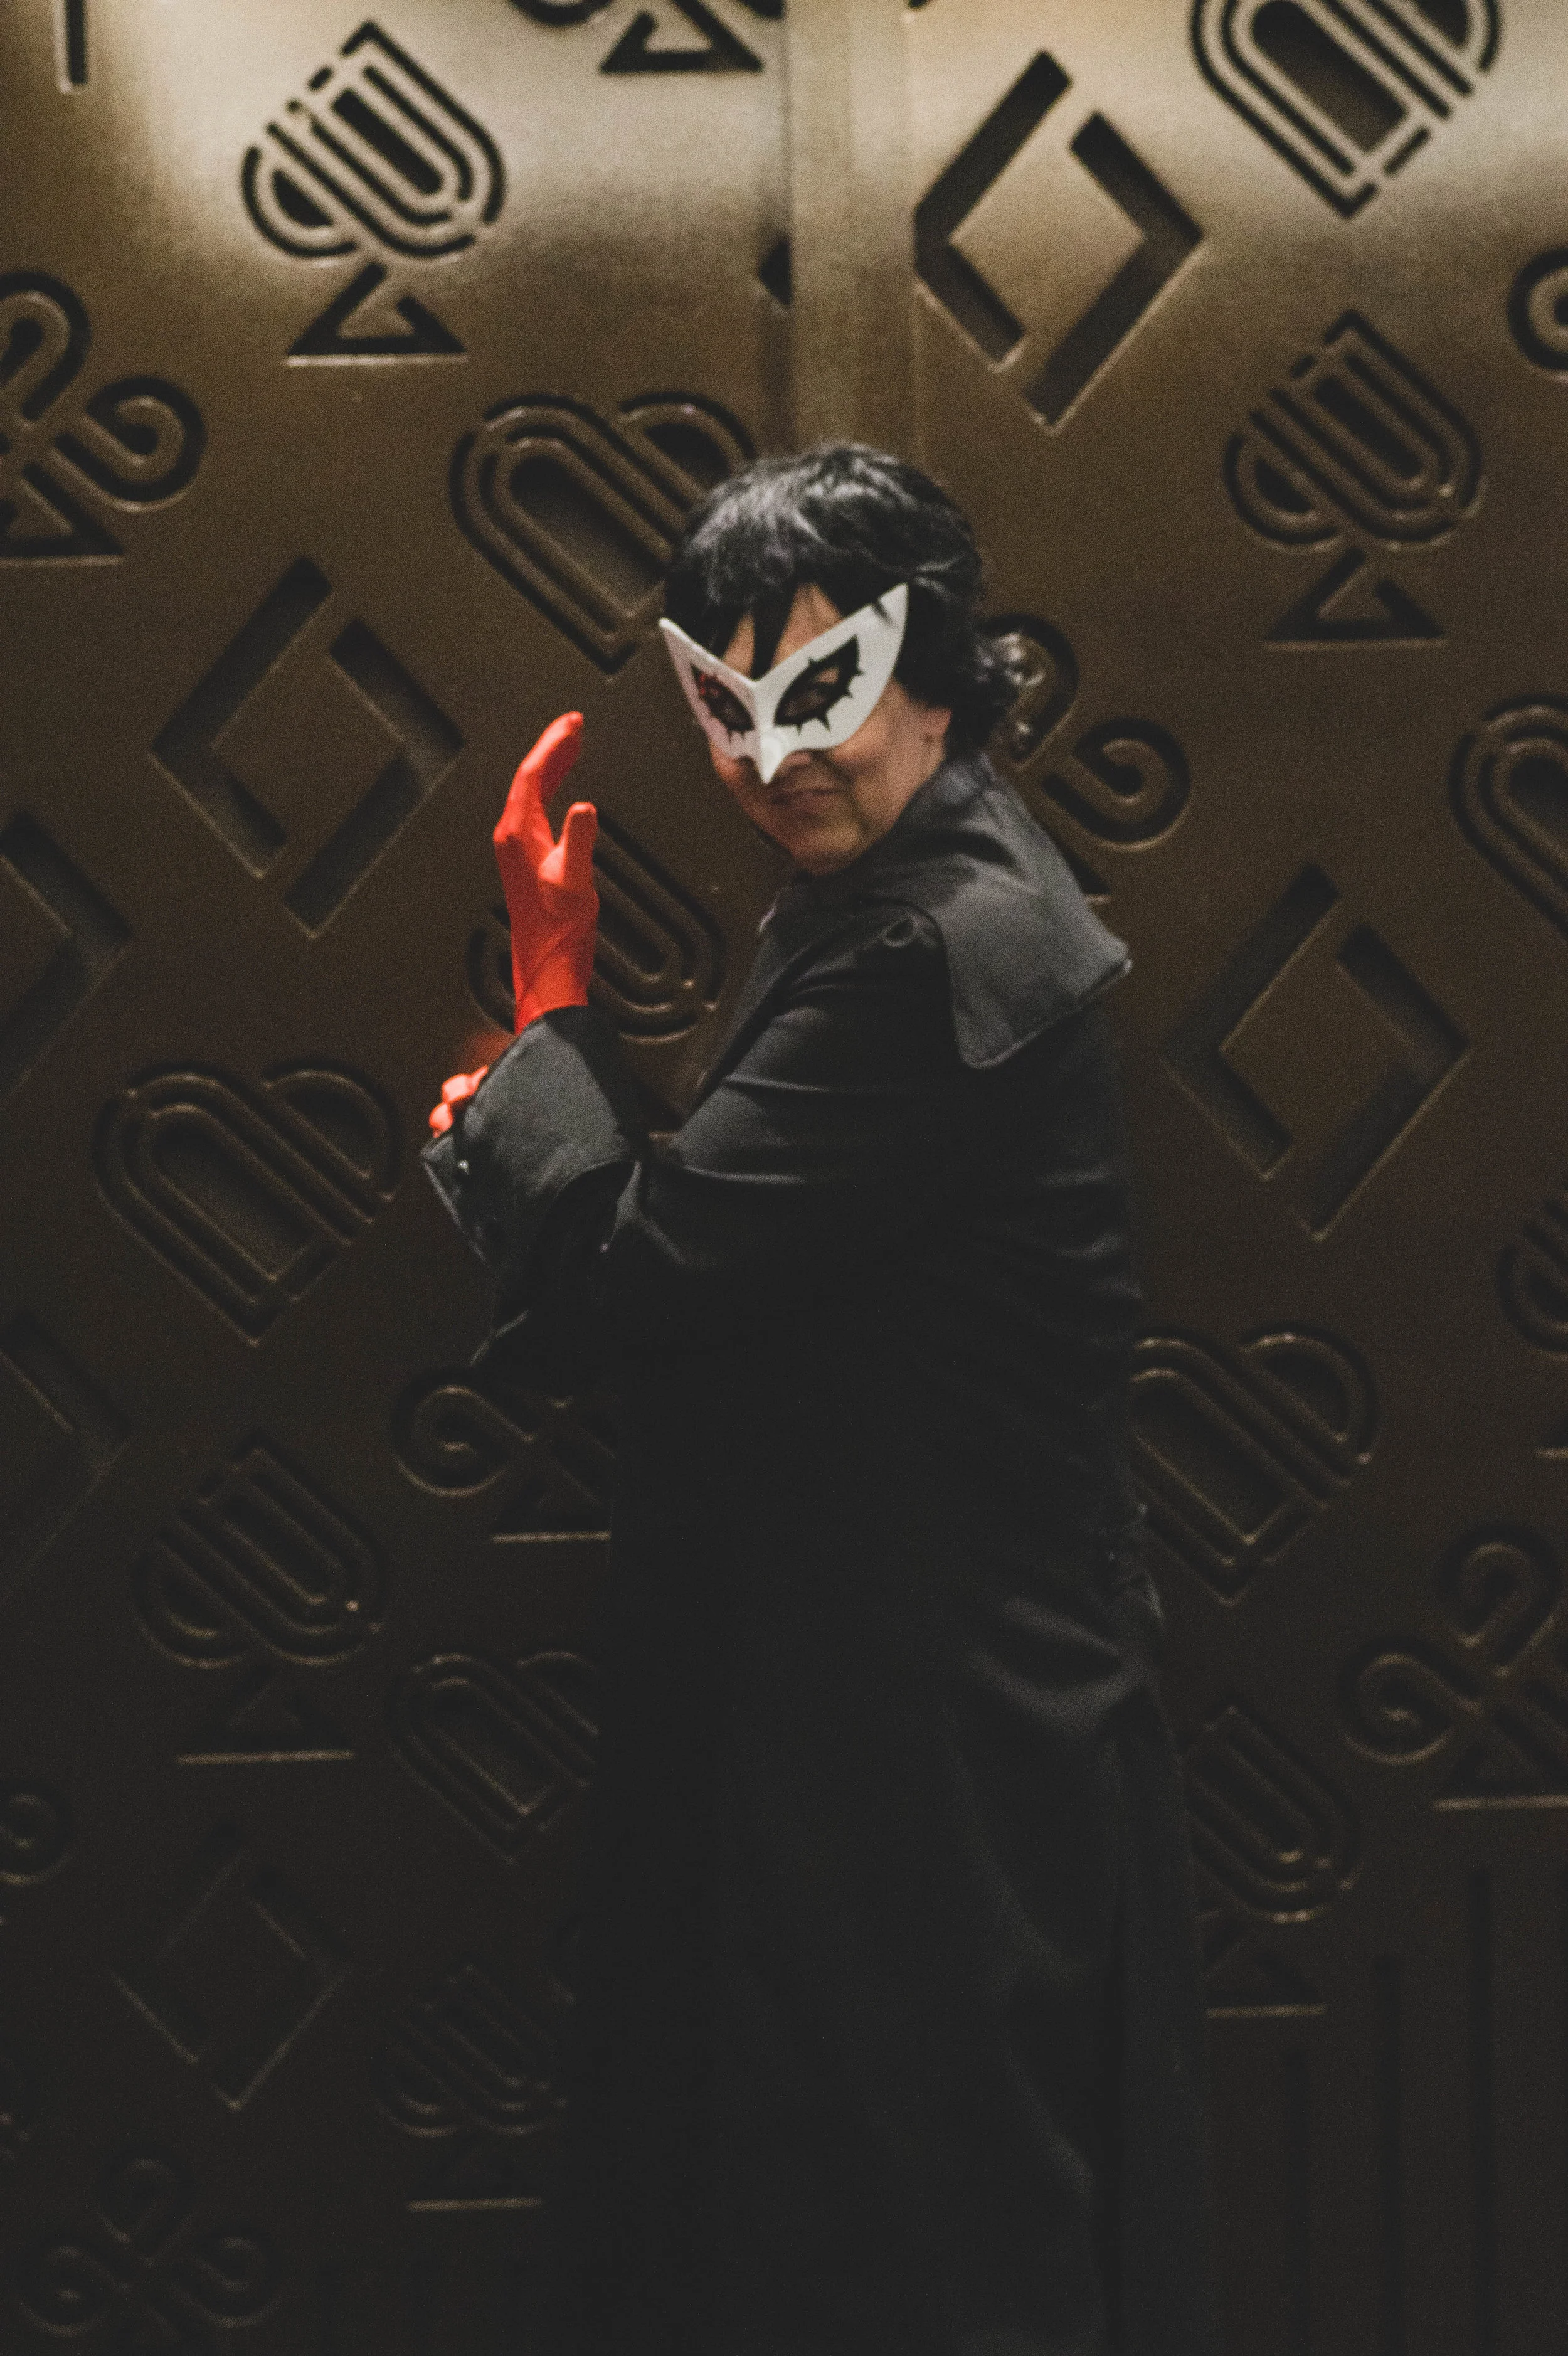
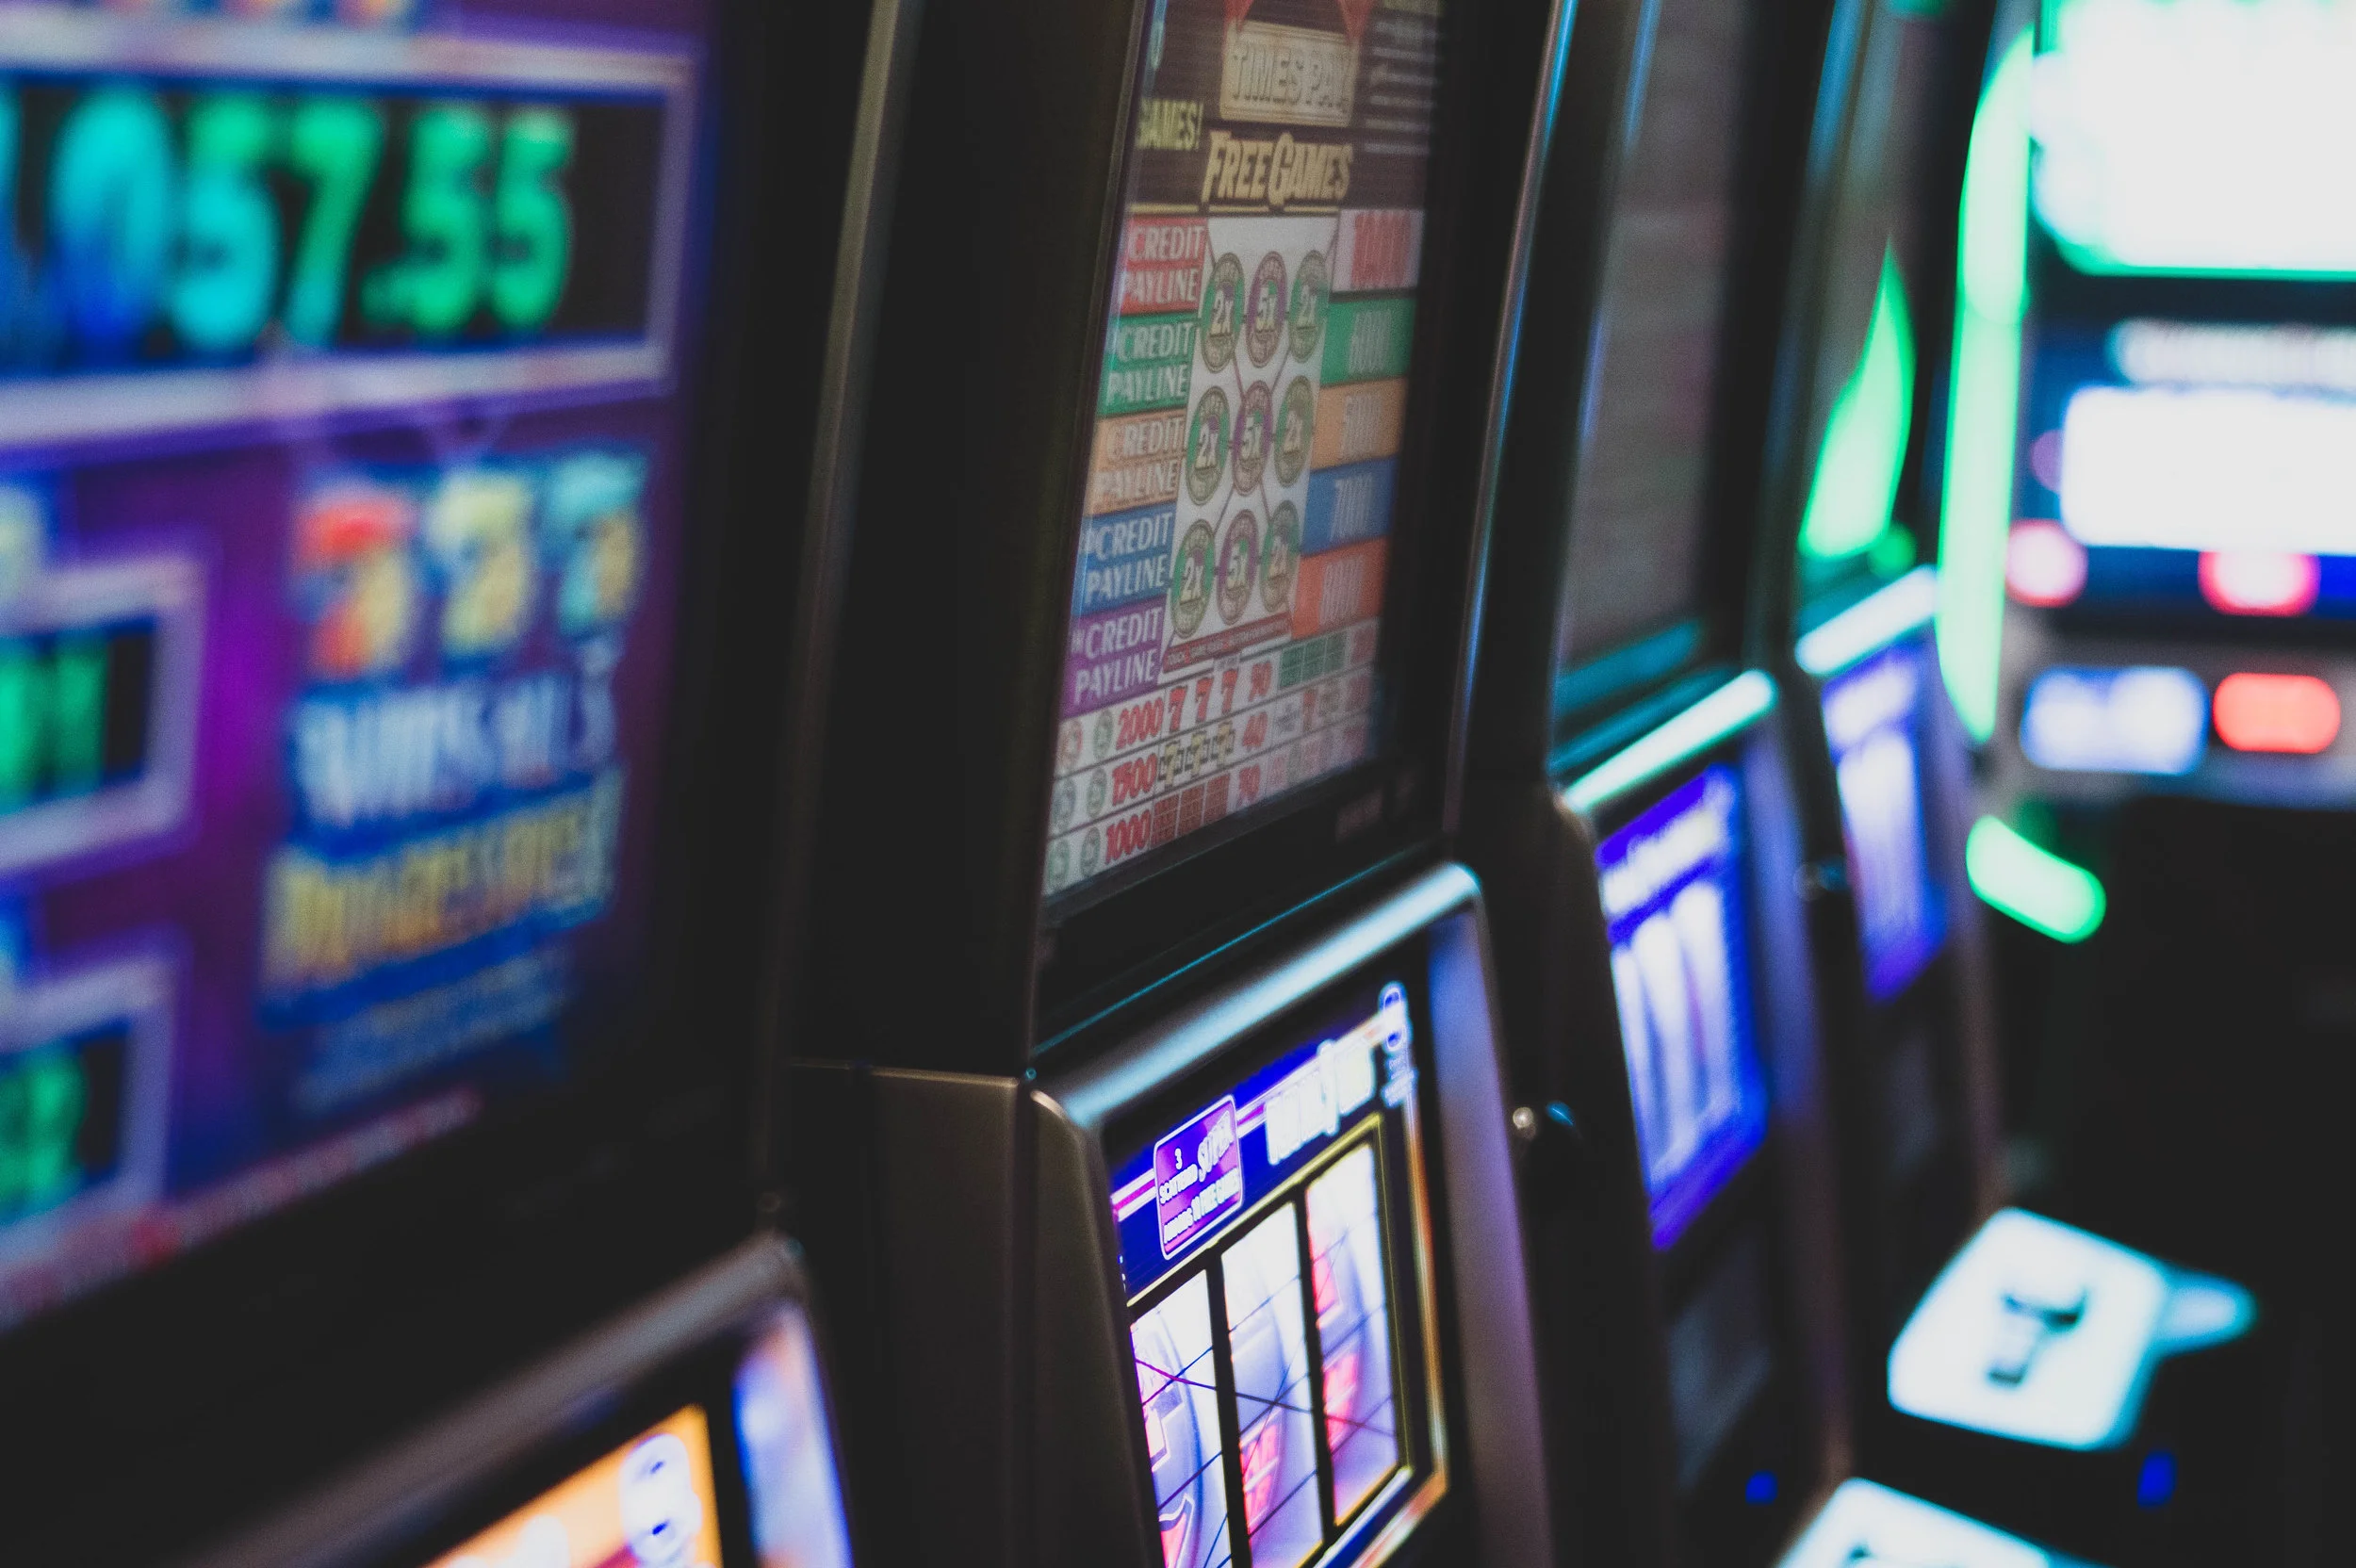
Also, huge thank you to @kurosakitaichou for shooting with me last minute at the MGM Casino in their Joker cosplay! (I think I may even do this shoot myself next year, since my Joker cosplay will be done! Or should I do Yusuke? It would be cool to get a group together!)
This year, I, also, experimented with doing milk bath sessions at cons! It was definitely an interesting experience, and I got some beautiful shots, however I will probably not be offering these sessions at the con next year! (Unless there’s just like an unusually high demand to do them. Comment to let me know if I should offer them again?)
Here are some of the highlights from the sessions I did this year, as well as some of the extra shots I took:


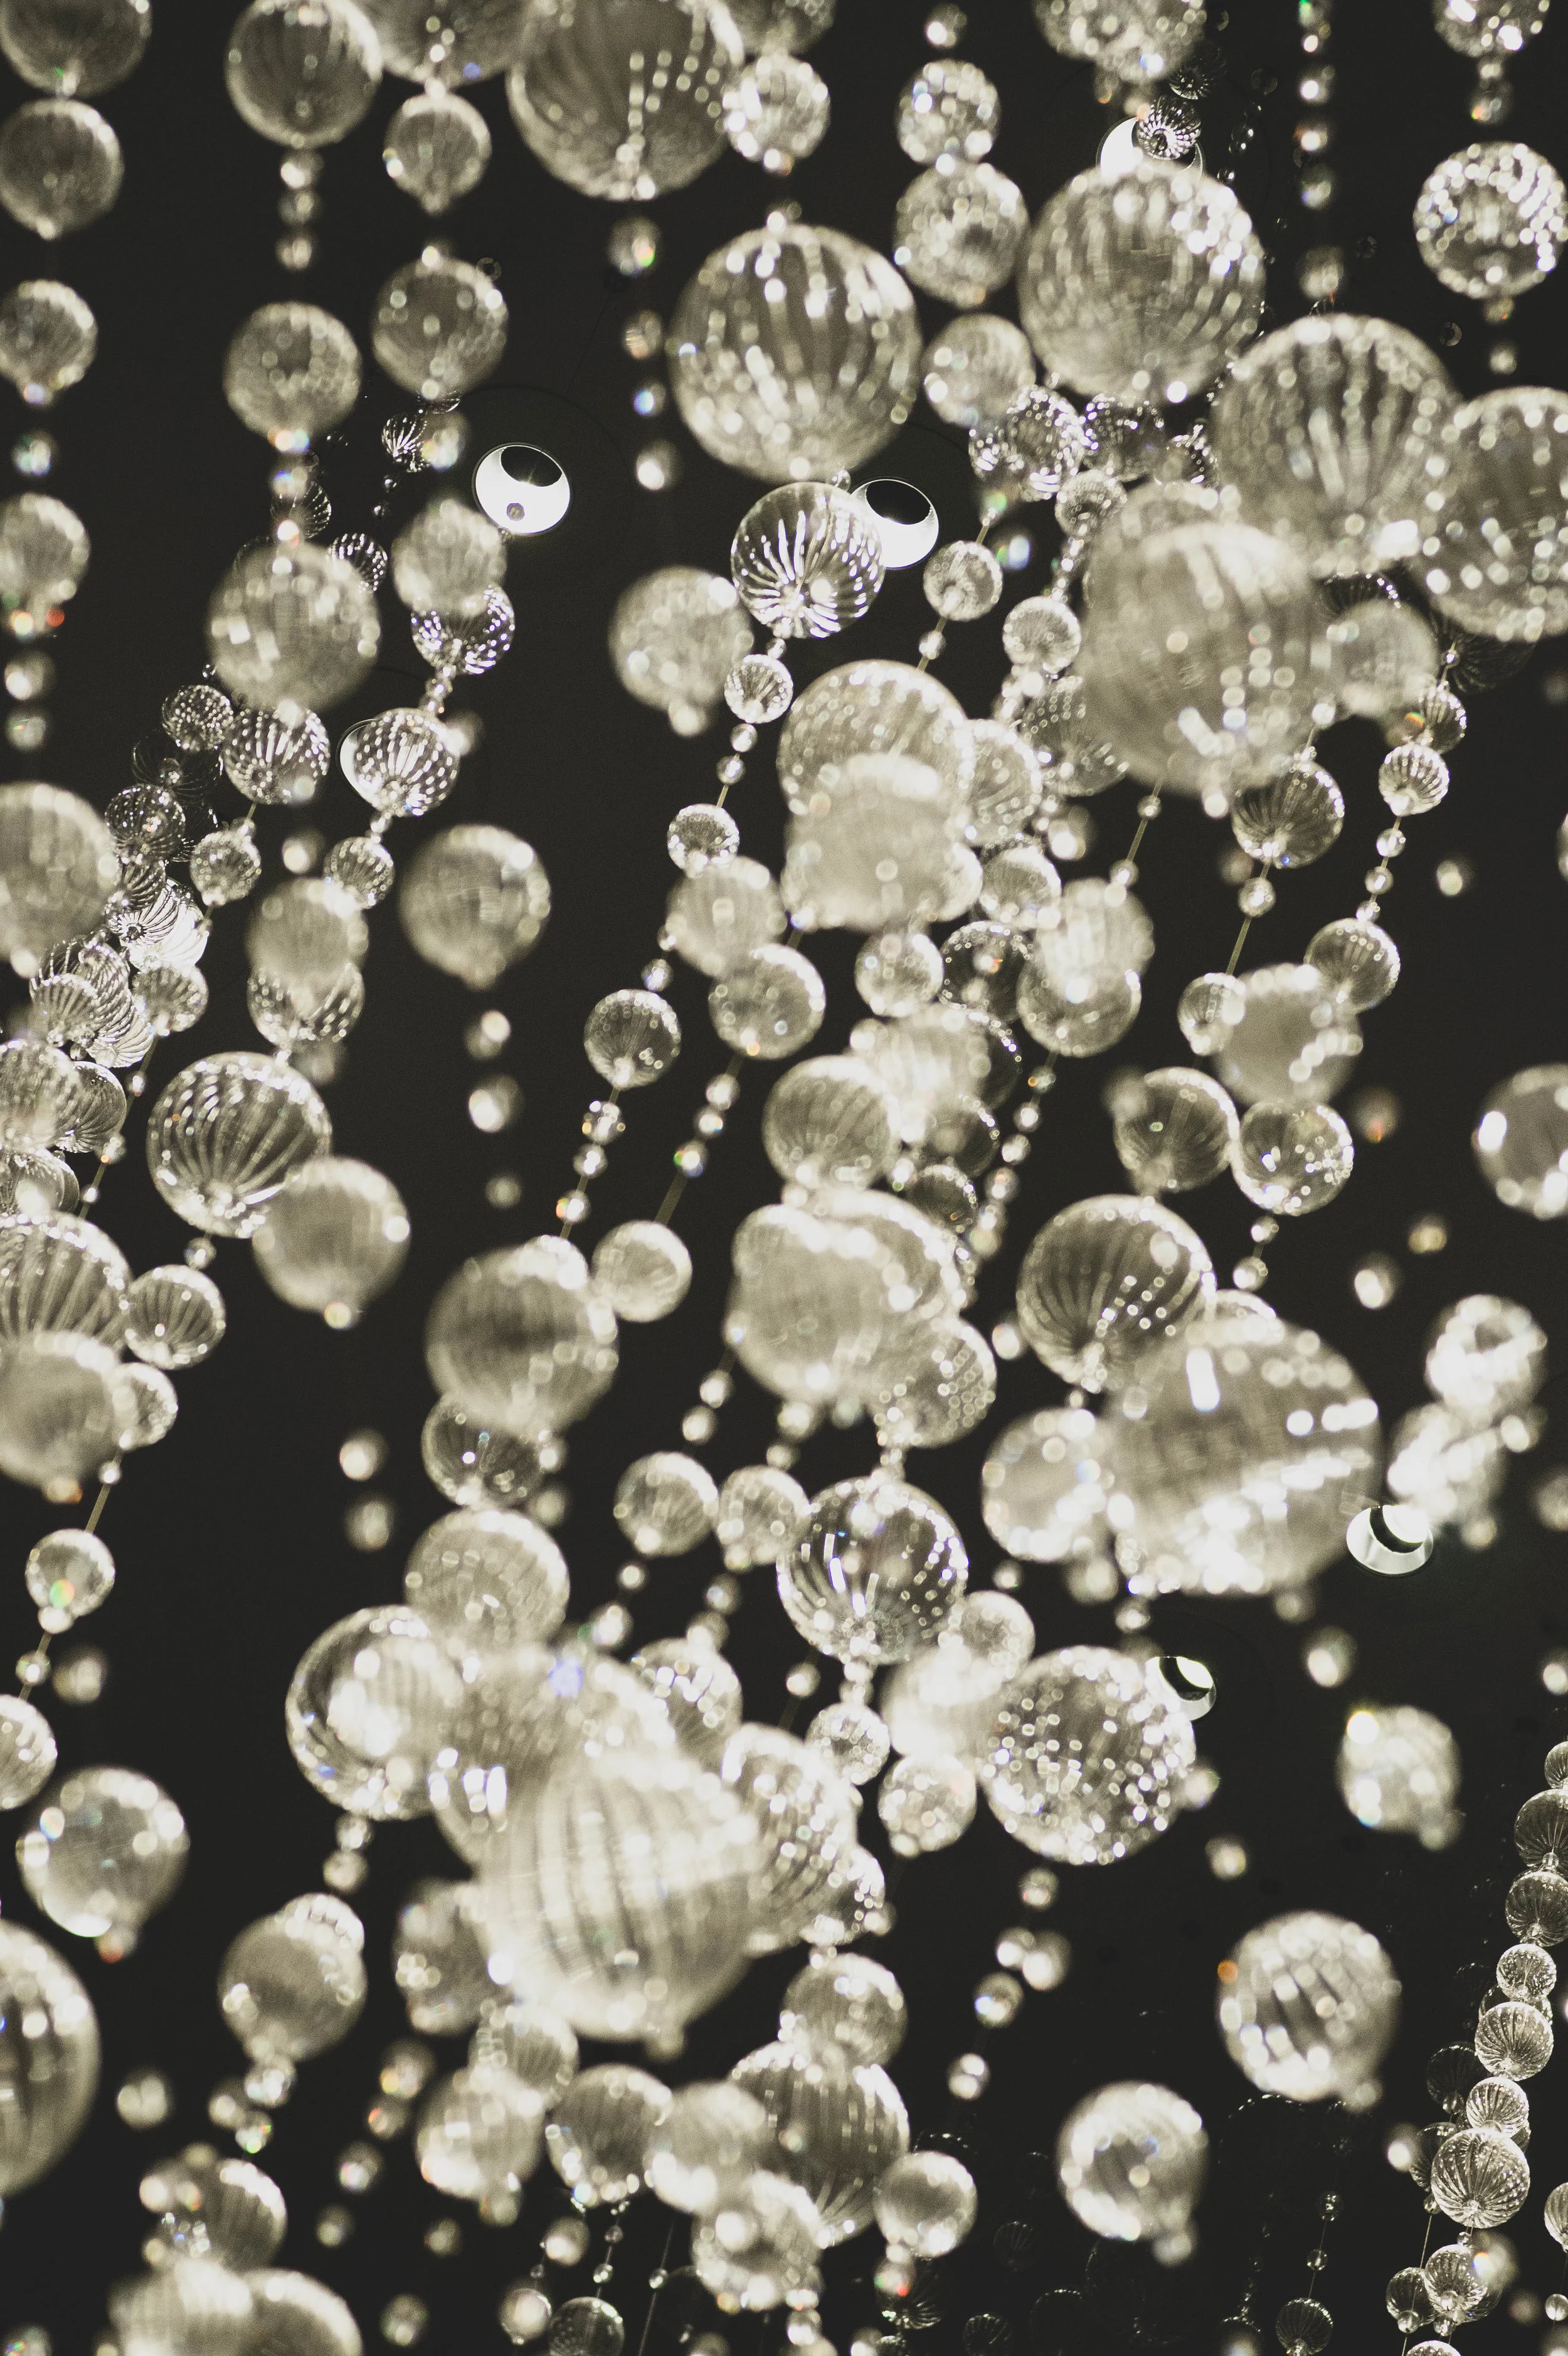
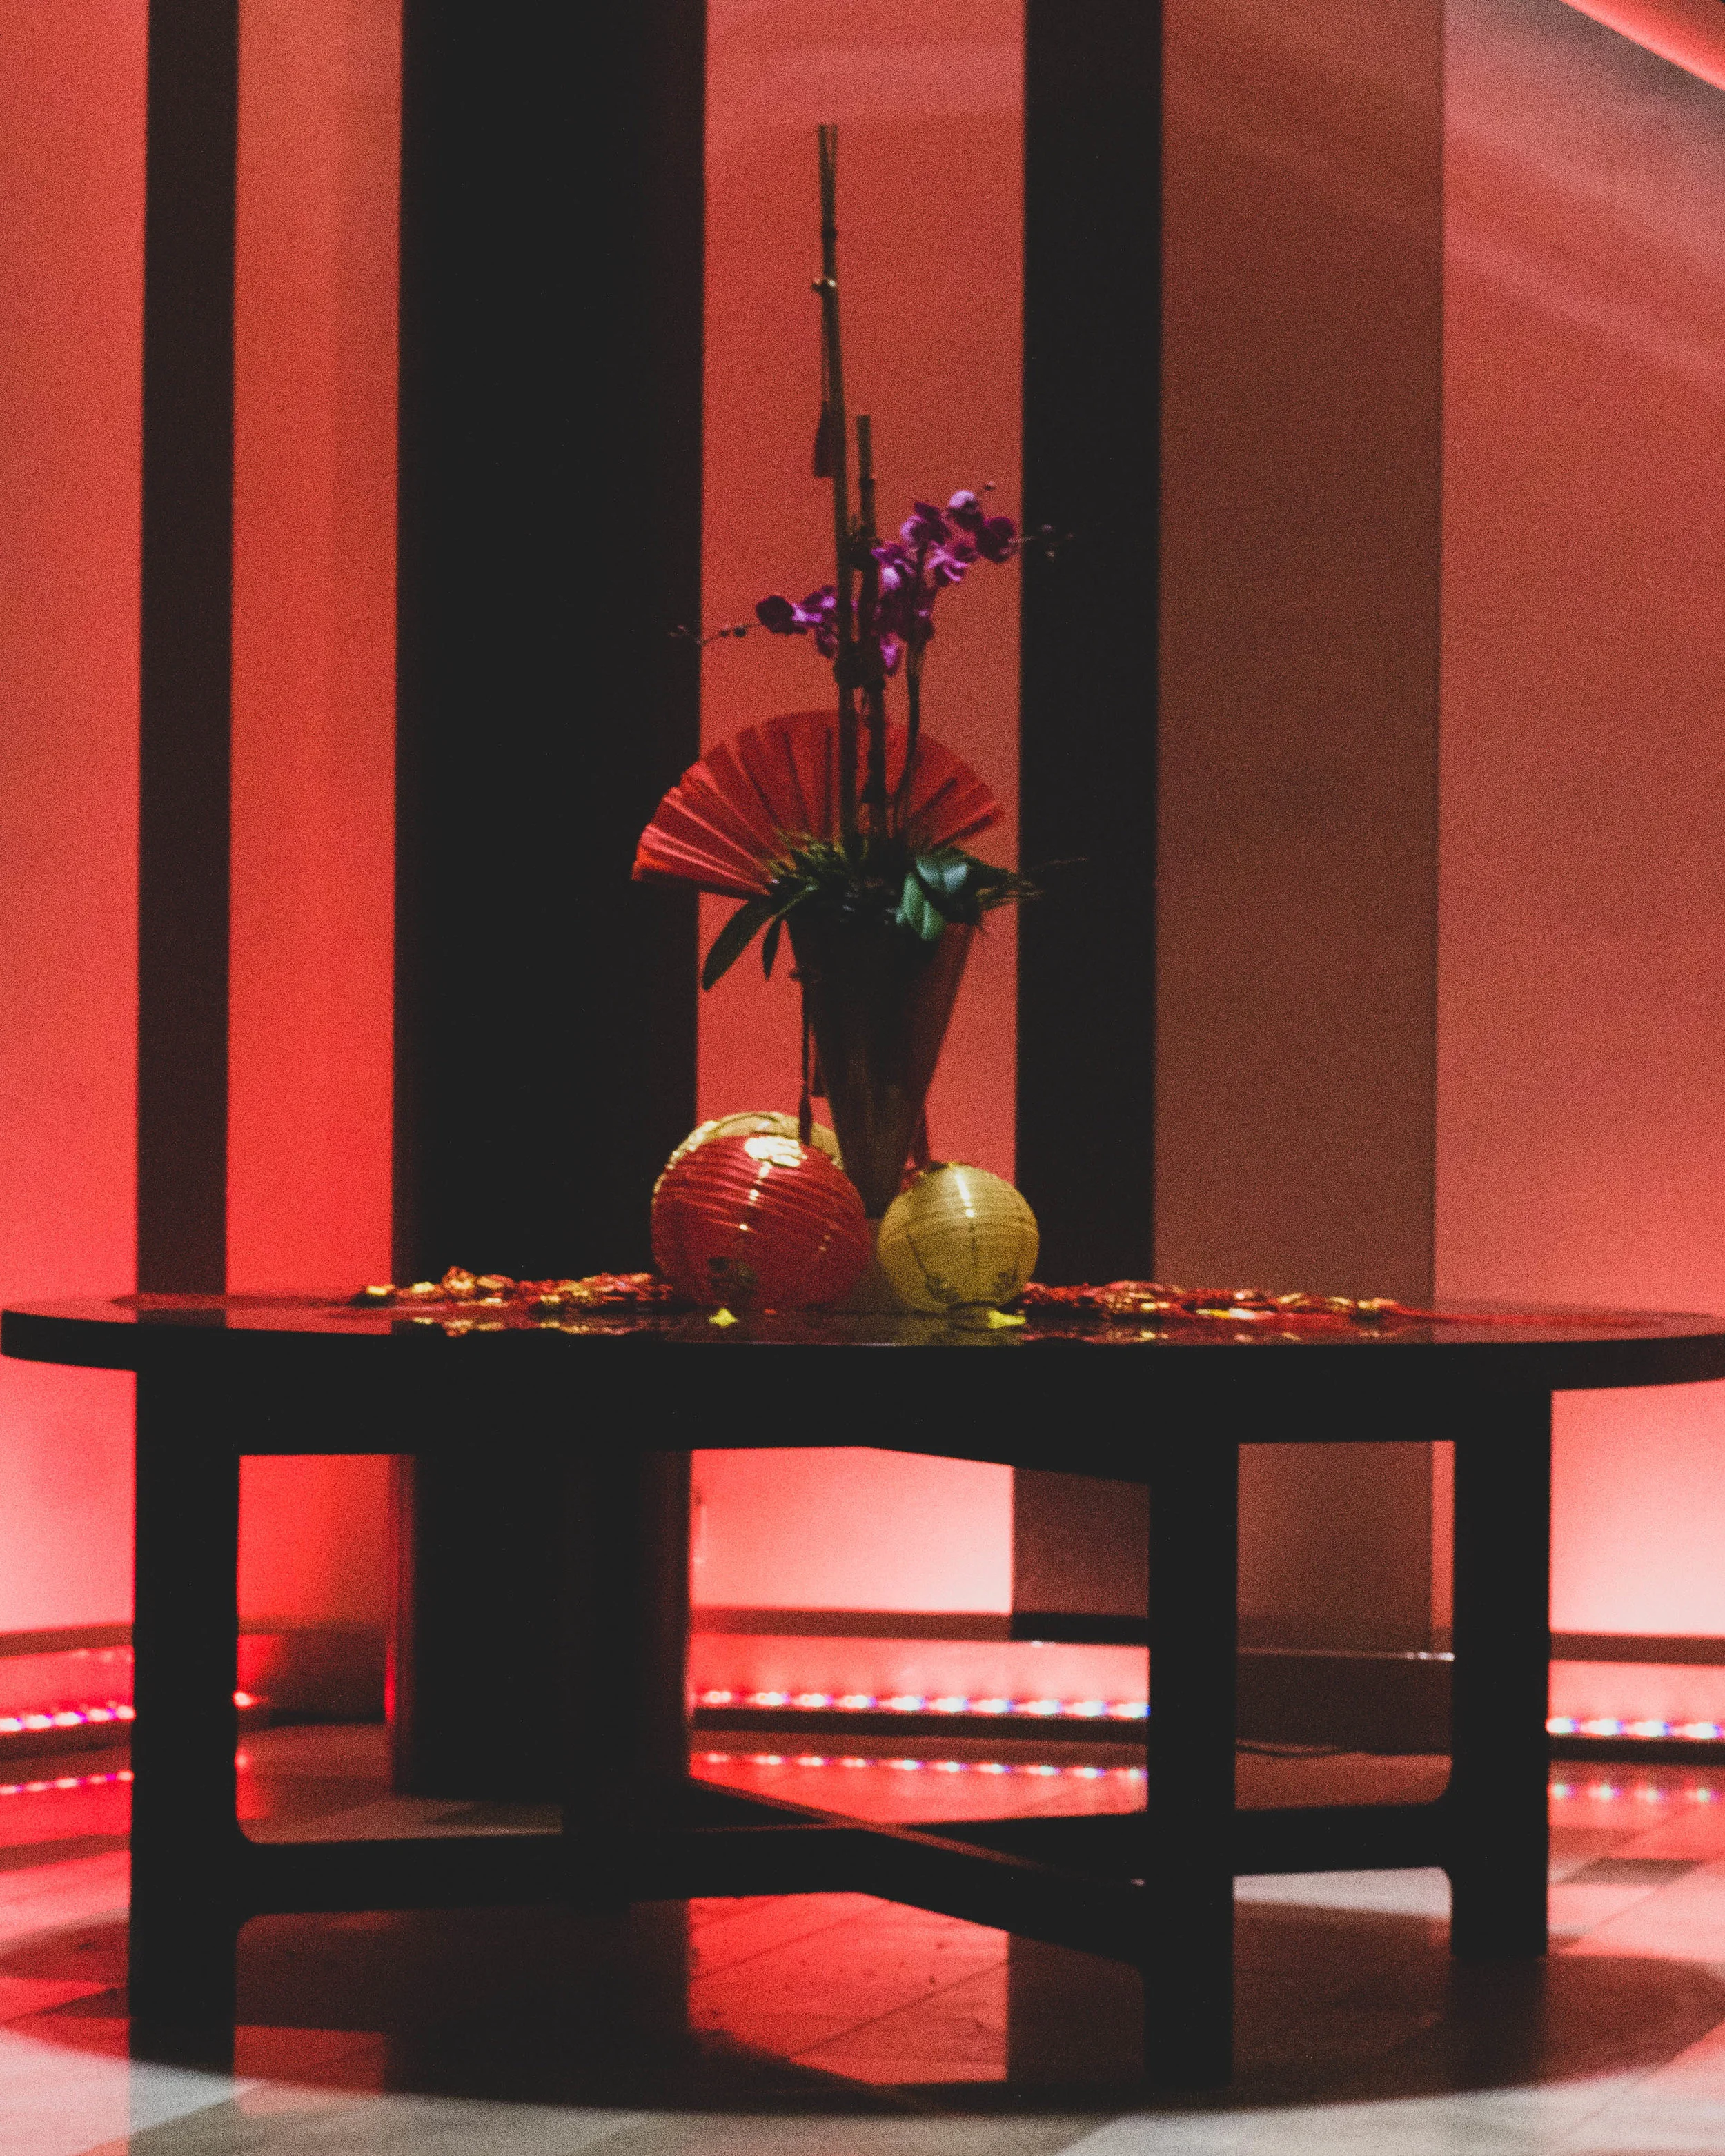
And here are the photos from the Persona 5 Casino Session!
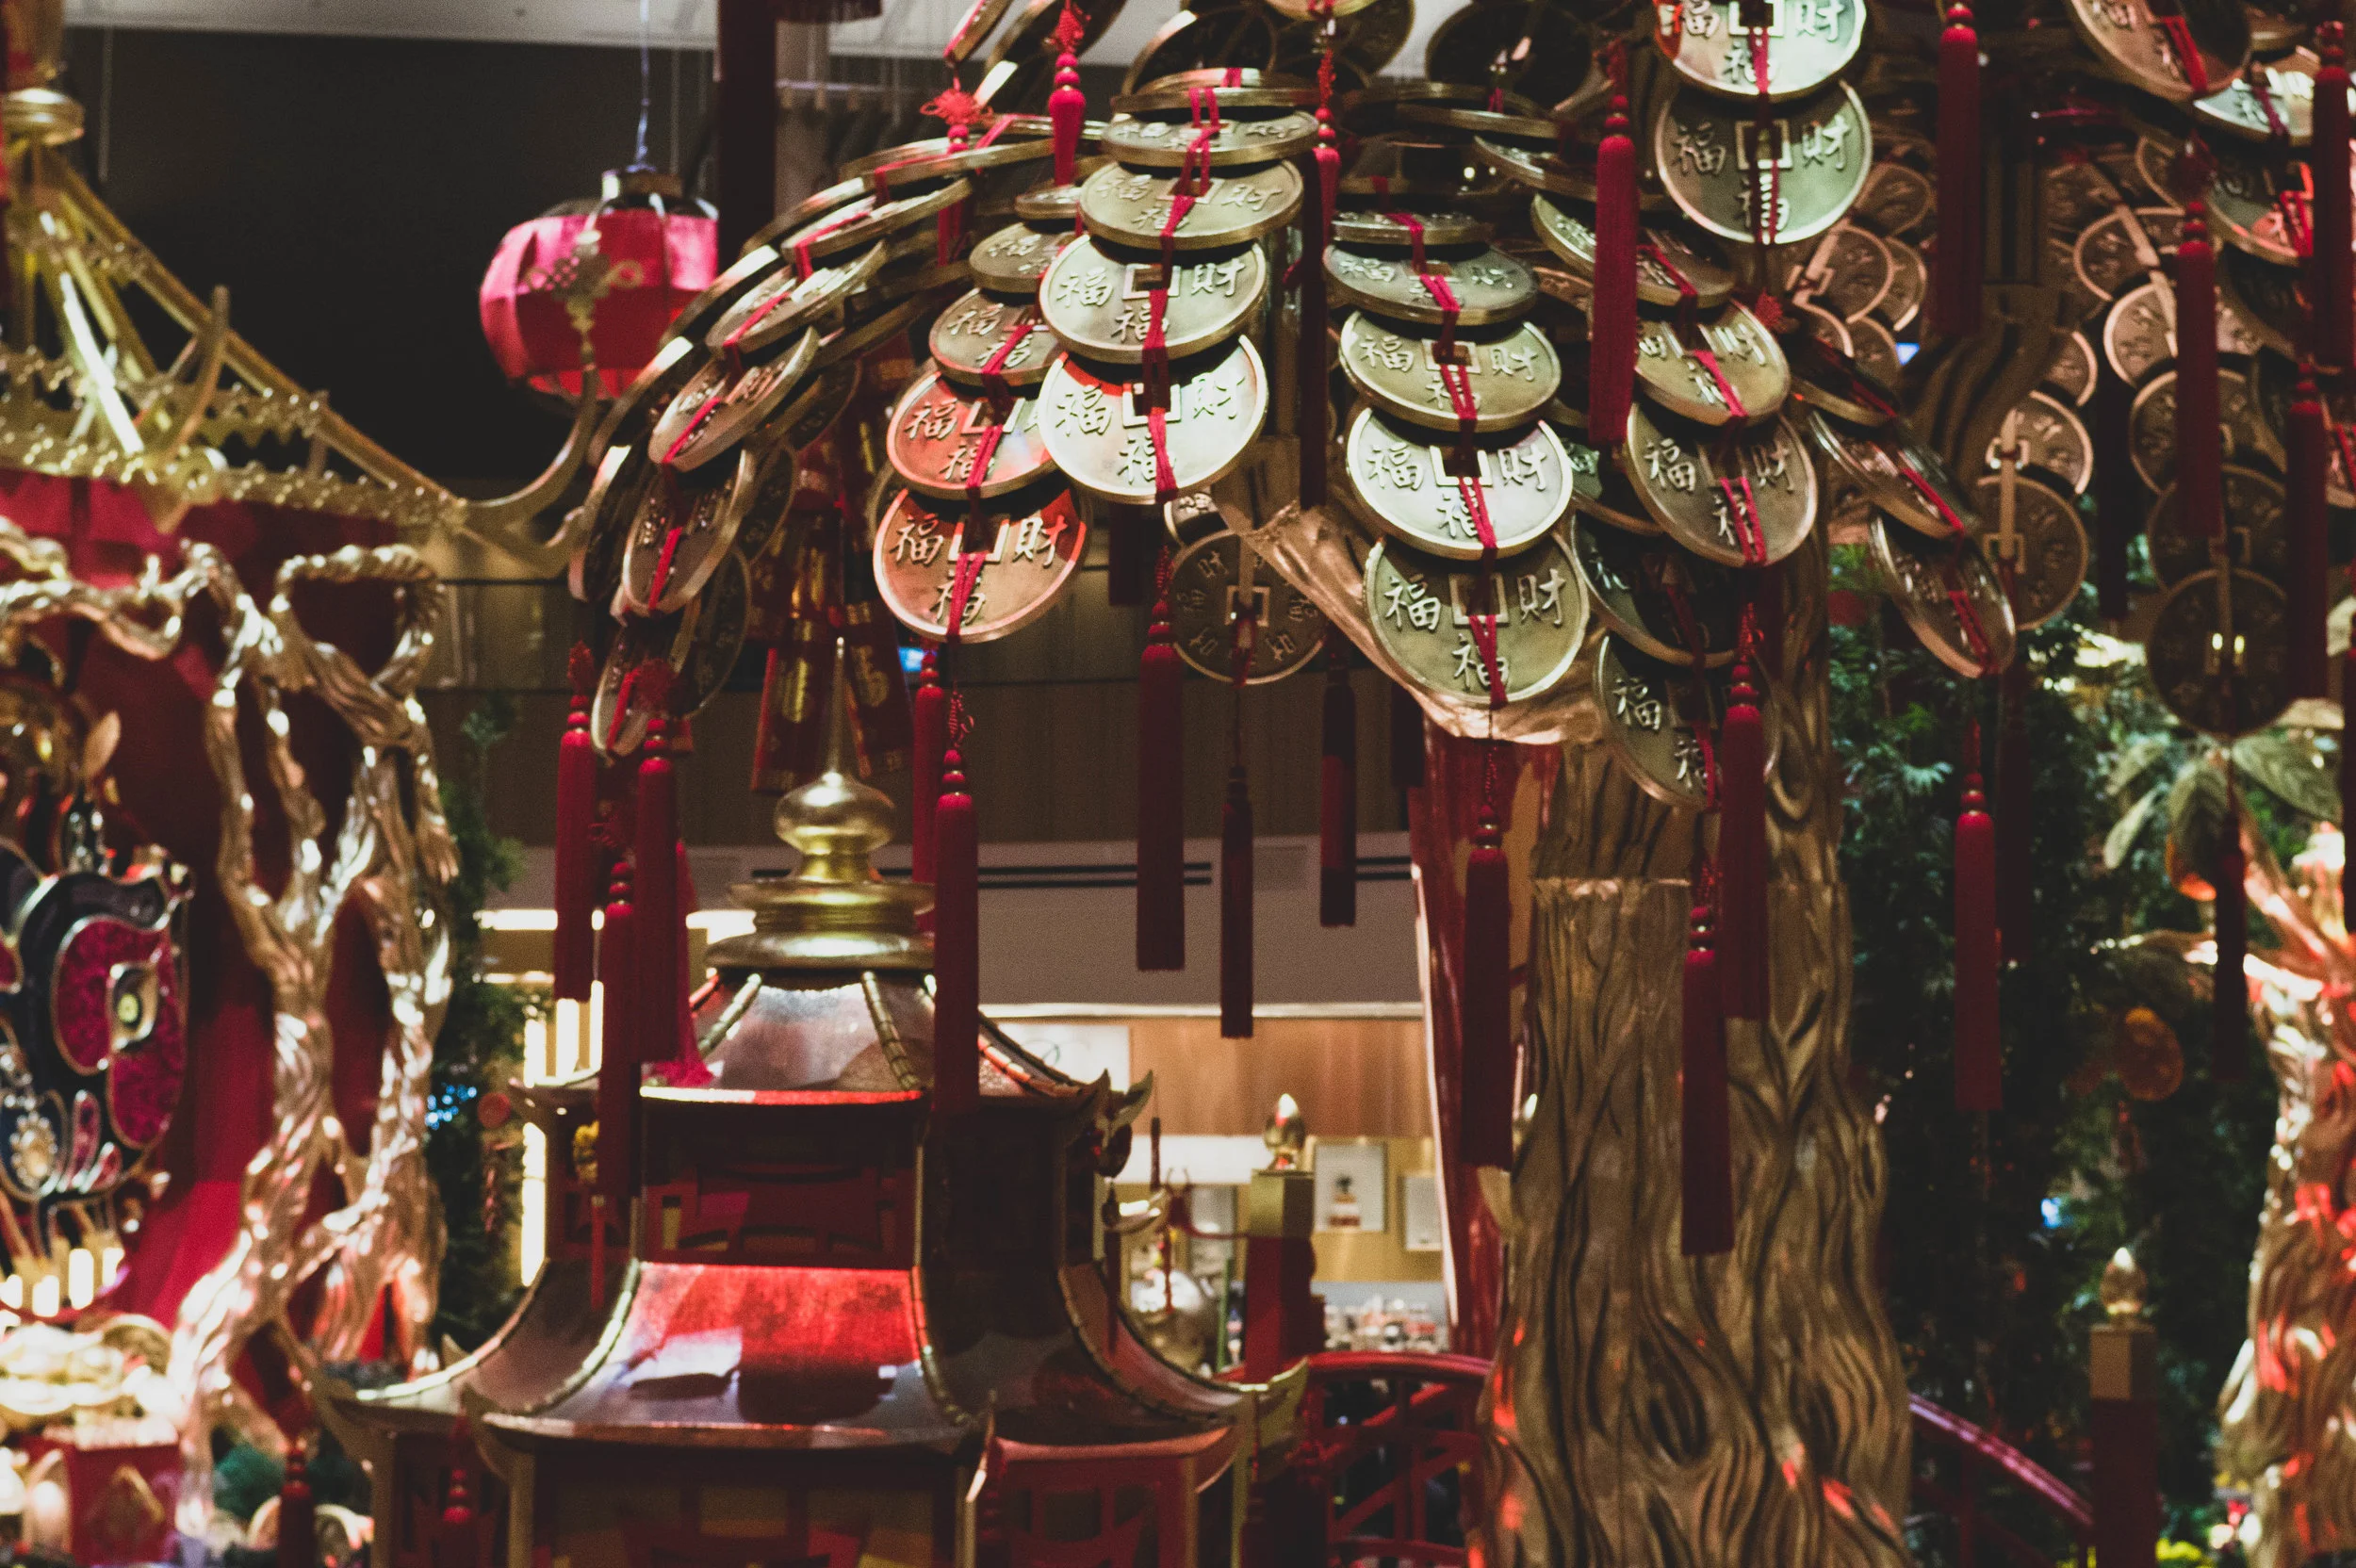
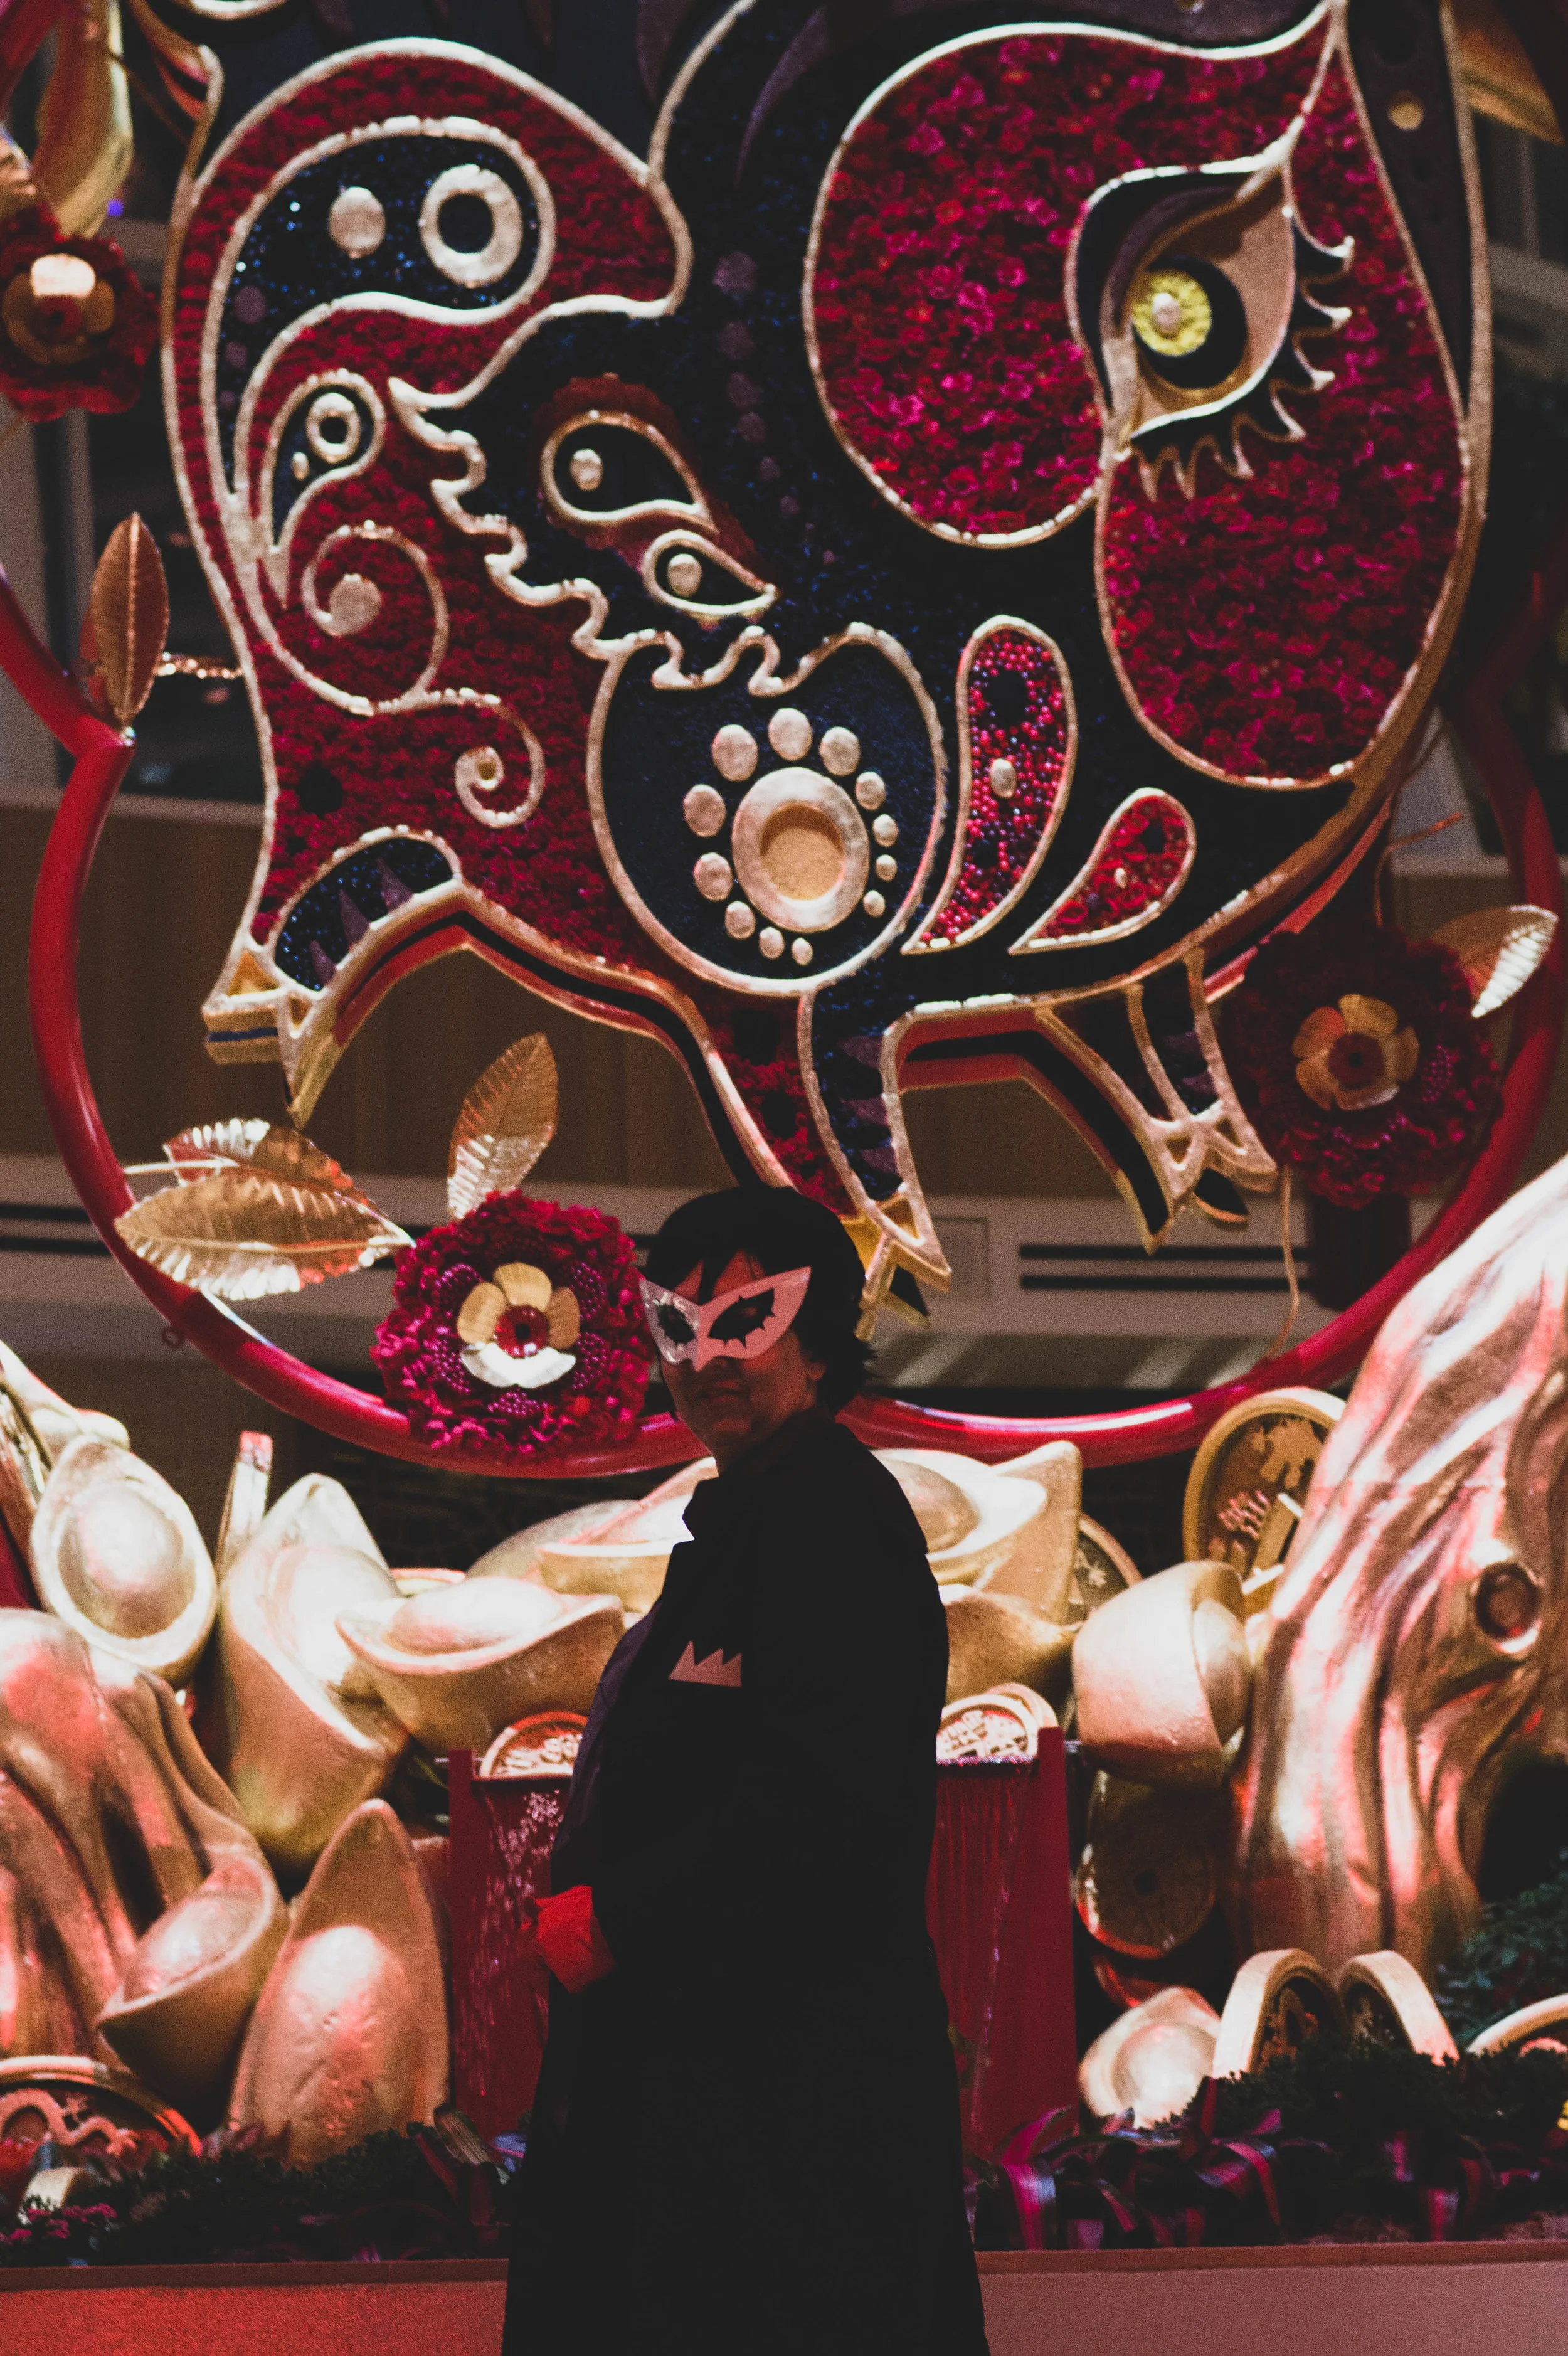
Including some aesthetic shots…


A Moose in New Orleans

On the Tropical Isle balcony above Bourbon St.
Hey everyone!
So last weekend, I went on vacation with my boyfriend (Nathan) to New Orleans, LA! It was such a blast, and I posted a bunch of stories on my personal Instagram. (You can see the highlight here!)
We stayed in a beautiful Airbnb within walking distance of the French Quarter and every night we partied on Bourbon St. (I know, tourist central— but it was AWESOME!)
Nathan (@traptinreality) and I taking a break from walking around and taking pictures.

Our amazing bartender won these for us!

Myself, Nathan, and our wonderful bartender (I think her name was Michelle?) If you see her at Tropical Isle, make sure to tip her well! She’s a real sweetheart!

Shortly before I sang to the homeless man, Nathan and I were eating Willie’s Pizza, while sitting on the curb. (The pizza was amazing and greasy— PERFECT DRUNK FOOD!)
We got there Wednesday night, and I had my first strip club experience.
That’s right— we went to a strip club. Nathan and I went to Rick’s Cabaret. (It was mostly my idea!) Granted, I didn’t think cabaret meant strip club, but that was my own naïvety. However, I was not disappointed! In fact, Nathan and I had such a great time, we went back the next night! It was a classy establishment, and the girls were all beautiful. Dawn was my go-to girl, and she also gave me some insight on what being a stripper is actually like, as well as some insider info on how to be a successful one. Despite all of the fun we had at Rick’s, we decided to stay away for the rest of the time for the safety of our wallets! (Oops, haha!)
The food was stellar!
Naturally, the food in New Orleans was absolutely amazing. We decided to stay away from the typical fast food chains while we were there, and it was definitely worth it! Despite the recommendations, we didn’t have the opportunity to check out Cafe Du Monde this time, but one of these days I WILL have their famous beignets!!
Here are some pictures of the food we did eat, though, including an alligator sausage po’ boy:


Nathan proved that a claw machine wasn’t actually rigged.
During one of the days, we were hanging out at Tropical Isle, which is a bar that is themed around the Hand Grenade drink. They have a balcony and some games, including a claw machine. Nathan and I had been hanging out for a few hours talking to a super nice bartender about politics and conspiracy theories. (It got pretty interesting, actually.) At one point, a bachelorette party came in and one of the bachelorette’s wanted to win a grenade plush from the claw machine, however she lost. Now, I would normally agree that most claw machines are probably rigged, but Nathan was determined to disagree, so he and our bartender took turns playing to try to win at the claw machine. After a couple of tries, he actually won one of the plushes! However, he gave it to the bachelorette because he felt bad. The bartender, though, wanted me to get one, so she ended up accidentally winning three plushes in one go! It was astonishing! Everyone won!
At one point, I sang to a homeless man.
So, Nathan and I were sitting on the Bourbon St curb after some lively karaoke at the Cat’s Meow. We were eating some massive slices of pizza and I was sipping on a large Cock. (It’s a drink, I promise.) A couple of guys came up to us. They complimented my hair and noticed Nathan’s tattoos. On his upper arm, he has a tattoo of Riku from Kingdom Hearts, and one of the guys that came up to us said, “Okay, if you’re truly a fan you can finish these lyrics,” and started singing Simple and Clean. Naturally, Nathan and I joined in and all four of us were singing it. Me being drunk and just extra in general, sang a little bit more and louder, which attracted a homeless gentleman. The man said things like, “Wow! Do that again!” So, I sang a little bit of Skylark from Midnight in the Garden of Good and Evil, which was a song my mother sang to me as a lullaby. The man loved it and kept exclaiming, “I think I’ve found the next American Idol!” I’m pretty sure he just wanted my booze, but it was a unique experience and it was fun.
Of course, I had to pick at least one day to take pictures.
Sure, vacation is all about having fun and not thinking about work, but I just had to take at least one day to explore with my camera. Photography isn’t just a job for me, but its a passion. I love telling a story with images and discovering a unique point of view with my lens. So, I chose one day to view New Orleans through the eyes of my camera, and I came up with some interesting shots. I had Nathan model for me a few times, too. He was a little grumpy about it at first, but he eventually came around. (Thanks, babe!)


To sum it all up…
New Orleans is definitely an interesting place. It is a fun time filled with character. Despite the smell of horse and donkey poop, its a charming place, where you can always find a party.
Thanks for taking the time to read all about my trip! If you enjoyed this blog post, please let me know in the comments, and consider subscribing to my email list to get updates about when I post as well as any special offers!
Where should I go next?
You should leave a comment suggesting where I should go on my next trip!

In front of the Joy theatre, which was on our way back to our Airbnb!

Commercial Photography on a Budget! (Under $10!)
For newer photographers or independent shop owners, here’s how to get clean images of your products for your catalog or portfolio without spending the big bucks.

Not Sponsored by Wet n Wild.
This picture only cost me $5!
That's right! Photography doesn't have to be expensive! So, here is how you can get some clean product photos for your catalog or portfolio!
Here is what you will need! Most of these items were purchased at Dollar Tree. This is also assuming you already have a camera and light source.
Display Board: This will act as the background. White is typically a good color that can easily be edited, however black is a great alternative. Feel free to get creative with it though, if you want to have a unique look.
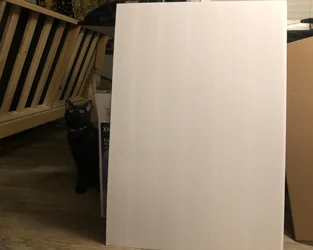
Foam Board (one or two) This will act as a light diffuser or reflector. Side note: If you do not already have a reflector, this can also be wrapped in aluminum foil! (Cat optional.)

Black Plexiglass (about $10 on Amazon) or A photo frame! Really, you just need a reflective surface that you can lay something black under. You should be able to lay it flat. The bigger the better. However, for smaller products (such as cosmetics) an 8 x 10 frame will be plenty of space.

Black craft foam or piece of paper. This will go under the glass if you are using the frame instead of Plexiglass. (If using plexiglass this is optional.)

Flat surface such as a table, in this case I used a stool. (Although, a table would probably have been smarter.)

Product you will be photographing. For this example, I am using a Wet n Wild lipstick from the dollar store.
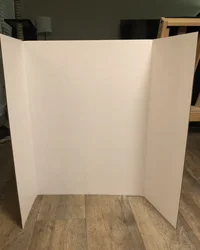
The Set-up
Once you have all of your items gathered, you're going to set it up like the image below. You may want to set yours up on a table instead, but I didn't have any available, so I went with what I had. You will want to place your product with several inches of space between it and the display board, this will minimize shadows. You may also want to set your camera on a tripod, level with your product. However, this is optional depending on the look you want. My tripod was in my car and I didn’t want to go outside and get it, so I just set my camera on the foam board that was acting as my table. Not pictured: the plexiglass or photo frame would sit under the product, which creates a reflection of your product, giving the image some depth.
For my light source, I decided to use a speed light attached to my camera. The light is angled so it points up towards the reflector. (If you don't have a reflector, you would use one of the foam boards.)
My shutter speed on my camera was 1/160, and then I played with the f. stop to get different lighting results. my favorites were around f3.6. However, getting multiple shots of your product at different f.stops is useful if you are interested in doing a focus stacked image. I used a Sigma 30mm f/2.8 lens.
(Author’s note 4/7/2020: When I wrote this article originally, it was before I had learned the difference between f stops and how to really use a speed light/flash. For those that are unaware, f stops are related to depth of field focus. The smaller the f stop, the less the product will be in focus. The higher it is, the more that will be in focus. Playing around with different f stops though can give interesting looks to your image.)
Also, if you do not have a speed light or something similar, I found that the flash on the camera itself actually worked fairly well with this set-up. However, constant overhead light is fine if you have absolutely none of these things. Just be conscious of any shadows your product may be casting. Another alternative would be to look into light painting the subject.

The set-up.
Final Image results (After Minor Editing)
Here are some of the results from the shoot. Remember, the point of catalog photography is to capture the product as closely as possible, while making it look appealing. So if you do edit the images in post production, remember to keep it very basic: cropping and subtle contrast or brightness adjustments. Try to do as much as you can during the shooting process, so that you can save time during the post production. For example, remember to have your white balance set accordingly so that the hue of your final image isn't too warm or too cool. If necessary, use a gray card.
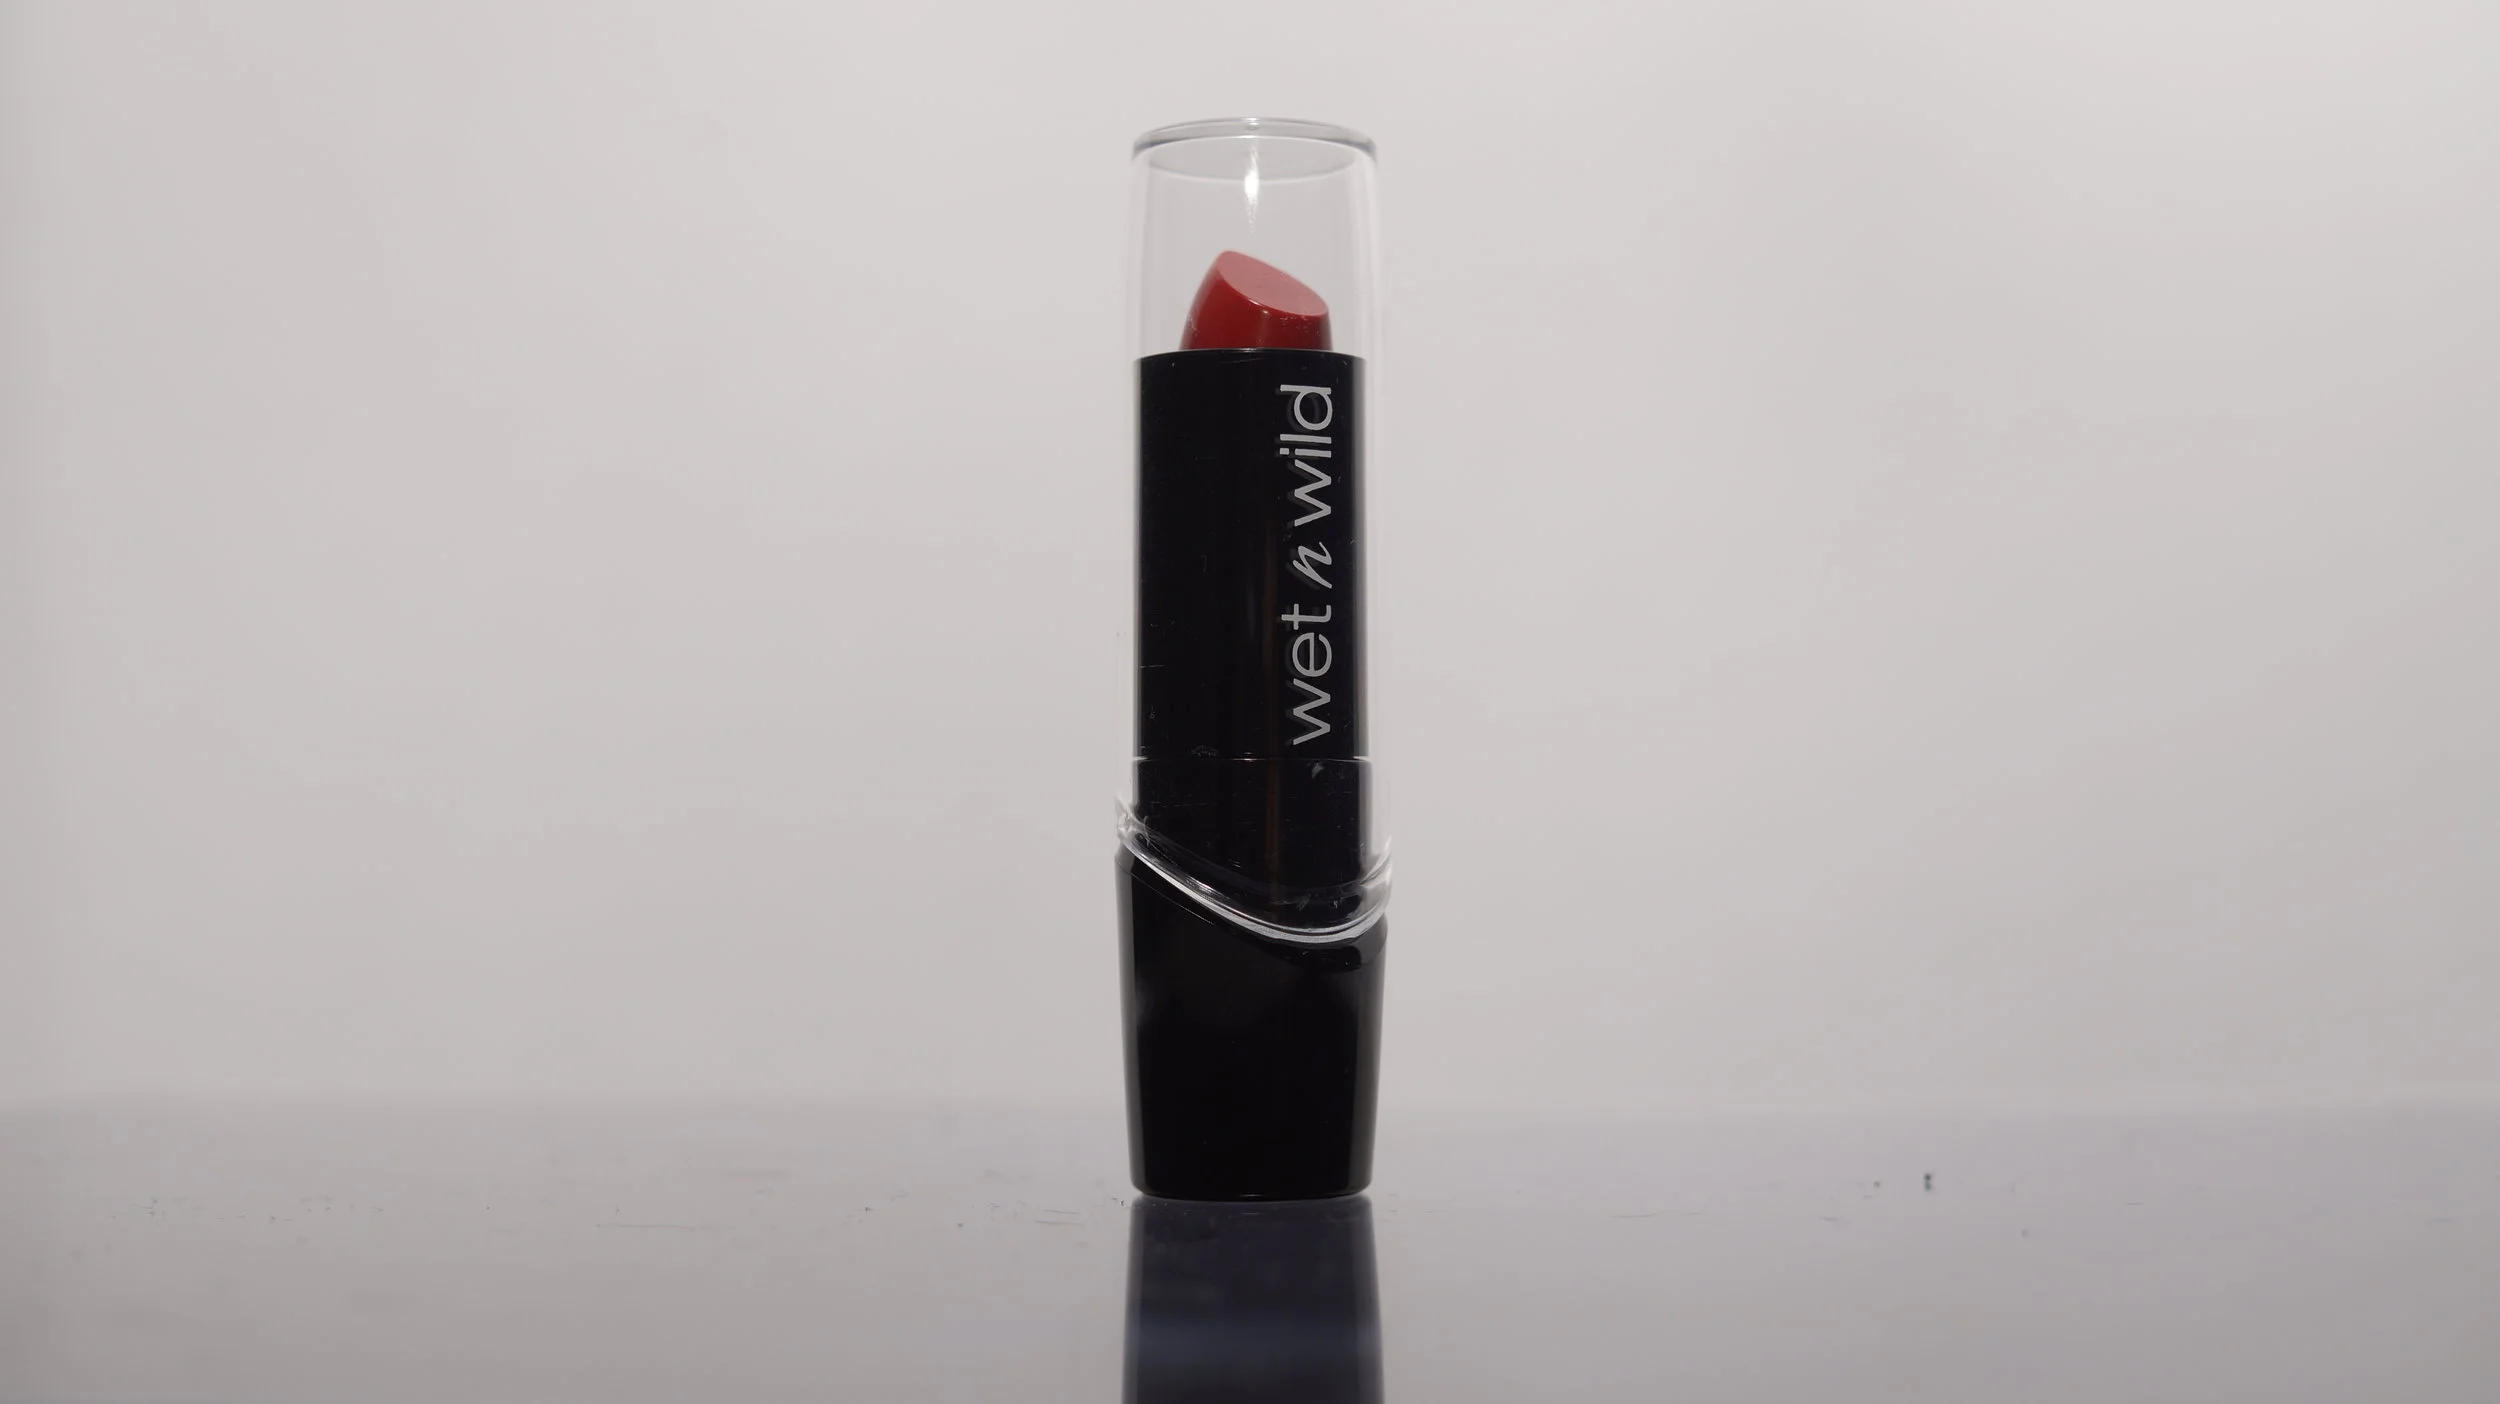
Before, straight from camera.

After some minor editing. By adjusting the brightness and contrast slightly, the line where the glass meets the background fades making it seem almost seamless. Cropping can also bring the focus in more towards the subject.

Custom jewelry piece I made.
There you have it, the cheapest way that I have found to create beautiful, clean catalog images. If you have any questions, feel free to leave a comment with them or send me an email or a direct message on Instagram. (My photography based one is @sparrowmoosemedia.)
If you do use this method, feel free to tag me on Instagram so I can see your work!
If you enjoyed this tutorial, feel free to leave a comment about what you'd like to read about in the future!
Thank you for reading!
Sparrow Moose